Have you ever craved that perfect, restaurant-quality chicken sandwich but didn’t know how to recreate it at home? Well, your search ends here! Today, I’m sharing my ultimate crispy chicken sandwich recipe that rivals any famous chef’s creation. This sandwich features a juicy, perfectly seasoned chicken breast with an irresistibly crunchy coating, nestled between butter-toasted brioche buns with a special sauce that brings everything together beautifully.
What Makes This Chicken Sandwich Special
This isn’t just any chicken sandwich. The combination of brining for juiciness, double dredging for extra crispiness, and my special sauce recipe creates a flavor experience that will have your taste buds dancing. I’ve spent years perfecting this recipe through countless trials, and I’m confident that once you try it, it will become your go-to chicken sandwich recipe.
Ingredients
For the Brine:
- 2 boneless, skinless chicken breasts
- 2 cups buttermilk
- 1 tablespoon kosher salt
- 1 tablespoon hot sauce
- 2 cloves garlic, minced
- 1 teaspoon smoked paprika
For the Flour Coating:
- 2 cups all-purpose flour
- 1 tablespoon kosher salt
- 1 tablespoon freshly ground black pepper
- 2 teaspoons garlic powder
- 2 teaspoons onion powder
- 1 teaspoon cayenne pepper (adjust according to heat preference)
- 1 teaspoon smoked paprika
- 1 teaspoon dried oregano
- 1 teaspoon dried thyme
For the Wet Mixture:
- 2 large eggs
- 1/4 cup water
- 2 tablespoons hot sauce
For the Special Sauce:
- 1/2 cup mayonnaise
- 2 tablespoons ketchup
- 1 tablespoon dijon mustard
- 1 tablespoon honey
- 2 tablespoons dill pickles, finely chopped
- 1 teaspoon pickle juice
- 1 clove garlic, minced
- 1/2 teaspoon smoked paprika
- 1/4 teaspoon cayenne pepper
- Salt and freshly ground black pepper, to taste
For Assembly:
- 4 brioche buns
- 2 tablespoons unsalted butter, softened
- 4 leaves butter lettuce
- 1 large tomato, sliced
- 1/2 red onion, thinly sliced
- Dill pickle slices
- Vegetable oil for frying (about 3-4 cups)
Equipment Needed
- Large mixing bowls
- Whisk
- Meat mallet or rolling pin
- Plastic wrap
- Dutch oven or large, deep skillet
- Cooking thermometer
- Wire rack
- Baking sheet
- Paper towels
- Tongs
- Small bowl for sauce
Step-by-Step Instructions
Preparing the Chicken
- Butterfly and pound the chicken: Place each chicken breast on a cutting board. With a sharp knife, cut horizontally through the middle of the chicken breast, being careful not to cut all the way through. Open the breast like a book. Place a piece of plastic wrap over the chicken and pound to an even thickness of about 1/2 inch.
- Prepare the brine: In a large bowl, whisk together the buttermilk, salt, hot sauce, minced garlic, and smoked paprika until well combined.
- Brine the chicken: Place the pounded chicken breasts in the buttermilk mixture, ensuring they’re fully submerged. Cover and refrigerate for at least 4 hours, or preferably overnight. This step is crucial for developing flavor and ensuring juicy chicken.
Preparing the Coating Stations
- Set up the dredging station: In a shallow dish, whisk together all ingredients for the flour coating. In another bowl, beat the eggs with water and hot sauce.
- Create a double-dredge system: Arrange your stations in this order: chicken in brine, flour mixture, egg mixture, and then flour mixture again. Also have a clean plate or wire rack ready for the coated chicken.
Coating and Frying the Chicken
- Heat the oil: In a Dutch oven or large, deep skillet, add vegetable oil to a depth of about 2 inches. Heat over medium-high until the oil reaches 350°F (175°C).
- Double dredge the chicken: Take a piece of chicken from the brine, letting excess buttermilk drip off. Dredge it thoroughly in the flour mixture, shaking off excess. Dip into the egg mixture, ensuring complete coverage, then dredge again in the flour mixture, pressing firmly to create a textured coating. Place on a wire rack and repeat with the remaining chicken.
- Frying technique: Carefully lower one piece of chicken into the hot oil. Fry for about 4-5 minutes per side, or until the coating is deeply golden brown and the internal temperature reaches 165°F (74°C). The exact time depends on the thickness of your chicken.
- Rest properly: Transfer the fried chicken to a wire rack set over a baking sheet. This allows excess oil to drain while keeping the coating crispy. Let rest for 5 minutes before assembling the sandwich.
Making the Special Sauce
- While the chicken is resting, prepare the special sauce by combining all sauce ingredients in a small bowl. Whisk until smooth and well incorporated. Taste and adjust seasonings as needed.
Assembling the Perfect Sandwich
- Toast the buns: Spread softened butter on the cut sides of the brioche buns. Toast in a skillet over medium heat until golden brown, about 1-2 minutes.
- Layer the ingredients: Spread a generous amount of the special sauce on both the top and bottom bun. On the bottom bun, layer butter lettuce, tomato slices, and red onion.
- Add the star: Place the crispy chicken on top of the vegetables, then add pickle slices.
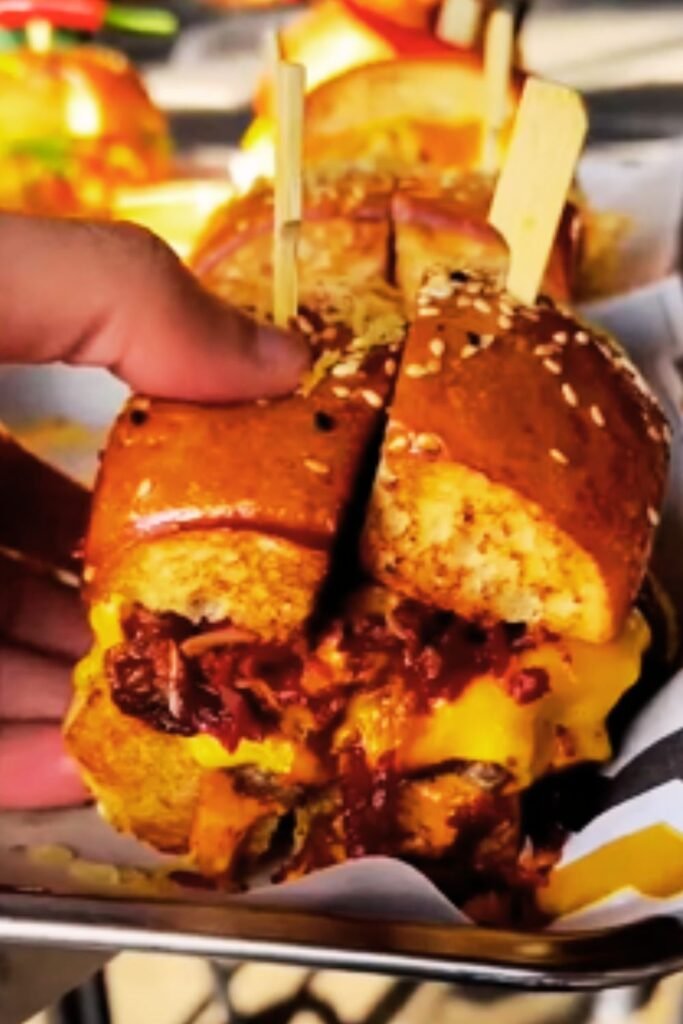
- Complete the sandwich: Place the top bun on, press gently, and secure with a toothpick if needed.
- Serve immediately: For the best experience, serve while the chicken is still warm and crispy.
Detailed Nutritional Information
| Nutrition Facts | Per Serving |
|---|---|
| Calories | 820 |
| Total Fat | 42g |
| Saturated Fat | 12g |
| Trans Fat | 0g |
| Cholesterol | 245mg |
| Sodium | 1520mg |
| Total Carbohydrates | 68g |
| Dietary Fiber | 3g |
| Sugars | 10g |
| Protein | 42g |
| Vitamin D | 1.2mcg |
| Calcium | 180mg |
| Iron | 5.2mg |
| Potassium | 720mg |
Note: Nutritional values are approximate and may vary based on specific ingredients used.
Serving Suggestions
This ultimate chicken sandwich is a complete meal on its own, but here are some delicious sides that pair perfectly with it:
- Homemade Sweet Potato Fries: Cut sweet potatoes into matchsticks, toss with olive oil, salt, and paprika, then bake until crispy.
- Fresh Green Salad: A light salad with a lemon vinaigrette balances the richness of the sandwich.
- Crispy Onion Rings: For the ultimate indulgence, serve with beer-battered onion rings.
- Coleslaw: A tangy, crunchy coleslaw provides a refreshing contrast to the rich sandwich.
- Pickle Spears: Extra pickles on the side for pickle lovers.
- Sparkling Water with Lemon: A refreshing drink that cuts through the richness of the sandwich.
- Fresh Lemonade: The acidity helps balance the flavors of the meal.

Pro Tips for Sandwich Perfection
- Temperature matters: Make sure your oil maintains a steady temperature between 325-350°F (163-175°C). If the oil is too hot, the coating will burn before the chicken cooks through; if too cool, the chicken will absorb too much oil and become greasy.
- Don’t overcrowd the pan: Fry only one or two pieces at a time to maintain oil temperature and ensure even cooking.
- The resting step matters: Allow the fried chicken to rest for 5 minutes before assembling the sandwich. This helps excess oil drain and allows the juices to redistribute within the meat.
- Season at every stage: For maximum flavor, ensure you’re seasoning at each step of the process – the brine, the flour mixture, and the final sauce.
- Texture is key: For extra crunch, after the first flour dredge, let the chicken sit for 5 minutes before proceeding to the egg wash. This allows the flour to hydrate slightly, which creates an even better texture when fried.
- Make ahead options: The special sauce can be prepared up to 3 days in advance and stored in an airtight container in the refrigerator.
Troubleshooting Common Issues
| Problem | Cause | Solution |
|---|---|---|
| Coating falls off during frying | Flour not adhering properly | Make sure chicken is well-coated with buttermilk before dredging in flour |
| Chicken not cooking evenly | Uneven thickness | Pound chicken to an even thickness before brining |
| Coating burning before chicken is cooked | Oil too hot | Lower heat and maintain temperature at 325-350°F (163-175°C) |
| Greasy coating | Oil not hot enough | Ensure oil is properly heated before frying |
| Bland flavor | Insufficient seasoning | Season at every stage and don’t skip the brining process |
| Soggy bottom bun | Sauce or juices soaking through | Toast buns well and place lettuce on bottom bun first as a barrier |
Variations to Try
- Spicy Nashville Style: Add 2 tablespoons of cayenne pepper to the flour mixture and brush the fried chicken with a mixture of hot sauce and melted butter before assembling.
- Honey Butter Version: Drizzle the fried chicken with a mixture of 2 tablespoons melted butter and 1 tablespoon honey before placing on the sandwich.
- Barbecue Twist: Replace the special sauce with your favorite BBQ sauce and add a layer of crispy bacon.
- Buffalo Style: Toss the fried chicken in buffalo sauce and serve with blue cheese sauce instead of the special sauce.
- Mediterranean Inspired: Add roasted red peppers, feta cheese, and tzatziki sauce instead of the special sauce.
Make-Ahead and Storage Tips
Make Ahead
- Chicken preparation: The chicken can be brined up to 24 hours ahead.
- Special sauce: Can be made up to 3 days ahead and refrigerated in an airtight container.
- Flour mixture: Can be prepared several days in advance and stored in an airtight container.
Storage
- Leftover fried chicken: Store in an airtight container in the refrigerator for up to 2 days.
- Reheating: For best results, reheat in a 350°F (175°C) oven for 10-15 minutes to restore crispiness. Avoid microwaving as it will make the coating soggy.
Frequently Asked Questions
Q: Can I use chicken thighs instead of breasts? A: Absolutely! Chicken thighs are actually more forgiving and stay juicier than breasts. Just make sure to trim excess fat and pound to an even thickness.
Q: I don’t have buttermilk. What can I use instead? A: You can make a quick substitute by adding 1 tablespoon of lemon juice or white vinegar to 1 cup of regular milk. Let it sit for 5-10 minutes before using.
Q: Can this chicken be baked instead of fried? A: Yes, though the texture won’t be exactly the same. Preheat your oven to 425°F (220°C), place the breaded chicken on a wire rack over a baking sheet, spray with cooking oil, and bake for about 20-25 minutes or until the internal temperature reaches 165°F (74°C).
Q: Can I prepare the chicken in advance for a party? A: Yes! You can fry the chicken up to 2 hours ahead. Keep it warm in a 200°F (95°C) oven on a wire rack over a baking sheet. This will help maintain crispiness.
Q: My coating always falls off during frying. What am I doing wrong? A: Make sure to shake off excess buttermilk before dredging in flour, and press the flour mixture firmly onto the chicken to help it adhere. Also, don’t flip the chicken too frequently while frying.
Q: How can I make this sandwich gluten-free? A: Use gluten-free flour for the coating and gluten-free buns. Rice flour or a gluten-free flour blend works well for the coating.
Q: Can I use this recipe for chicken tenders or nuggets? A: Definitely! Cut the chicken into your desired shape before brining, and reduce the frying time accordingly.
Q: How do I know when the oil is hot enough for frying? A: The best method is to use a cooking thermometer. If you don’t have one, drop a small pinch of flour into the oil. If it sizzles and rises to the surface immediately, the oil is ready.
Conclusion
There you have it—my ultimate crispy chicken sandwich recipe that rivals any restaurant version. The combination of the brining process, perfectly seasoned double coating, and that special sauce creates a chicken sandwich experience that’s truly special. The attention to detail in each step makes all the difference, from properly preparing the chicken to the double-dredge technique and careful frying.
What I love most about this recipe is its versatility. Once you master the basic technique, you can customize it to suit your taste preferences or what you have available in your pantry. The variations I’ve suggested are just starting points—feel free to get creative!
Remember that great cooking is about patience and attention to detail. Don’t rush the brining process, and maintain your oil at the proper temperature for the best results. With practice, you’ll be making chicken sandwiches that will have your friends and family begging for your secret recipe.
I hope you enjoy making (and eating!) this sandwich as much as I do. Happy cooking!
