There’s something magical about the aroma of a freshly baked apple pie wafting through the house. It instantly creates a sense of warmth and comfort that few other desserts can match. I’ve been perfecting my apple pie recipe for years, and today I’m excited to share all my hard-earned secrets with you. From selecting the perfect apples to achieving that perfectly flaky crust, this comprehensive guide will help you create an apple pie that will have everyone asking for seconds.
A Brief History of Apple Pie
Before diving into the recipe, I think it’s worth taking a moment to appreciate the rich history of this iconic dessert. Contrary to popular belief, apple pie isn’t originally American. The first recorded apple pie recipe appeared in England in 1381, in a cookbook by Geoffrey Chaucer. The early English versions didn’t have sugar (it was a luxury item) and often included figs, raisins, and pears.
When European settlers brought apple seeds to America, they quickly planted orchards. By the late 1700s, apple pie had become a staple in American homes. During World War II, journalists asked soldiers why they were fighting, and “for mom and apple pie” became a common response, cementing the dessert’s place in American culture.
I find it fascinating how a simple combination of apples, sugar, and pastry has become such an enduring symbol of home and comfort across generations.
Selecting the Perfect Apples
The foundation of a great apple pie is, of course, the apples themselves. I’ve learned through countless pies that not all apples are created equal when it comes to baking.
Best Apple Varieties for Pie
Granny Smith : My go-to apple for pies. Their tartness balances the sweetness of the sugar, and they hold their shape well during baking.
Honeycrisp : These apples bring a wonderful sweetness and crunch. They’re expensive but worth it for special occasions.
Braeburn : A great balance of sweet and tart with a firm texture that stands up to baking.
Jonagold : These large apples have a honey-like sweetness and nice acidity.
Golden Delicious : These become quite tender when baked, almost creating an applesauce-like texture.
For the absolute best results, I use a combination of at least two varieties. My favorite mix is Granny Smith for structure and tartness, paired with Honeycrisp or Jonagold for sweetness. This combination creates a complex flavor profile and ensures some pieces remain firm while others break down slightly to create that perfect pie texture.
How Many Apples Do You Need?
A standard 9-inch pie typically requires:
- 6-8 medium-sized apples (about 3 pounds)
- This will yield approximately 8 cups of sliced apples
- Always buy 1-2 extra apples just in case some have bruises or bad spots
The Perfect Pie Crust
I firmly believe that a pie is only as good as its crust. After years of experimentation, I’ve developed a foolproof method for creating a crust that’s flaky, buttery, and sturdy enough to hold all those delicious apples.
Traditional All-Butter Pie Crust Recipe
Ingredients:
- 2½ cups all-purpose flour (313g)
- 1 tablespoon granulated sugar
- 1 teaspoon salt
- 1 cup (2 sticks) very cold unsalted butter, cut into ½-inch cubes
- ¼ to ½ cup ice water
Key Tips for Perfect Crust:
- Keep everything cold! I freeze my butter for 15 minutes before starting and chill my flour in the refrigerator.
- Use a food processor for the initial mixing to prevent overworking the dough.
- Let the dough rest in the refrigerator for at least 2 hours, preferably overnight.
- Roll the dough between two sheets of parchment paper to prevent sticking without adding excess flour.
Alternative Crust Options
While I’m passionate about my all-butter crust, I understand that different bakers have different preferences:
Butter and Shortening Combination:
- Replace half the butter with shortening for an even flakier texture
- Produces a crust that’s easier to work with but has slightly less flavor
Gluten-Free Crust:
- Replace all-purpose flour with a good quality 1:1 gluten-free flour blend
- Add ¼ teaspoon xanthan gum if your blend doesn’t include it
- Work quickly as gluten-free doughs can be more fragile
Pre-Made Crust:
- On those busy days, a high-quality store-bought crust can be a reasonable substitute
- Look for all-butter varieties in the refrigerated section
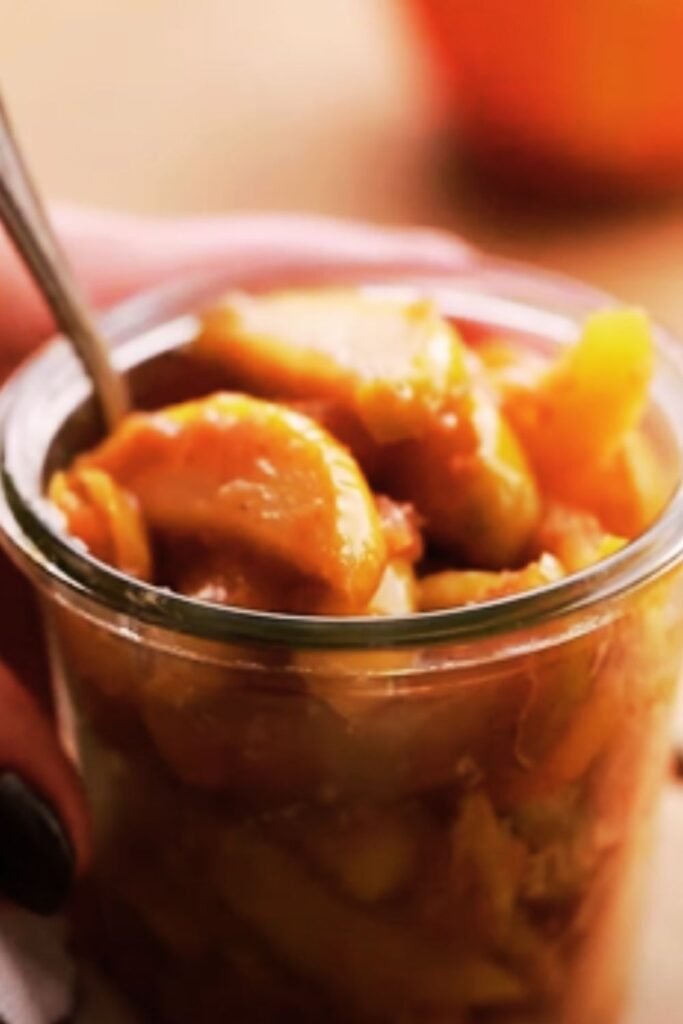
The Perfect Apple Filling
Now for the star of the show: the filling. The key is balancing sweetness with a touch of acidity and ensuring the apples cook properly without releasing too much liquid.
Classic Apple Pie Filling Recipe
Ingredients:
- 8 cups apples, peeled, cored, and sliced ¼-inch thick (about 3 pounds)
- ¾ cup granulated sugar
- 2 tablespoons lemon juice
- 2 tablespoons all-purpose flour
- 2 tablespoons cornstarch
- 1 teaspoon ground cinnamon
- ¼ teaspoon ground nutmeg
- ¼ teaspoon ground allspice
- ¼ teaspoon salt
- 2 tablespoons unsalted butter, cut into small pieces (to dot over filling)
The Science of Apple Pie Thickeners
Getting the right consistency in your filling can be tricky. I’ve tried every thickener imaginable, and here’s my detailed breakdown:
| Thickener | Amount for 8 cups apples | Characteristics | Best for |
|---|---|---|---|
| All-purpose flour | 3-4 tablespoons | Creates a cloudy filling, traditional taste | Classic, homestyle pies |
| Cornstarch | 2 tablespoons | Clear, glossy filling | Show-stopping pies with vibrant filling |
| Tapioca flour | 2 tablespoons | Slightly gelatinous texture | Especially juicy apples |
| Instant ClearJel | 1½ tablespoons | Professional-grade results | Bakery-style pies |
| Combination (my preference) | 2 tbsp flour + 2 tbsp cornstarch | Best of both worlds | All-purpose approach |
I personally prefer the combination approach, as the flour provides that traditional flavor while the cornstarch ensures a filling that holds together when sliced.
Pre-Cooking vs. Raw Filling
Over the years, I’ve tested both methods extensively:
Pre-Cooking Method:
- Cook apples briefly with sugar and spices before filling the pie
- Advantages: Reduces moisture, prevents gap between filling and top crust
- Disadvantages: Extra step, slightly softer texture
Raw Filling Method:
- Mix raw apple slices with sugar, spices, and thickener
- Advantages: Simpler, maintains more texture contrast in apples
- Disadvantages: Can release too much liquid, creating soggy bottom crust
My conclusion? For everyday pies, I use the raw method with the right thickener combination. For special occasions or competition pies, I pre-cook about half the apples and mix them with raw apples for the perfect texture balance.
Step-by-Step Assembly Instructions
Now that we have our components ready, let’s put everything together:
- Prepare your work surface – Clean, floured surface and preheat oven to 425°F (220°C)
- Roll out the bottom crust – Aim for about 12 inches in diameter for a 9-inch pie pan
- Transfer to pie dish – Gently fold in quarters or roll around rolling pin to transfer
- Fill with apple mixture – Mound slightly higher in the center
- Dot with butter – Place small pieces of butter on top of the filling
- Apply top crust – Either as a solid sheet, lattice, or decorative cutouts
- Seal and crimp edges – Press edges together and crimp with fingers or fork
- Vent solid top crusts – Cut 4-5 slits to allow steam to escape
- Apply egg wash – Brush with beaten egg for golden shine
- Sprinkle with sugar – A tablespoon of coarse sugar adds sparkle and crunch
Baking to Perfection
The baking process is where many home bakers run into trouble. Here’s my fool-proof method:
Temperature Strategy
I use a two-temperature approach:
- Start at 425°F (220°C) for 20 minutes to set the crust
- Reduce to 375°F (190°C) for 40-45 minutes to fully cook the filling
Preventing Common Issues
For Soggy Bottom Prevention:
- Bake on the lowest rack of your oven
- Use a metal or glass pie pan (avoid ceramic for apple pies)
- Consider blind baking the bottom crust for 10 minutes before filling
For Burnt Edges:
- Use a pie shield or aluminum foil ring after the first 20 minutes
For Under-baked Filling:
- Look for bubbling through vents or lattice openings
- Apples should offer little resistance when pierced with a knife
- Internal temperature should reach 175°F (80°C) if you have a thermometer
Testing for Doneness
This is crucial! An undercooked apple pie can be disappointing. Your pie is done when:
- The crust is deeply golden brown, not just light blonde
- The filling is visibly bubbling, especially in the center
- A knife inserted into the center meets little resistance from the apples
- You’ve baked it for at least 60 minutes total
Cooling and Serving
Patience is a virtue when it comes to serving apple pie. I know it’s tempting to cut in right away, but resist!
Cooling Process
- Allow the pie to cool on a wire rack for at least 4 hours, preferably overnight
- This cooling period allows the filling to set properly
- A pie cut too soon will be soupy and fall apart
Reheating for Service
For that fresh-baked experience:
- Warm individual slices in a 350°F (175°C) oven for 5-10 minutes
- Or microwave for 30 seconds (though this may soften the crust)
Perfect Accompaniments
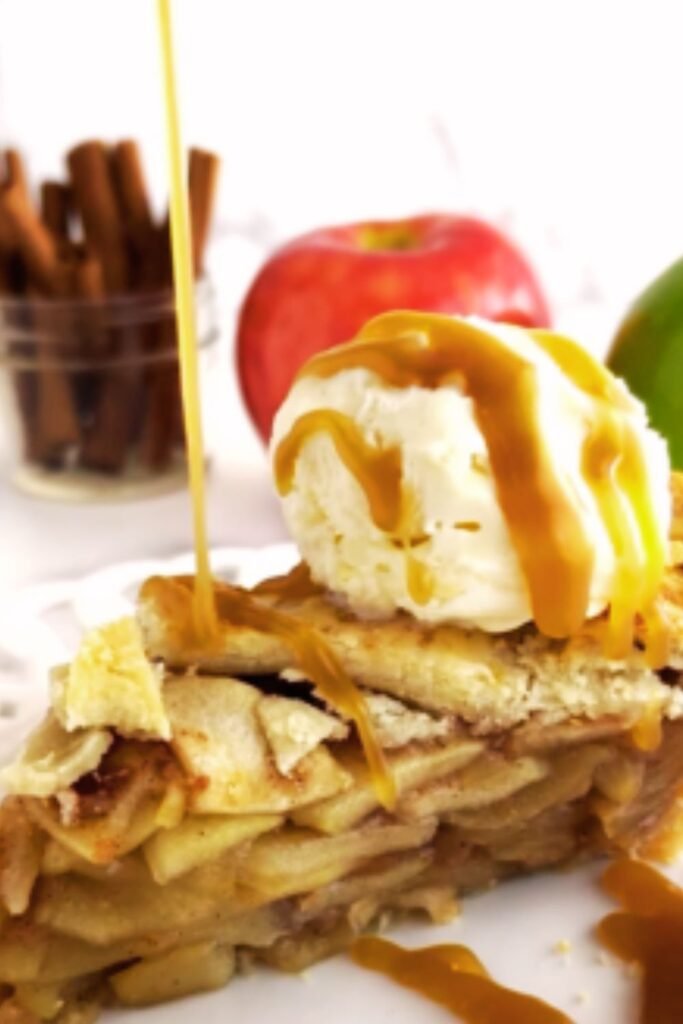
A slice of apple pie is delicious on its own, but these accompaniments take it to the next level:
- Vanilla ice cream (the classic choice)
- Freshly whipped cream with a hint of cinnamon
- Sharp cheddar cheese (a traditional pairing in parts of New England)
- Warm caramel sauce
- Crème fraîche for a tangy contrast
Seasonal Variations
One of the joys of apple pie is how it can be adapted throughout the year to highlight seasonal flavors:
Fall Harvest Pie:
- Add 1 cup fresh cranberries
- Include ¼ cup maple syrup in place of some sugar
- Sprinkle top with cinnamon-sugar and chopped pecans
Winter Spice Pie:
- Double the cinnamon and add ⅛ teaspoon cloves
- Add the zest of one orange
- Brush crust with maple syrup instead of egg wash
Spring Brightness:
- Add 1 tablespoon fresh thyme leaves
- Reduce sugar slightly and add 2 teaspoons lemon zest
- Serve with lemon-infused whipped cream
Summer Bounty:
- Add 1 cup fresh blueberries or blackberries
- Reduce sugar slightly to account for berry sweetness
- Serve with lavender-infused cream
Troubleshooting Common Apple Pie Problems
Even experienced bakers encounter issues sometimes. Here are solutions to the most common problems:
Gap Between Filling and Crust
Problem: After baking, there’s a large gap between the top crust and the filling.
Solutions:
- Slice apples thinner (¼ inch or less)
- Don’t overfill the pie – 8 cups maximum for a 9-inch pie
- Consider pre-cooking half the apples to pre-shrink them
- Vent properly to allow steam to escape
Soggy Bottom Crust
Problem: The bottom crust is undercooked or soggy.
Solutions:
- Bake on the lowest rack position
- Use a metal pie pan for better heat conduction
- Blind bake the bottom crust for 10 minutes
- Add 1 tablespoon graham cracker crumbs on the bottom crust before filling
Filling Too Runny
Problem: When cut, the filling doesn’t hold its shape and runs out.
Solutions:
- Increase thickener by 1 tablespoon
- Make sure the pie is completely cooled before cutting
- Certain apple varieties (like McIntosh) release more liquid; choose firmer varieties
- Ensure pie reaches bubbling stage during baking
Storing and Freezing
A freshly baked apple pie can last quite a while with proper storage:
Counter Storage:
- Room temperature: 2 days, loosely covered with foil or cloth
- Best for maintaining crisp crust
Refrigerator Storage:
- Up to 5 days
- Cover loosely with foil
- Reheat before serving for best texture
Freezing Options:
| What to Freeze | Storage Method | Freezer Life | Best Practices |
|---|---|---|---|
| Unbaked whole pie | Wrap tightly in plastic wrap, then foil | 3 months | Bake directly from frozen, add 15-20 min to bake time |
| Baked whole pie | Cool completely, wrap in plastic wrap, then foil | 4 months | Thaw overnight in refrigerator, then warm in oven |
| Pie dough only | Wrap discs in plastic, place in freezer bag | 6 months | Thaw overnight in refrigerator before rolling |
| Prepared filling only | Store in airtight container or freezer bag | 4 months | Thaw completely, drain excess liquid before using |
Health-Conscious Modifications
I understand that traditional apple pie recipes can be heavy on sugar and fats. Here are some modifications I’ve tested for those with dietary considerations:
Reduced Sugar Options:
- Reduce sugar to ½ cup
- Replace up to half the sugar with monk fruit sweetener
- Use naturally sweeter apples like Fuji or Gala
Reduced Fat Options:
- Use only one crust (top or bottom)
- Make an oat crumble topping with less butter
- Replace half the butter in the crust with Greek yogurt
Gluten-Free Adaptations:
- Use a 1:1 gluten-free flour blend in the crust
- Add 1 teaspoon of psyllium husk powder to help binding
- Handle very gently as gluten-free crusts are more fragile
Q&A Section
What’s the best apple for apple pie? The best apple pie usually uses a combination of apples. I recommend using Granny Smith for structure and tartness, paired with a sweeter variety like Honeycrisp, Braeburn, or Jonagold. This creates a more complex flavor and better texture than using just one type.
Why is my apple pie watery? Watery pie usually happens for three reasons: insufficient thickener, undercooked filling, or cutting the pie before it’s completely cool. Make sure you’re using enough thickener (2-3 tablespoons of cornstarch or 3-4 tablespoons of flour), that your pie is bubbling before you take it out of the oven, and that you let it cool for at least 4 hours before cutting.
Can I make apple pie ahead of time? Absolutely! Apple pie actually improves with a day of rest as the flavors meld together. You can make it 1-2 days ahead and store at room temperature, or freeze it for up to 4 months. If frozen, thaw overnight in the refrigerator before serving.
How do I prevent a soggy bottom crust? To prevent soggy bottom crust, try baking your pie on the lowest rack of the oven, using a metal pie pan instead of glass or ceramic, blind baking the bottom crust for 10 minutes before adding filling, or sprinkling a thin layer of crushed graham crackers on the bottom crust to absorb excess moisture.
Should apple pie be refrigerated? For the first two days, apple pie can be stored at room temperature, covered loosely with a kitchen towel. After that, refrigerate it for up to 5 more days. Just note that refrigeration will soften the crust somewhat, so you might want to reheat slices in the oven before serving.
How thick should I slice the apples? Aim for ¼-inch thick slices. This thickness allows them to cook through properly while still maintaining some texture. If sliced too thick, they may remain crunchy; too thin, and they might turn to applesauce.
Why did my crust shrink during baking? Crust shrinkage usually happens when the gluten in the dough is overworked or when the dough is stretched rather than rolled. Make sure to handle the dough minimally, keep it cold, and don’t stretch it to fit the pan. Also, let the dough rest in the refrigerator for at least 2 hours before baking.
Final Thoughts
Creating the perfect apple pie is both a science and an art. The science comes from understanding the properties of your ingredients—how different apples behave when baked, how thickeners work, and how temperature affects your crust. The art comes from the personal touches that make your pie unique—the precise blend of spices you prefer, the decorative crust design you choose, or the family traditions you incorporate.
I hope this guide has given you all the tools you need to create a truly delicious homemade apple pie. Remember that even if your first attempt isn’t perfect, each pie you make will teach you something new. Before long, you’ll develop your own signature apple pie that friends and family will request by name.
Happy baking, and may your home be filled with the incomparable aroma of apple pie soon!