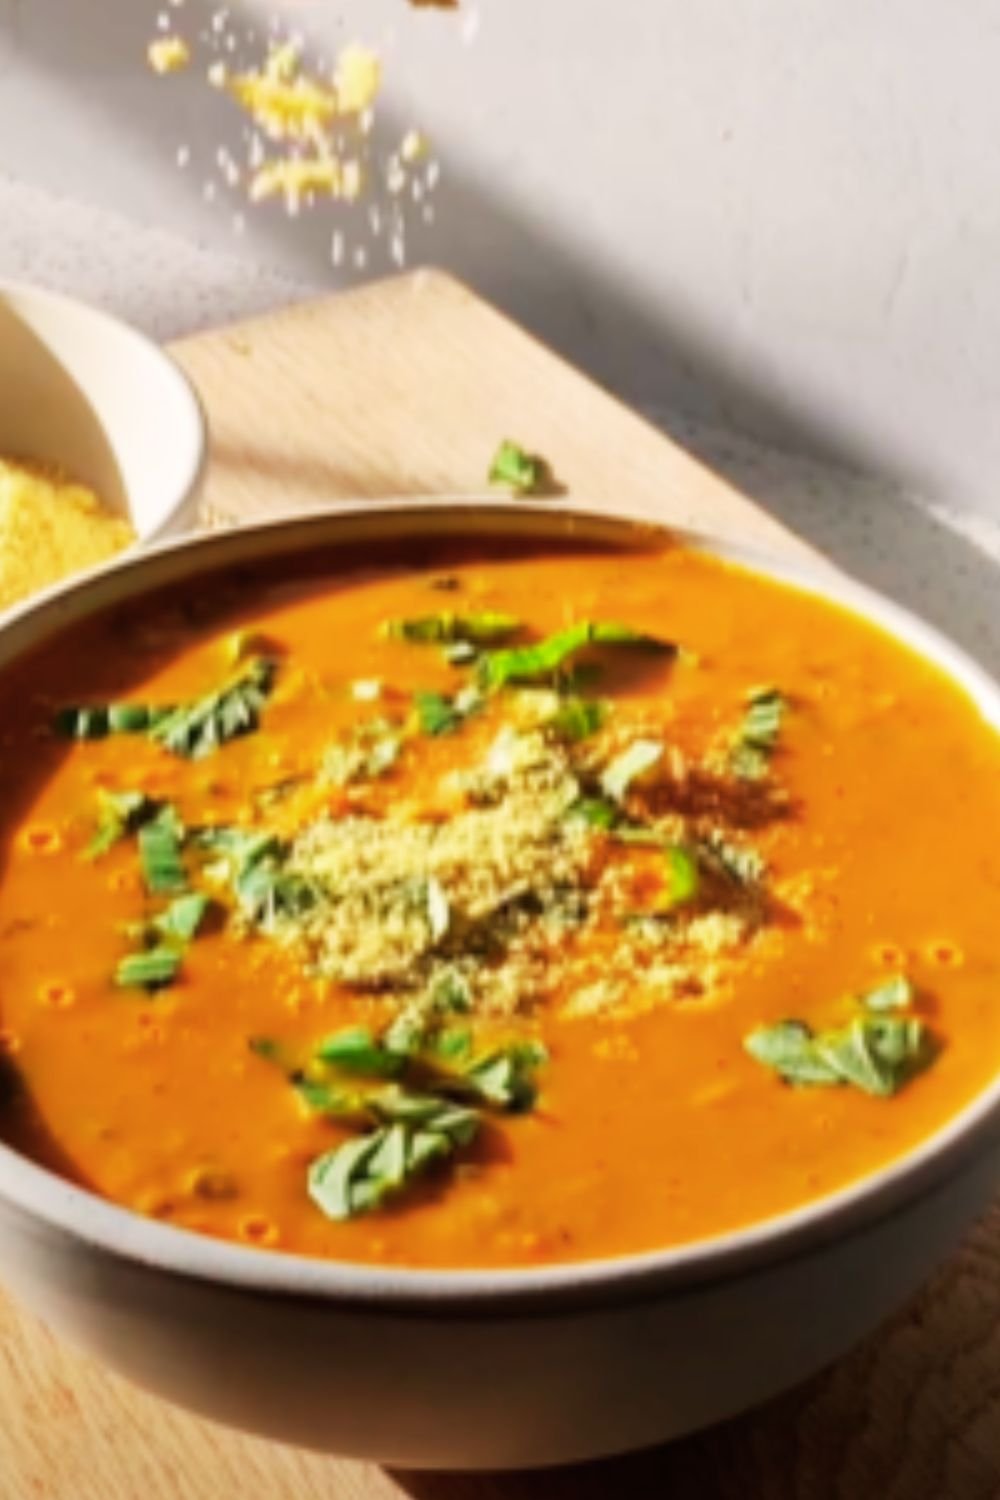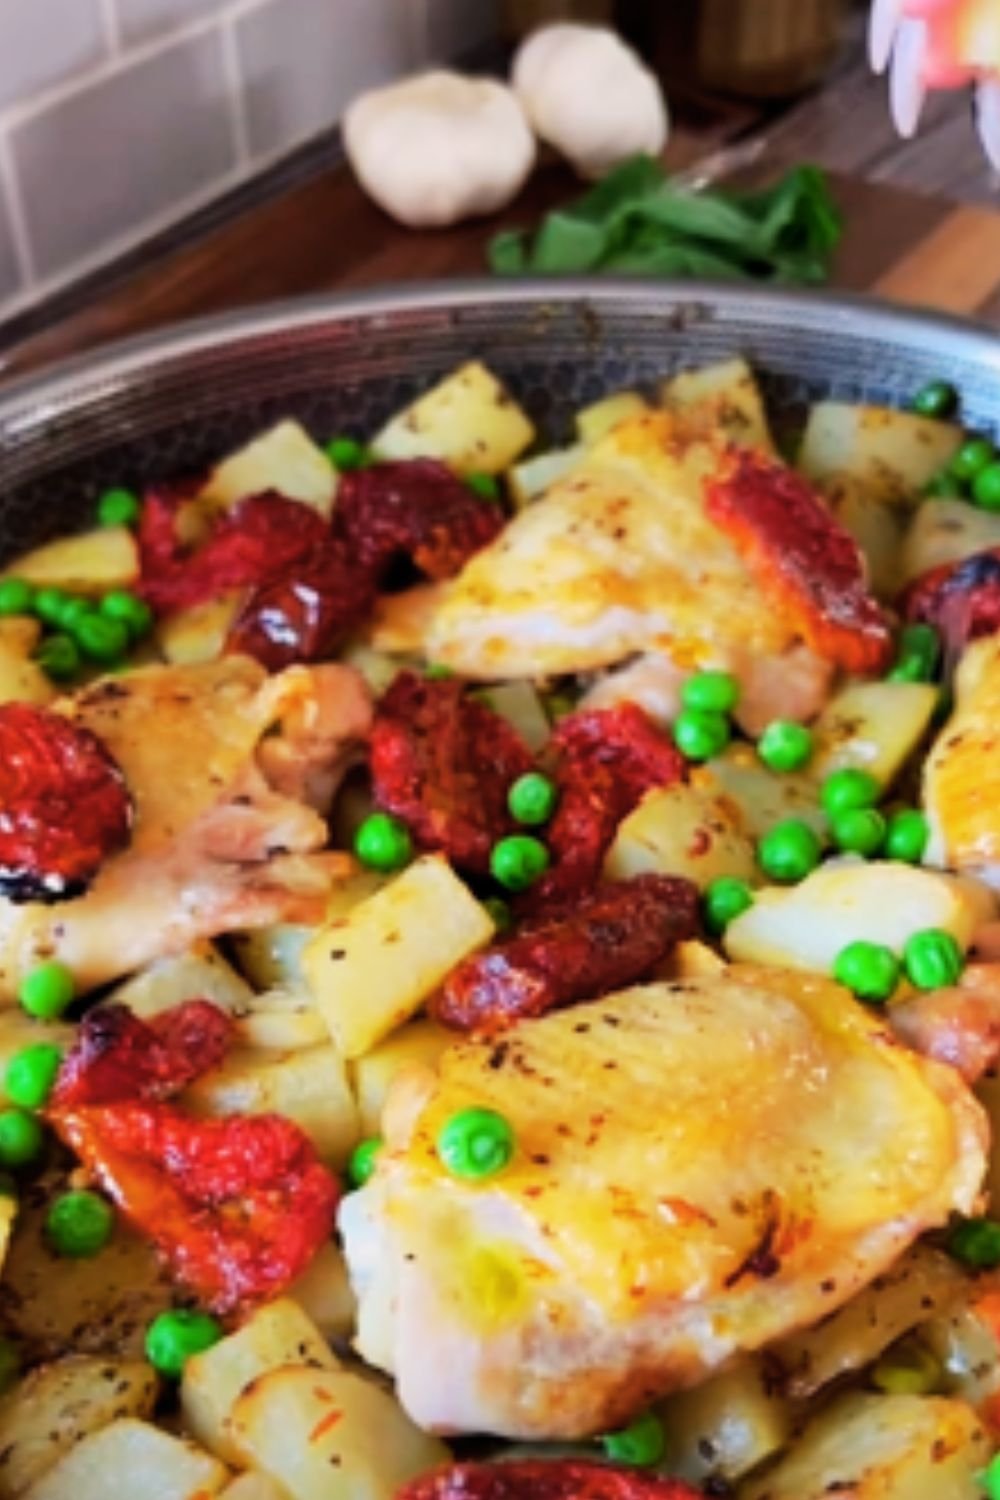
There’s something magical about a dish that manages to be both rustic and elegant at the same time. Chicken Vesuvio is exactly that kind of recipe—a perfect marriage of crispy-skinned chicken, golden potatoes, and vibrant green peas, all bathed in a garlic-infused white wine sauce that will make your kitchen smell like heaven. As a Chicago native, I’ve spent years perfecting this iconic dish that originated in my hometown, and today I’m thrilled to share my ultimate version with you.
A Taste of Chicago History
Before we dive into the cooking process, let me share a bit about this dish’s fascinating origins. Chicken Vesuvio was born in the Italian-American restaurants of Chicago in the early 20th century. Legend has it that the dish was first created at the Vesuvio Restaurant on Wabash Avenue in the 1930s. The restaurant may be long gone, but its signature dish has become a staple of Chicago cuisine.
The name “Vesuvio” references Mount Vesuvius in Italy, and some say the presentation of the dish—with chicken and potatoes rising from the sauce—resembles the famous volcano. What I find most fascinating is how this dish, despite its popularity in Chicago, hasn’t achieved the same recognition nationwide as other Italian-American classics. That makes it all the more special to share!
What Makes Chicken Vesuvio Special
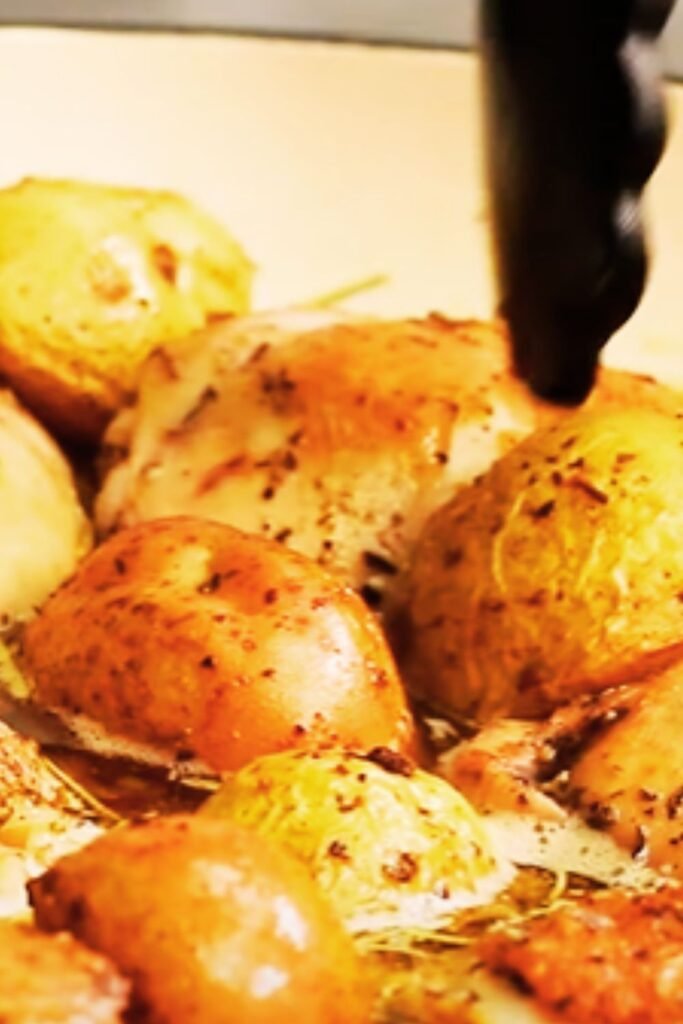
What sets Chicken Vesuvio apart from other chicken and potato dishes is the unique cooking method and the perfect balance of flavors. The chicken is first seared until golden, then roasted with potato wedges until both are crispy on the outside and tender inside. The signature sauce combines white wine, chicken broth, and plenty of garlic, with fresh herbs adding brightness to the rich flavors. The final addition of sweet green peas brings color and a touch of sweetness to the dish.
I particularly love how this dish combines simplicity with impressive results—it’s straightforward enough for a weeknight dinner but special enough for entertaining guests. Let’s get into how to make it!
Ingredients You’ll Need
For 4 generous servings:
- 1 whole chicken (about 3-4 pounds), cut into 8 pieces
- 2 pounds Yukon Gold potatoes, cut into thick wedges
- 8 large garlic cloves, peeled (4 minced, 4 whole)
- 3 tablespoons fresh oregano leaves, divided
- 4 tablespoons olive oil, divided
- ¾ cup dry white wine (I prefer a Pinot Grigio or Sauvignon Blanc)
- 1 cup low-sodium chicken broth
- 3 tablespoons unsalted butter
- 1 cup frozen peas, thawed
- 2 tablespoons fresh lemon juice
- 3 tablespoons fresh Italian parsley, chopped
- 1 tablespoon fresh rosemary, chopped
- Salt and freshly ground black pepper, to taste
- ½ teaspoon crushed red pepper flakes (optional)
Essential Equipment
- Large oven-safe skillet or cast-iron pan
- Tongs for handling chicken
- Sharp chef’s knife
- Cutting board
- Measuring cups and spoons
- Wooden spoon
- Instant-read thermometer
Preparation: Setting the Stage for Success
- Prepare the chicken: Pat the chicken pieces dry with paper towels. This step is crucial for achieving that crispy, golden skin we’re after. Season generously with salt and freshly ground black pepper on all sides.
- Prepare the potatoes: After cutting the potatoes into wedges (about 6-8 wedges per potato), place them in cold water for about 10 minutes. This removes excess starch and helps them crisp up better during cooking. Drain and pat dry thoroughly.
- Prep the aromatics: Mince half of the garlic cloves and leave the rest whole. Chop the herbs and have them ready to go.
- Preheat your oven to 375°F (190°C).
The Cooking Process: Building Layers of Flavor
Step 1: Searing the Chicken to Golden Perfection
Heat 2 tablespoons of olive oil in a large oven-safe skillet over medium-high heat. When the oil is shimmering but not smoking, add the chicken pieces skin-side down. Work in batches if necessary—overcrowding the pan will prevent proper browning.
Allow the chicken to cook undisturbed for about 5-7 minutes until the skin is deeply golden. This patience is rewarded with incredible flavor! Turn the pieces and briefly sear the other side for about 3 minutes. Transfer the chicken to a plate and set aside.
I’ve learned over the years that this initial searing is where much of the dish’s character comes from. Don’t rush this step!
Step 2: Preparing the Potatoes
In the same skillet, add the remaining 2 tablespoons of olive oil. Add the potato wedges in a single layer (again, work in batches if needed). Season with salt and pepper. Cook for about 10 minutes, turning occasionally, until the potatoes are golden brown on multiple sides but not yet fully cooked through.
Add the minced garlic and half of the oregano to the potatoes and cook for just 1 minute until fragrant. Be careful not to burn the garlic, as it will become bitter.
Step 3: Creating the Signature Sauce
Now comes the magic! Pour in the white wine and use a wooden spoon to scrape up all the flavorful browned bits from the bottom of the pan. This technique, called deglazing, is essential for building a rich sauce.
Allow the wine to simmer and reduce by about half, which should take approximately 3-4 minutes. Add the chicken broth, whole garlic cloves, butter, rosemary, and the remaining oregano. Bring the liquid to a simmer.
Step 4: Bringing It All Together
Return the seared chicken to the skillet, placing it skin-side up nestled among the potatoes. The liquid should come about halfway up the sides of the chicken pieces—not covering them completely, as we want the skin to remain crispy.
Transfer the skillet to the preheated oven and roast uncovered for 30-35 minutes, or until the chicken registers 165°F (74°C) on an instant-read thermometer inserted into the thickest part (avoiding bone).
Remove the skillet from the oven (remember, it’s hot!) and carefully stir in the peas, lemon juice, and half of the chopped parsley. The residual heat will warm the peas through while maintaining their bright green color.
Serving Suggestions
Allow the dish to rest for about 5 minutes before serving. This resting period lets the juices redistribute throughout the chicken, ensuring maximum tenderness.
Spoon plenty of sauce over the chicken and potatoes when serving, and sprinkle with the remaining parsley for a fresh finish. I like to serve Chicken Vesuvio straight from the skillet for a rustic presentation, but you can also transfer it to a large serving platter for a more formal approach.
While traditionally this dish stands alone as a complete meal, I sometimes serve it with a simple green salad dressed with olive oil and lemon juice to cut through the richness. A side of crusty Italian bread is perfect for soaking up that delicious sauce!
Storage and Reheating Tips
One of the things I love about Chicken Vesuvio is that it tastes almost as good the next day. If you have leftovers (though in my house, that’s rare!), store them in an airtight container in the refrigerator for up to 3 days.
To reheat, I recommend using an oven rather than a microwave to help maintain the different textures in the dish. Place the chicken and potatoes in an oven-safe dish, add a splash of chicken broth to keep everything moist, cover with foil, and heat at 325°F (165°C) for about 15-20 minutes until heated through.
Recipe Variations to Try
While I’m a purist when it comes to classic Chicken Vesuvio, there are several delicious variations worth exploring:
Herb Variations:
- Substitute tarragon for oregano for a French-inspired twist
- Add fresh thyme for additional aromatic complexity
- Include a bay leaf in the sauce while it simmers for subtle depth
Vegetable Additions:
- Add halved cherry tomatoes during the last 10 minutes of cooking
- Include sliced carrots when you add the potatoes
- Throw in some baby spinach along with the peas at the end
Protein Alternatives:
- Make it with bone-in pork chops instead of chicken
- Try it with a combination of chicken thighs and Italian sausage
- For a special occasion, lobster tails or large shrimp can be added during the last 10 minutes of cooking
Nutritional Breakdown
For those watching their nutrition, here’s a breakdown of what you can expect from one serving of Chicken Vesuvio (based on 4 servings total):
| Nutrient | Amount per Serving |
|---|---|
| Calories | Approximately 650 |
| Protein | 42g |
| Carbohydrates | 31g |
| Fat | 35g (mostly from olive oil and chicken skin) |
| Fiber | 4g |
| Sodium | 780mg (varies with amount of salt added) |
| Sugar | 3g |
| Cholesterol | 145mg |
Note: These values are estimates and will vary based on exact ingredients and portion sizes.
Special Tips From My Kitchen to Yours
Over the years, I’ve discovered several tricks that elevate this dish from good to exceptional:
- Bone-in, skin-on chicken is non-negotiable for this recipe. The bones add flavor to the sauce, and the skin becomes wonderfully crispy, creating a textural contrast with the tender meat beneath.
- Choose the right potatoes. Yukon Golds are my go-to because they hold their shape while absorbing the flavorful sauce. Russets tend to fall apart too easily.
- Don’t skimp on the garlic. It mellows beautifully during cooking, and those whole cloves become soft and sweet—perfect for spreading on bread!
- Use a good quality white wine that you’d enjoy drinking. The flavor concentrates as it reduces, so a wine you don’t like will only taste worse in the finished dish.
- Balance is key with the lemon juice. Add just enough to brighten the dish without overwhelming the other flavors.
Troubleshooting Common Issues
Even experienced cooks can run into challenges. Here are solutions to common problems:
Chicken skin isn’t crispy enough: Make sure your chicken is completely dry before searing. If the skin still isn’t crispy after roasting, you can place the dish under the broiler for 2-3 minutes at the end of cooking.
Sauce is too thin: If your sauce is thinner than you’d like, remove the chicken and vegetables, then simmer the sauce on the stovetop until it reaches your desired consistency.
Potatoes aren’t fully cooked: Cut them into slightly smaller wedges next time, or par-boil them for 5 minutes before searing.
Sauce tastes too acidic: Add a small pat of additional butter to round out the flavors.
Why This Recipe Works
The genius of Chicken Vesuvio lies in its cooking technique. By first searing the chicken and potatoes, then finishing them in the oven with the flavorful liquid, you develop multiple layers of flavor and various textures in one dish.
The chicken remains juicy because it cooks in liquid, while keeping the skin above the liquid line ensures it stays crispy. The potatoes absorb the wine and chicken flavors as they finish cooking, and the whole garlic cloves mellow into sweet morsels throughout the dish.
It’s a true testament to the beauty of Italian-American cuisine—taking simple ingredients and transforming them into something greater than the sum of their parts.
Q&A Section
Q: Can I make Chicken Vesuvio ahead of time for a dinner party?
A: Yes, but with some caveats. I recommend completing all steps up to but not including the oven roasting. Refrigerate the seared chicken and potatoes separately from the sauce. About an hour before serving, bring everything to room temperature, combine in the skillet, and proceed with the oven roasting. Add a few extra minutes to the cooking time since you’re starting with cooler ingredients.
Q: Is there a non-alcoholic substitute for the white wine?
A: Absolutely! You can use chicken broth with a tablespoon of white wine vinegar or lemon juice to provide some of the acidity that wine brings to the dish. The flavor profile will be slightly different but still delicious.
Q: My family doesn’t like peas. Can I omit them or substitute something else?
A: The peas are traditional, but not essential to the dish’s success. You can simply omit them or substitute another quick-cooking green vegetable like asparagus tips or small broccoli florets. Add them during the last 5 minutes of cooking.
Q: What’s the best cut of chicken to use if I don’t want to cut up a whole chicken?
A: If you prefer not to deal with a whole chicken, use a combination of bone-in, skin-on thighs and breasts. I recommend cutting the breasts in half crosswise to ensure even cooking with the thighs.
Q: Can I make this dish in a Dutch oven if I don’t have an oven-safe skillet?
A: Absolutely! A Dutch oven works beautifully for this recipe. Sear the chicken and potatoes in batches if needed to avoid overcrowding, then proceed with the recipe as written.
Q: How can I make this recipe dairy-free?
A: Simply substitute olive oil for the butter. You might want to add an extra tablespoon of oil to compensate for the richness the butter provides.
Q: My sauce split/curdled during cooking. What happened?
A: This can happen if the sauce boils too vigorously. Keep it at a gentle simmer and make sure your butter is at room temperature when you add it. If it does split, you can try whisking in a little additional cold butter at the end to re-emulsify.
Q: Is this dish gluten-free?
A: Yes, traditional Chicken Vesuvio is naturally gluten-free, assuming your chicken broth doesn’t contain gluten additives.
A Final Note
Chicken Vesuvio represents everything I love about cooking—it transforms humble ingredients into something spectacular through thoughtful technique and layering of flavors. There’s a reason this dish has stood the test of time in Chicago’s vibrant food scene.
What I find most rewarding about making this dish is watching people’s reactions as they take their first bite. The combination of crispy, tender, and juicy textures along with the aromatic sauce never fails to impress.
I hope this recipe brings as much joy to your table as it has to mine over the years. Remember, cooking is as much about creating memories as it is about creating meals. Enjoy the process, and don’t be afraid to make this classic Chicago dish your own!