There’s something truly magical about a freshly made crumpet, warm from the griddle, with those distinctive holes just waiting to be filled with melting butter. I’ve spent years perfecting my crumpet technique, and I’m excited to share everything I’ve learned with you today. This comprehensive guide will take you through the entire process of making these delightful British treats at home – no more store-bought versions needed!
What Are Crumpets?
Crumpets are traditional British griddle cakes made from a yeast-leavened batter. They’re cooked in special rings on a flat surface, creating their distinctive shape. What makes crumpets truly unique is their spongy texture and characteristic holes on the top surface. These holes form channels that allow butter, honey, or jam to seep deliciously through the crumpet.
Before we dive into the recipe, let’s distinguish crumpets from some similar bread products:
Crumpet : A yeasted griddle cake with distinctive holes on top, cooked only on one side in a ring mold
English Muffin : A yeasted bread product that’s denser than a crumpet, cooked on both sides and typically split horizontally before toasting
Pikelet : A flatter version of a crumpet made without rings, resulting in a thinner, more pancake-like treat
The Science Behind Perfect Crumpets
The signature holes in crumpets aren’t just visually appealing—they’re the result of fascinating food science at work. When the batter ferments, carbon dioxide bubbles form throughout. As the bottom surface cooks and sets against the hot griddle, it creates a sealed base. This forces the gas bubbles to rise and escape through the still-liquid top surface, creating those iconic holes.
Getting this process right requires:
- The correct batter consistency: thick enough to stay in the rings, but liquid enough to allow bubbles to rise
- Proper fermentation time: too little and you won’t get enough bubbles; too much and the structure collapses
- The right cooking temperature: too hot and the bottom burns before holes form; too cool and the crumpet becomes dense
I’ve experimented with countless batches to find the perfect balance, and the recipe below reflects all these learnings.
Essential Equipment
Before we begin, gather these kitchen tools:
- 3-4 inch metal crumpet rings (cookie cutters or cleaned tuna cans with both ends removed work in a pinch)
- Heavy-bottomed frying pan or griddle
- Mixing bowls
- Kitchen thermometer (optional but helpful)
- Ladle or measuring cup for portioning batter
- Wire cooling rack
Ingredients for Classic Crumpets
For 8-10 crumpets:
| Ingredient | Amount | Notes |
|---|---|---|
| Strong bread flour | 300g (2½ cups) | Higher protein content improves structure |
| Plain all-purpose flour | 50g (⅓ cup) | Creates balanced texture |
| Active dry yeast | 7g (1 packet / 2¼ tsp) | Fresh yeast (14g) works too |
| Granulated sugar | 1 tsp | Feeds the yeast |
| Warm water | 325ml (1⅓ cups) | Temperature around 110°F (43°C) |
| Warm milk | 150ml (⅔ cup) | Full-fat produces best results |
| Baking soda | ½ tsp | Creates additional bubbles |
| Salt | 1 tsp | Enhances flavor |
| Vegetable oil | For greasing rings | Any neutral oil works |
The Perfect Crumpet Method
Step 1: Prepare the Batter
- In a large bowl, mix together the bread flour, all-purpose flour, sugar, and salt.
- In a separate jug, combine the warm water and milk. The temperature should be warm but not hot (around 110°F/43°C) – it should feel comfortable when you dip your finger in.
- Sprinkle the yeast over the warm liquid and let it sit for 5 minutes until it becomes foamy.
- Pour the yeast mixture into the flour mixture and beat vigorously with a wooden spoon for about 3-4 minutes until you have a smooth, stretchy batter. It should be thicker than pancake batter but still pourable – similar to thick heavy cream.
- Cover the bowl with plastic wrap or a clean kitchen towel and place it in a warm spot to ferment.
Step 2: Fermentation
The fermentation process is crucial for developing those signature holes. I’ve found that a two-stage fermentation works best:
- Let the covered batter sit in a warm place for 1 hour until it becomes bubbly and increases in volume.
- After the first rise, dissolve the baking soda in 1 tablespoon of warm water and stir it gently into the batter. This creates additional bubbles and helps develop the classic honeycomb structure.
- Allow the batter to rest for another 20-30 minutes.
A properly fermented batter will be filled with bubbles and have a slightly acidic aroma.

Step 3: Cooking the Crumpets
- Place a heavy-bottomed frying pan or griddle over medium-low heat and allow it to heat slowly and thoroughly.
- Lightly grease the inside of your crumpet rings and the surface of the pan.
- Place the rings in the pan to preheat for about 2 minutes.
- Give the batter a gentle stir to distribute the bubbles (but don’t overmix and deflate it).
- Using a ladle or measuring cup, pour the batter into each ring until it’s about ¾ inch (2 cm) deep.
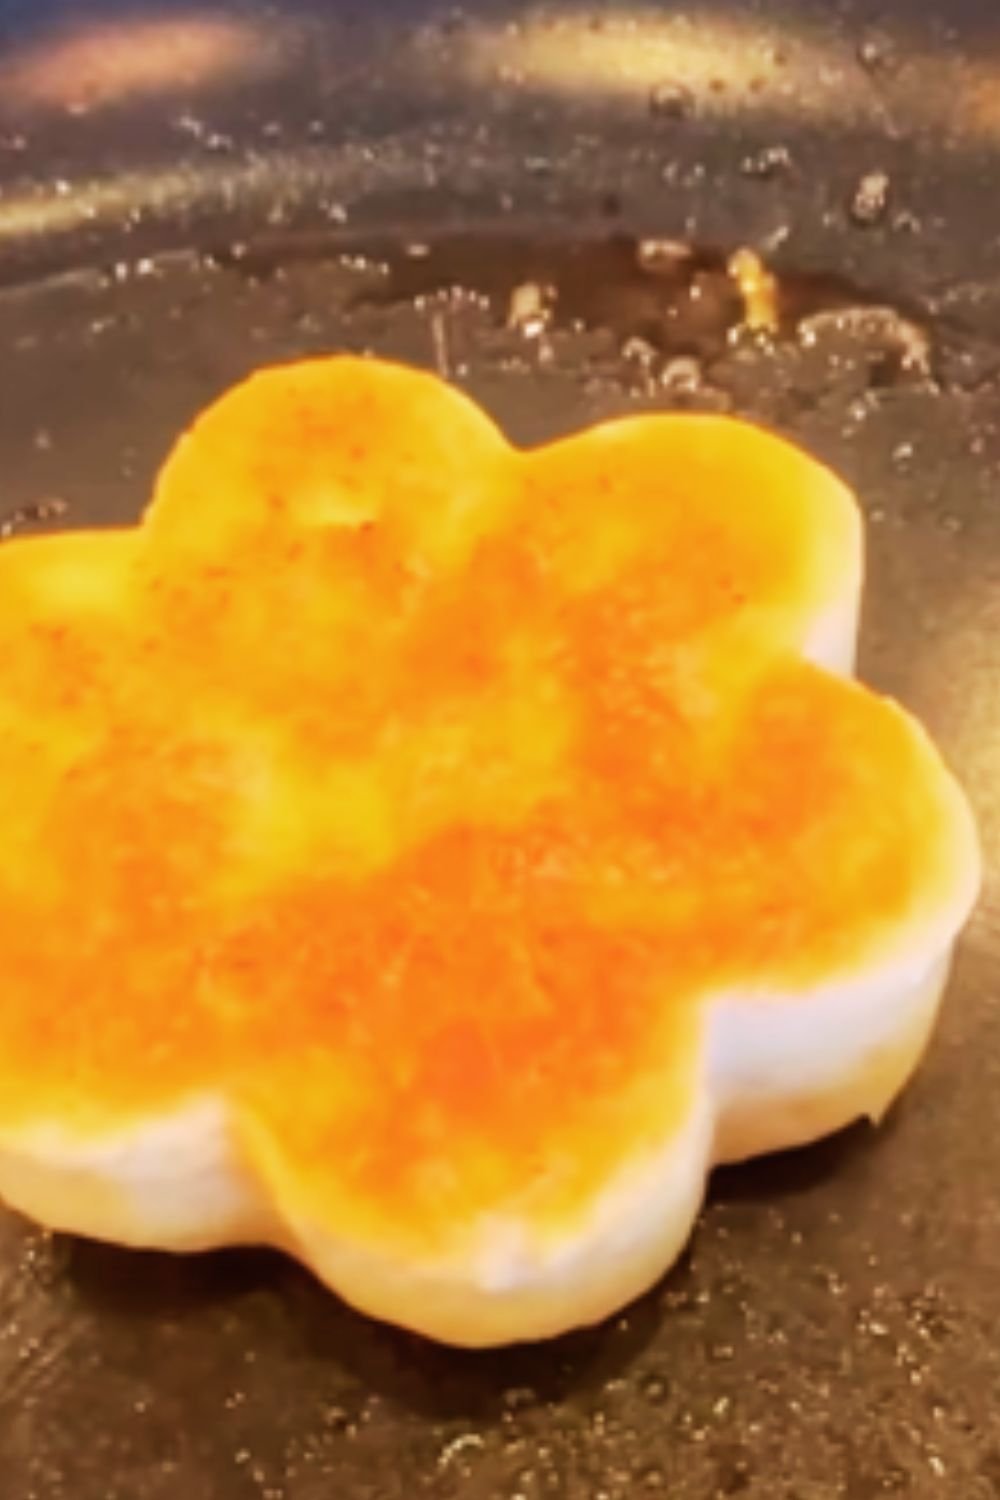
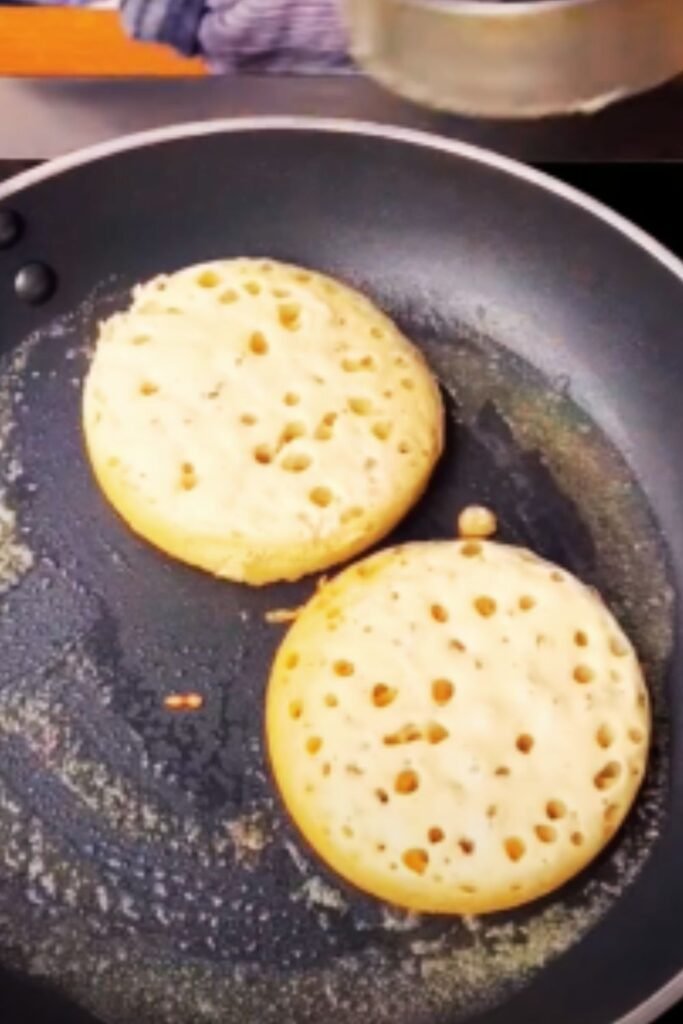
- Cook over medium-low heat. Within a few minutes, you should see bubbles forming on the surface. These will burst, creating the characteristic holes.
- Cook until the surface appears mostly dry with defined holes, and the edges look set – this usually takes 8-10 minutes. The crumpet is ready when the top no longer looks wet or shiny.
- If necessary, you can finish them by placing under a broiler for 30-60 seconds to dry out the top completely, but I rarely find this necessary with proper technique.
- Remove the rings (they’ll be hot, so use tongs) and transfer the crumpets to a wire rack to cool.
- Re-grease the rings and pan before cooking the next batch.
Step 4: Toasting and Serving
While freshly made crumpets can be enjoyed immediately, their texture and flavor actually improve when toasted. Once cooled completely:
- Split or halve the crumpets (optional – traditional crumpets are kept whole)
- Toast until golden brown
- Serve immediately with your favorite toppings
Troubleshooting Common Crumpet Problems
| Problem | Possible Cause | Solution |
|---|---|---|
| No holes forming | Batter too thick | Add a little more warm water to thin the batter |
| Temperature too high | Lower heat so bottom doesn’t set before bubbles form | |
| Insufficient fermentation | Allow more time for yeast to create bubbles | |
| Crumpets too dense | Not enough proving time | Allow batter to ferment longer |
| Overmixing after fermentation | Stir gently to preserve air bubbles | |
| Pale, rubbery bottoms | Pan not hot enough | Preheat pan thoroughly before cooking |
| Burnt bottoms | Heat too high | Reduce heat; crumpets need gentle cooking |
| Batter leaking under rings | Rings not sealed properly | Press rings firmly against pan before adding batter |
| Pan not level | Use a flat, level cooking surface | |
| Crumpets stick to rings | Insufficient greasing | Grease rings generously before each batch |
Creative Variations
While classic crumpets are delicious, I love experimenting with different flavors:
Cinnamon Sugar Crumpets
Add 1 tsp ground cinnamon and 2 tbsp sugar to the batter before fermenting.
Cheesy Herb Crumpets
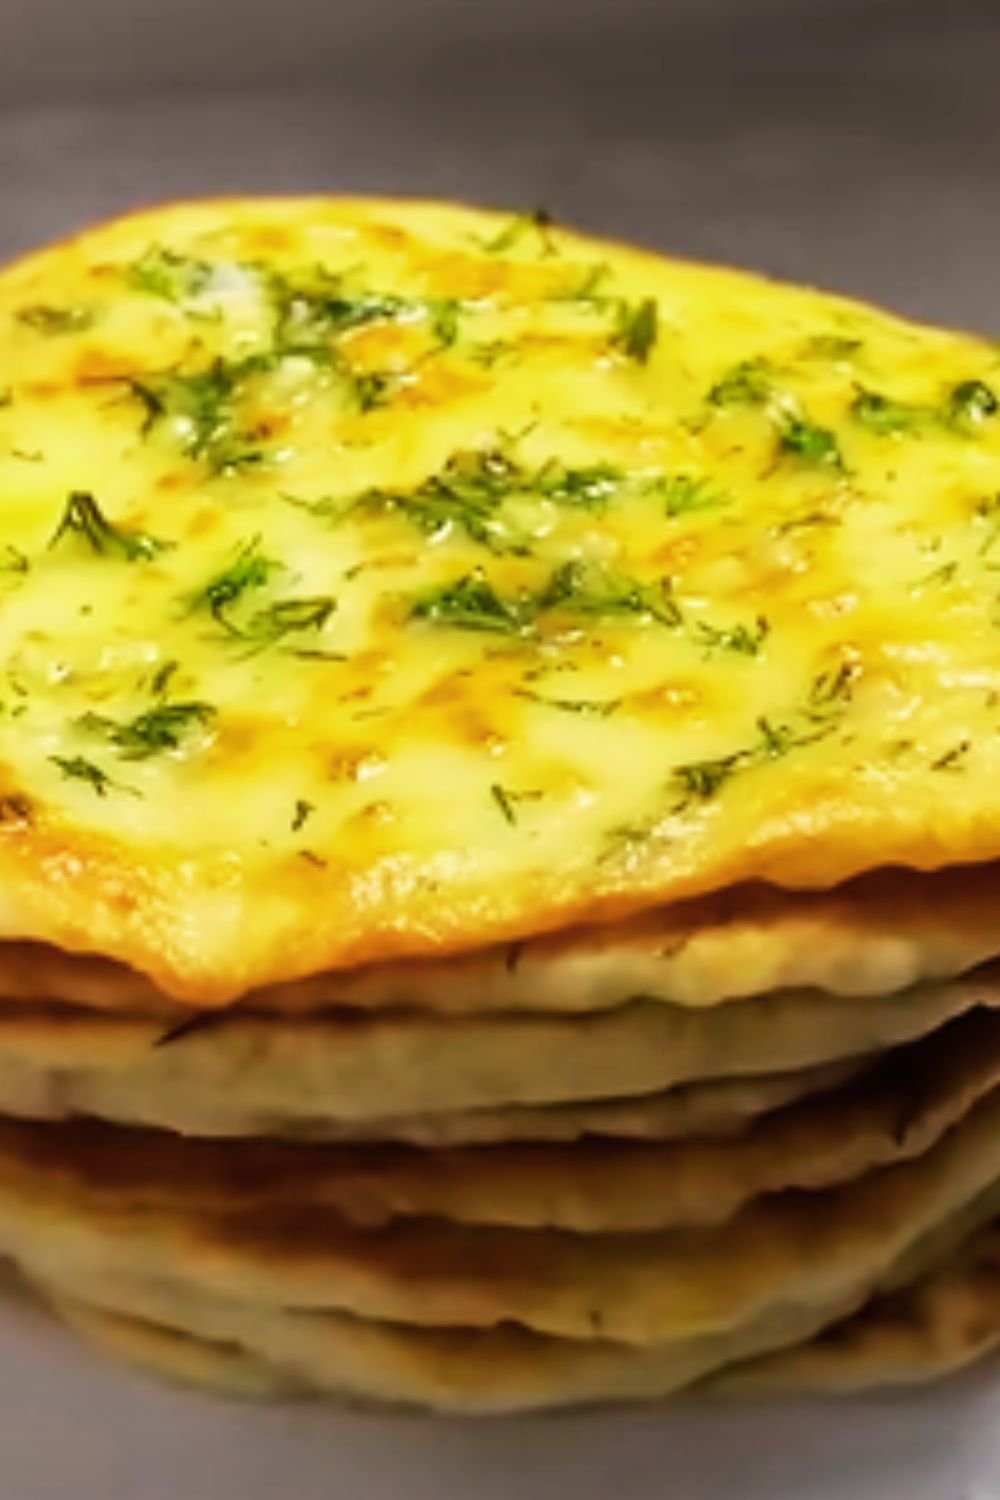
Mix in 50g grated sharp cheddar and 1 tbsp chopped fresh herbs (chives, thyme, or rosemary) after the second fermentation.
Sourdough Crumpets
Replace half the flour and liquid with 200g active sourdough starter for a tangier flavor profile.
Whole Grain Crumpets
Substitute up to half the white flour with whole wheat flour for a nuttier taste and more fiber.
Storing and Freezing
Homemade crumpets stay fresh for 2-3 days in an airtight container at room temperature. For longer storage:
- Freeze cooled crumpets in a single layer on a baking sheet
- Once frozen, transfer to a freezer bag or container
- Store for up to 3 months
- Toast directly from frozen (no need to thaw first)
Serving Suggestions
The true joy of crumpets lies in how you top them. Here are some of my favorite combinations:
Classic Toppings
- Salted butter (the most traditional and still my favorite)
- Honey or maple syrup
- Fruit preserves or marmalade
- Clotted cream and strawberry jam
- Marmite or Vegemite (if you’re brave!)
Savory Options
- Cream cheese and smoked salmon
- Avocado and cracked black pepper
- Poached egg with hollandaise sauce
- Sharp cheddar melted with a dash of Worcestershire sauce
- Hummus with roasted red peppers
Sweet Indulgences
- Mascarpone and fresh berries
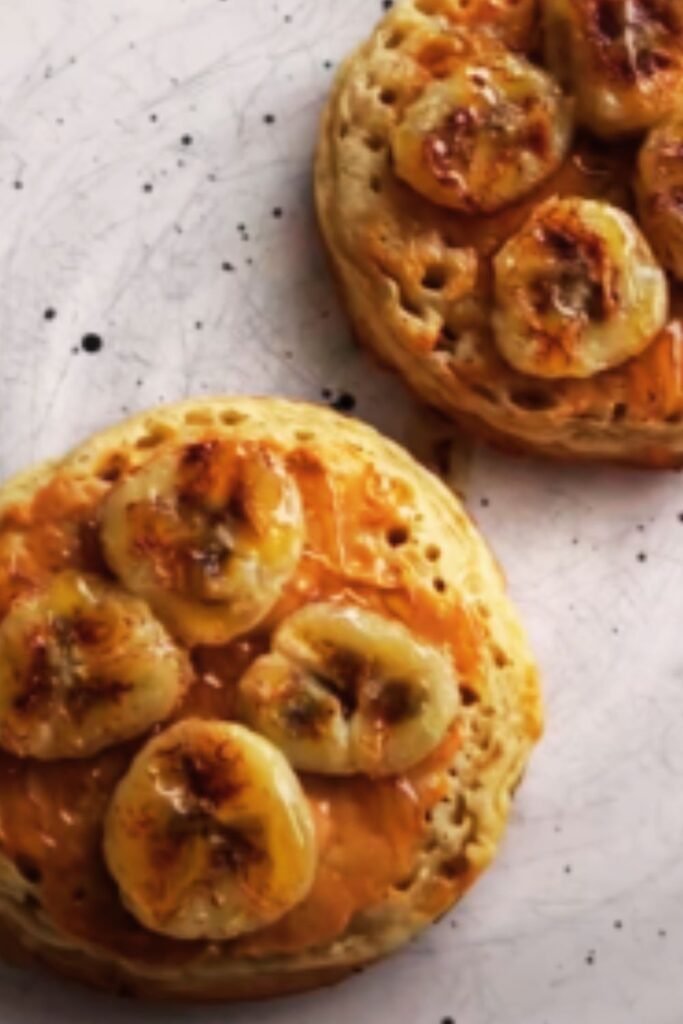
- Nutella and sliced bananas
- Lemon curd and blueberries
- Greek yogurt with honey and walnuts
- Apple butter and cinnamon
Nutritional Information
For those tracking their intake, here’s the approximate nutritional breakdown for one plain homemade crumpet:
| Nutrient | Amount |
|---|---|
| Calories | 115 |
| Carbohydrates | 22g |
| Protein | 4g |
| Fat | 1g |
| Fiber | 0.8g |
| Sodium | 160mg |
Values will vary based on exact ingredients and crumpet size.
Historical Context
Crumpets have a rich history dating back to Anglo-Saxon times, though the version we recognize today emerged in the Victorian era when industrial techniques allowed for more standardized production. The word “crumpet” itself first appeared in 1694, derived from the Welsh “cramwyth” (meaning a thin, flat cake).
Traditionally sold by street vendors who would call out “Crumpets and muffins!” throughout British towns, these treats became a staple of afternoon tea by the early 20th century. The distinctive rings used to shape crumpets were originally handcrafted from tin, while modern versions are typically stainless steel or non-stick.
Frequently Asked Questions
Can I make crumpets without rings? Yes! Without rings, you’ll technically be making “pikelets” – flatter versions of crumpets. Simply pour small amounts of batter directly onto the griddle and cook as normal.
Why aren’t my crumpets developing holes? The most common reasons are insufficient fermentation (bubbles haven’t formed), batter that’s too thick (bubbles can’t rise), or cooking temperature that’s too high (bottom sets before bubbles can form holes).
Can I make these with gluten-free flour? Yes, but you’ll need a good quality gluten-free flour blend plus 1 tsp of xanthan gum. The texture will be slightly different, but still delicious.
How can I tell when crumpets are fully cooked? The top surface should appear dry with defined holes, and when you touch it lightly, no batter should stick to your finger. The edges will pull away slightly from the rings.
Can I make the batter ahead of time? You can refrigerate the batter after the first fermentation for up to 24 hours. Let it come to room temperature and add the baking soda just before cooking.
Why are my homemade crumpets denser than store-bought ones? Commercial crumpets often contain additional leavening agents and stabilizers. For lighter homemade crumpets, ensure adequate fermentation time and be gentle when adding the baking soda to preserve air bubbles.
Do I need to toast crumpets before eating them? Freshly made crumpets can be enjoyed straight away, but toasting enhances their texture and flavor, especially if they’ve been stored.
What’s the difference between English muffins and crumpets? English muffins are made from a dough rather than a batter, are cooked on both sides, and are split before toasting. Crumpets are made from a batter, cooked primarily on one side, and have distinctive holes on top.
Conclusion
Making crumpets at home might seem intimidating at first, but once you understand the process, it’s incredibly rewarding. There’s something deeply satisfying about watching those distinctive holes form as the batter cooks, and nothing compares to the taste of a fresh, homemade crumpet slathered with good butter.
With practice, you’ll develop an intuition for the perfect batter consistency and cooking temperature. Don’t be discouraged if your first batch isn’t perfect – crumpet-making is as much art as science, and each batch will get better as you refine your technique.
I hope this guide inspires you to try making these traditional treats in your own kitchen. Once you master homemade crumpets, I guarantee you’ll never want to go back to store-bought again. Happy cooking!