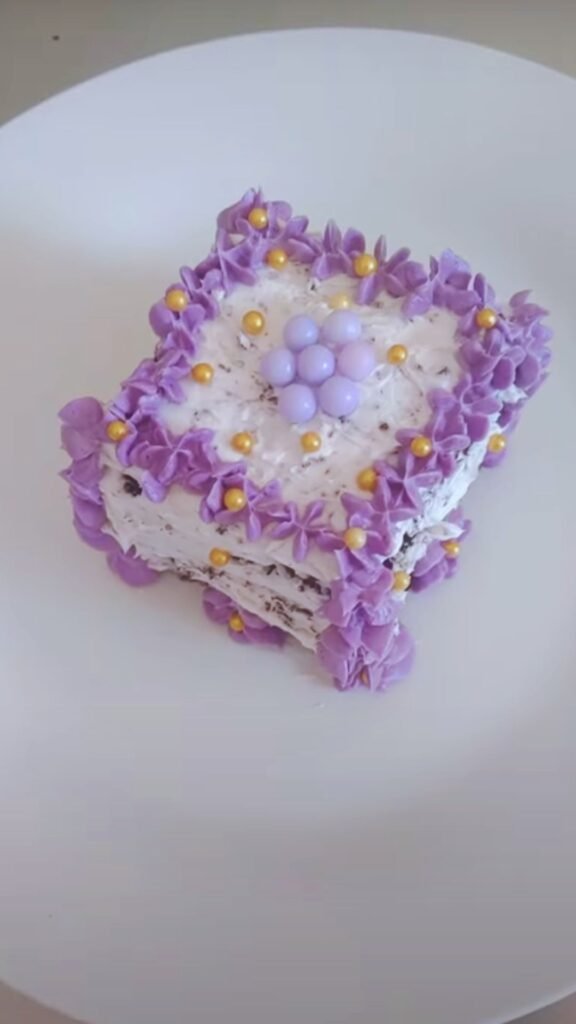
Have you ever admired those perfectly crafted, dainty little cakes in a fancy bakery window? Those delightful, bite-sized confections are called petit fours, and I’m thrilled to share that you can absolutely make these elegant treats in your own kitchen!
After countless batches (and yes, some memorable failures), I’ve perfected a foolproof method for creating these show-stopping mini cakes that will impress at any tea party, shower, or special occasion. The best part? My step-by-step tutorial breaks down what seems complicated into manageable steps anyone can follow.
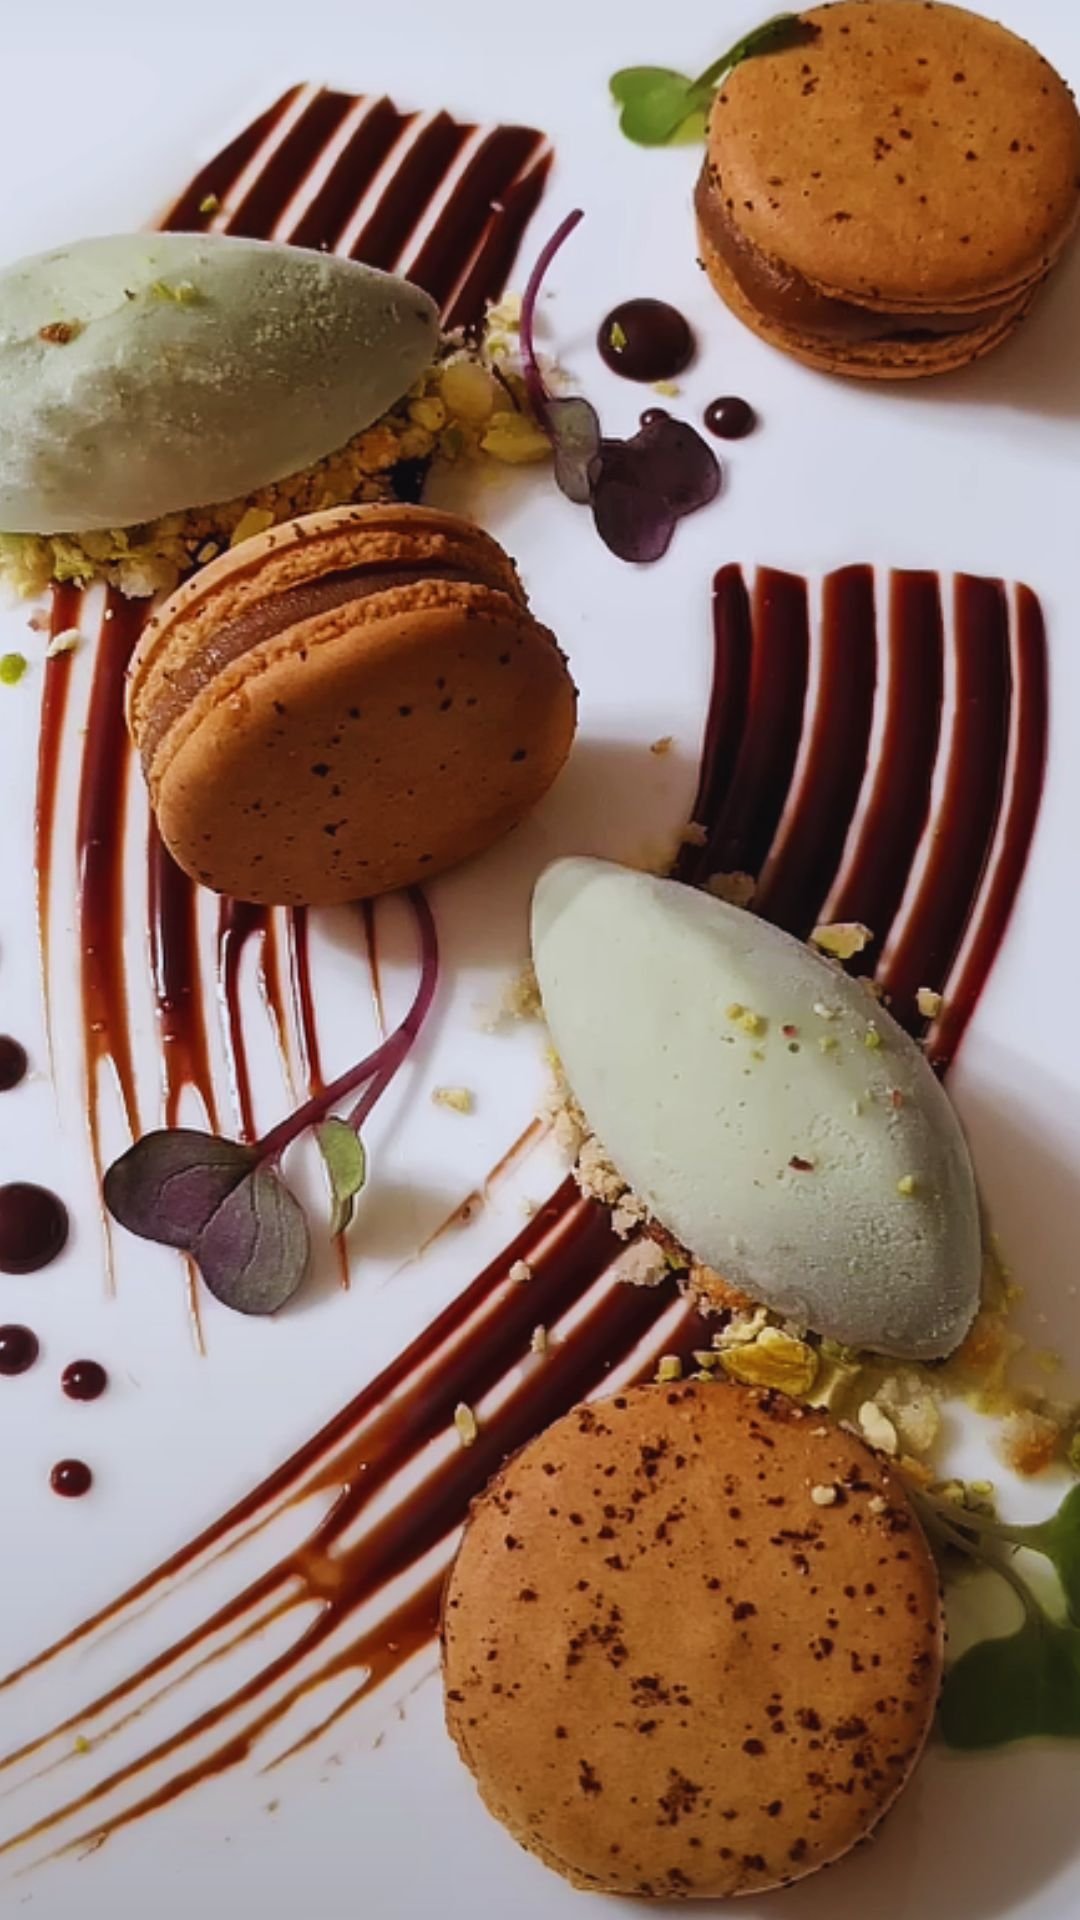
What Are Petit Fours?
Petit fours (pronounced “petty-FOORS”) are tiny, elegantly decorated cakes that originated in France. The name literally means “small oven” in French, referring to the small, hot oven temperatures historically used to bake these delicate treats. Today, they’re known for their precise, uniform appearance and delightful combination of cake, filling, and icing.
These bite-sized delicacies come in several varieties:
- Petit Fours Sec: Dry small pastries like macarons and tiny cookies
- Petit Fours Glacé: The classic glazed petit fours we’re making today
- Petit Fours Frais: Fresh small pastries with cream or custard that require refrigeration
Why You’ll Love This Recipe
- Perfect for special occasions: baby showers, weddings, afternoon teas, or holiday gatherings
- Make-ahead friendly: You can prepare components days in advance
- Customizable: Change flavors, colors, and decorations to suit any theme
- Impressive presentation: Few homemade treats garner more “wows”
- Perfectly portioned: Just enough sweetness in each bite
Equipment You’ll Need
Before diving in, gather these essential tools:
- Stand mixer or hand mixer
- 13×9-inch cake pan
- Parchment paper
- Offset spatula
- Serrated knife
- Digital candy thermometer
- Cooling rack with baking sheet underneath
- Ruler (optional but helpful)
- Small piping bags and tips for decoration
Ingredients
For the Cake Base:
- 2¼ cups all-purpose flour (280g)
- 2½ teaspoons baking powder
- ¼ teaspoon salt
- ¾ cup unsalted butter, room temperature (170g)
- 1½ cups granulated sugar (300g)
- 3 large eggs, room temperature
- 2 teaspoons vanilla extract
- ¾ cup whole milk, room temperature (180ml)
For the Simple Syrup (optional):
- ⅓ cup granulated sugar (67g)
- ⅓ cup water (80ml)
- 1 tablespoon liqueur of choice or additional vanilla extract
For the Filling:
- 1 cup seedless raspberry preserves (320g) OR
- 1 cup buttercream frosting (220g)
For the Poured Fondant Icing:
- 4 cups powdered sugar, sifted (480g)
- ¼ cup light corn syrup (60ml)
- ¼ cup water (60ml)
- 1 teaspoon clear vanilla or almond extract
- Food coloring as desired
- ⅓ cup white chocolate chips, melted (optional, for thicker consistency)
For Decoration:
- Sprinkles, sugar pearls, or edible flowers
- 1 cup royal icing or melted chocolate for piping details
Step-by-Step Instructions
Baking the Perfect Cake Layer
- Prepare your pan: Preheat oven to 325°F (163°C). Line a 13×9-inch baking pan with parchment paper, leaving overhang on the sides for easy removal. Grease the parchment paper lightly.
- Mix dry ingredients: In a medium bowl, whisk together flour, baking powder, and salt. Set aside.
- Cream butter and sugar: In a stand mixer fitted with the paddle attachment, beat butter and sugar on medium-high speed for 3-4 minutes until light and fluffy. This step is crucial—don’t rush it!
- Add eggs and vanilla: Add eggs one at a time, beating well after each addition. Scrape down the sides of the bowl. Mix in vanilla extract.
- Alternate dry ingredients and milk: With the mixer on low, add one-third of the flour mixture, then half the milk, another third of flour, remaining milk, and finish with the last third of flour. Mix just until combined after each addition, being careful not to overmix.
- Bake to perfection: Spread batter evenly in the prepared pan. Tap pan gently on counter to remove air bubbles. Bake for 25-30 minutes or until a toothpick inserted in the center comes out clean. The cake should be golden and spring back when lightly touched.
- Cool completely: Allow cake to cool in the pan for 10 minutes, then use the parchment overhang to lift it out onto a cooling rack. Let cool completely before assembling.
Making the Simple Syrup (Optional but Recommended)
While the cake cools, prepare the simple syrup:
- Combine sugar and water in a small saucepan.
- Bring to a simmer over medium heat, stirring until sugar dissolves.
- Remove from heat and stir in vanilla or liqueur of choice.
- Let cool completely before using.
Assembling and Filling
- Level the cake: Using a serrated knife, trim any domed top to create a flat surface. This ensures your petit fours will have even layers.
- Split the cake: Carefully slice the cake horizontally into two even layers. A cake leveler works great here, but a long serrated knife with toothpicks as guides works too.
- Apply simple syrup: Using a pastry brush, lightly brush both cut surfaces with simple syrup. This keeps the cake moist and adds flavor.
- Add filling: If using preserves, warm them slightly in the microwave for easier spreading. Spread an even layer of filling on the bottom cake layer, leaving a ¼-inch border around the edges.
- Sandwich the layers: Place the top cake layer over the filling, cut side down (so the smooth bottom of the cake is now the top).
- Chill for stability: Wrap the assembled cake in plastic wrap and refrigerate for at least 1 hour or overnight. This crucial step makes cutting the petit fours much easier.
Cutting Perfect Squares
- Trim the edges: Remove the chilled cake from the refrigerator and use a sharp serrated knife to trim the edges, creating perfectly straight sides.
- Measure and mark: For uniform pieces, use a ruler to mark 1½-inch squares. I like to make small indentations with a toothpick as cutting guides.
- Cut with precision: Using a clean, sharp serrated knife, cut the cake into squares. Wipe the knife clean between cuts for the neatest edges.
- Transfer to freezer: Place the cut squares on a parchment-lined baking sheet and freeze for 30 minutes. This prevents crumbs from falling into your icing and helps the icing set faster.
Preparing the Poured Fondant Icing
While the cake squares are chilling, make the poured fondant:
- Combine ingredients: In a medium heatproof bowl, combine sifted powdered sugar, corn syrup, water, and extract.
- Heat gently: Place the bowl over a saucepan of simmering water (double boiler method). Stir constantly until the mixture reaches 92-100°F (33-38°C) on a candy thermometer. The icing should be smooth and have a pourable consistency similar to honey.
- Add color: Remove from heat and stir in food coloring as desired. If using white chocolate for a thicker coating, gently fold it in now.
- Test consistency: The icing should coat the back of a spoon and fall off in a ribbon that disappears into the surface within 8-10 seconds. If too thick, add a few drops of warm water; if too thin, add more sifted powdered sugar.
Glazing the Petit Fours
- Set up a glazing station: Place a cooling rack over a rimmed baking sheet to catch excess icing.
- Work quickly: Remove only a few cake squares from the freezer at a time to prevent them from warming up.
- Glaze with precision: Place a cake square on a fork or specialized dipping tool. Spoon the warm fondant over the cake, ensuring all sides are covered. Allow excess to drip off.
- Place on rack: Gently slide the glazed petit four onto the prepared cooling rack. Use a toothpick to help if needed.
- Add embellishments: While the icing is still wet, add any sprinkles or decorations.
- Repeat and reheat: Continue the process with remaining squares. If the fondant begins to thicken, gently rewarm it over the double boiler.

Adding Final Decorations
- Let set first: Allow the glazed petit fours to set for about 1 hour before adding piped decorations.
- Prepare decorating tools: Fill small piping bags with royal icing or melted chocolate.
- Add details: Pipe small designs, borders, or initials on the tops of the petit fours.
- Final setting: Allow the decorated petit fours to set completely, about 2 hours at room temperature or 30 minutes in the refrigerator.

Troubleshooting Guide
| Problem | Cause | Solution |
|---|---|---|
| Cake is too dry | Overbaking or insufficient simple syrup | Add more simple syrup to layers; reduce baking time in future batches |
| Fondant icing is too thick | Temperature too low or improper ratio | Rewarm gently; add a few drops of warm water |
| Fondant icing is too thin | Temperature too high or improper ratio | Add more sifted powdered sugar; let cool slightly |
| Crumbs in icing | Cake not frozen enough before glazing | Freeze cake squares longer before glazing |
| Uneven sizes | Imprecise cutting | Use a ruler and mark cutting lines; ensure knife is sharp |
| Icing won’t set | Too much humidity or improper ratio | Allow more drying time; add a bit more powdered sugar |
| Filling oozing out | Too much filling or too soft filling | Use less filling; chill cake before and after filling |
Flavor Variations
Don’t be afraid to get creative with your petit fours! Here are some delicious combinations to try:
| Cake Flavor | Filling | Icing | Decoration |
|---|---|---|---|
| Classic vanilla | Raspberry preserves | White fondant | Sugar roses |
| Lemon | Lemon curd | Pale yellow fondant | Candied lemon peel |
| Chocolate | Chocolate ganache | Chocolate fondant | Gold luster dust |
| Almond | Cherry preserves | Pink fondant | Sliced almonds |
| Orange | Orange marmalade | Orange-tinted fondant | Candied orange zest |
| Coconut | Coconut cream | White fondant | Toasted coconut flakes |
Make-Ahead and Storage Tips
These petit fours are perfect for making in advance:
- Cake layers: Can be baked up to 3 days ahead, wrapped tightly and refrigerated, or frozen for up to 1 month.
- Assembled cake (before cutting): Can be refrigerated for up to 2 days, well-wrapped.
- Cut squares: Can be frozen for up to 1 month before glazing.
- Finished petit fours: Best consumed within 3-5 days. Store in an airtight container at room temperature or refrigerate in hot weather.
Serving Suggestions
- Arrange on a tiered cake stand for a stunning presentation at tea parties
- Serve with coffee, tea, or hot chocolate for an afternoon treat
- Place in mini cupcake liners for easier handling at events
- Create a petit four “cake” by arranging them in tiers for special occasions
- Package in small gift boxes tied with ribbon for homemade gifts
Q&A Section
Q: Can I use a cake mix instead of making the cake from scratch? A: Absolutely! While homemade cake provides the best texture for petit fours, a high-quality cake mix can work in a pinch. Choose a dense variety like pound cake rather than a light, fluffy cake for best results.
Q: Why do my petit fours have a lumpy appearance after glazing? A: This usually happens when the cake squares aren’t cold enough or the fondant icing is too thick. Make sure your cake squares are thoroughly chilled (even frozen) before glazing, and ensure your fondant is the right temperature and consistency.
Q: How far in advance can I make petit fours for a special event? A: You can make petit fours up to 5 days in advance. Store them in a single layer in an airtight container at room temperature, or refrigerate if your kitchen is warm or the filling is perishable.
Q: My fondant keeps setting too quickly while I’m trying to glaze all the squares. What should I do? A: Work with the fondant over a double boiler, returning it to the heat source periodically to maintain the proper temperature. Alternatively, divide your fondant into smaller batches so you can work more efficiently with each portion.
Q: Is there a way to make these without corn syrup? A: Yes! You can substitute honey or glucose syrup for corn syrup in the poured fondant recipe. The consistency may vary slightly, so you might need to adjust the powdered sugar accordingly.
Q: Why should I freeze the cake squares before glazing? A: Freezing serves two important purposes: it prevents crumbs from falling into the icing, and it helps the icing set more quickly once applied. Don’t skip this step for best results!
Q: Can I color the cake layers for a fun surprise inside? A: Definitely! Adding a few drops of gel food coloring to the cake batter creates a lovely surprise when guests bite into these treats. This works especially well for themed parties or holidays.
Q: What if I don’t have a candy thermometer for the fondant? A: While a thermometer ensures the best results, you can test the consistency by lifting your spoon and watching how the fondant drips. It should fall in a ribbon and disappear into the surface within 8-10 seconds. The mixture should be warm but not hot to the touch.
Final Tips for Perfect Petit Fours
- Patience is key: Each step requires attention to detail, but the stunning results are worth it.
- Precision matters: Take time to measure and cut carefully for professional-looking results.
- Temperature control: Both the cake and the fondant need to be at the right temperature for successful glazing.
- Less is more with filling: A thin layer prevents bulging and oozing.
- Practice makes perfect: If this is your first attempt, consider making a half batch to practice your technique.
The joy of presenting a platter of homemade petit fours is unmatched! These elegant little treats never fail to impress guests and bring a touch of French patisserie to any occasion. While they do require some patience and precision, the techniques are absolutely achievable for home bakers willing to take their time.
I hope this detailed tutorial helps you create perfect petit fours. Remember that even professional pastry chefs weren’t born knowing how to make these – we all learn through practice. So preheat that oven, gather your ingredients, and get ready to create something truly special!