There are moments in life when nothing but the most indulgent dessert will do. Whether you’re planning a romantic evening, celebrating a special occasion, or simply craving something decadently sweet, this Makeout Chocolate Chip Cookie Pie hits all the right notes. I’ve been perfecting this recipe for years, and I’m thrilled to finally share my ultimate version with you!
The Love Affair with Cookie Pies
The first time I made this dessert was for a Valentine’s Day dinner at home. The rich, gooey texture combined with the warm chocolate chips created such a sensual dessert experience that my partner and I now jokingly call it the “Makeout Cookie Pie.” One bite of this warm, chocolatey bliss and you’ll understand exactly why it earned this playful nickname.
What makes this recipe special is the perfect balance between a traditional chocolate chip cookie and a decadent pie. The edges develop a delightful crispness while the center remains wonderfully soft and gooey. It’s like enjoying the best part of a cookie (that perfect middle bite!) in every single mouthful.
What You’ll Need
For the Cookie Pie Base:
- 2¼ cups all-purpose flour
- 1 teaspoon baking soda
- 1 teaspoon fine sea salt
- 1 cup (2 sticks) unsalted butter, softened
- ¾ cup granulated sugar
- ¾ cup packed brown sugar
- 2 large eggs, room temperature
- 2 teaspoons pure vanilla extract
- 2 cups semisweet chocolate chips (plus extra for topping)
- 1 9-inch pie dish (preferably deep dish)
Optional Mix-ins (choose 1-2 for extra flavor):
- ½ cup chopped walnuts or pecans
- ½ cup shredded coconut
- ¼ cup toffee bits
- ¼ cup peanut butter chips
The Perfect Base: More Than Just a Giant Cookie
What distinguishes this treat from simply being a giant cookie in a pie shape is the texture. I’ve carefully adjusted the ingredient ratios to ensure the center remains soft and slightly underdone (in the best possible way) while the edges develop that characteristic crispness that provides textural contrast.
The key to achieving this delicate balance lies in three critical factors:
- The butter-to-flour ratio is slightly higher than in traditional cookies
- The cooking temperature starts higher then reduces
- The specific timing that prevents overbaking
Let me walk you through creating this decadent dessert step by step.
Preparation Method
Step 1: Prepare Your Ingredients and Equipment
Start by preheating your oven to 375°F (190°C). Take your butter and eggs out of the refrigerator about 30 minutes before you begin to ensure they reach room temperature. Generously grease your 9-inch pie dish with butter or cooking spray.
Step 2: Mix the Dry Ingredients
In a medium bowl, whisk together the flour, baking soda, and salt. This pre-mixing ensures these ingredients will be evenly distributed throughout your dough, preventing any unexpected bitter bites from baking soda pockets.
Step 3: Cream the Butter and Sugars
In a large bowl using an electric mixer (or in a stand mixer with the paddle attachment), beat the softened butter, granulated sugar, and brown sugar together on medium speed until the mixture becomes light and fluffy—about 3-4 minutes. Don’t rush this step! Proper creaming incorporates air into the mixture, which helps create that tender texture we’re aiming for.
Step 4: Add the Wet Ingredients
Add the eggs one at a time, mixing well after each addition. Then mix in the vanilla extract. The mixture should look smooth and glossy.
Step 5: Combine Wet and Dry
Gradually add the flour mixture to the butter mixture, mixing on low speed just until combined. Overmixing at this stage can develop the gluten in the flour, resulting in a tougher cookie pie.
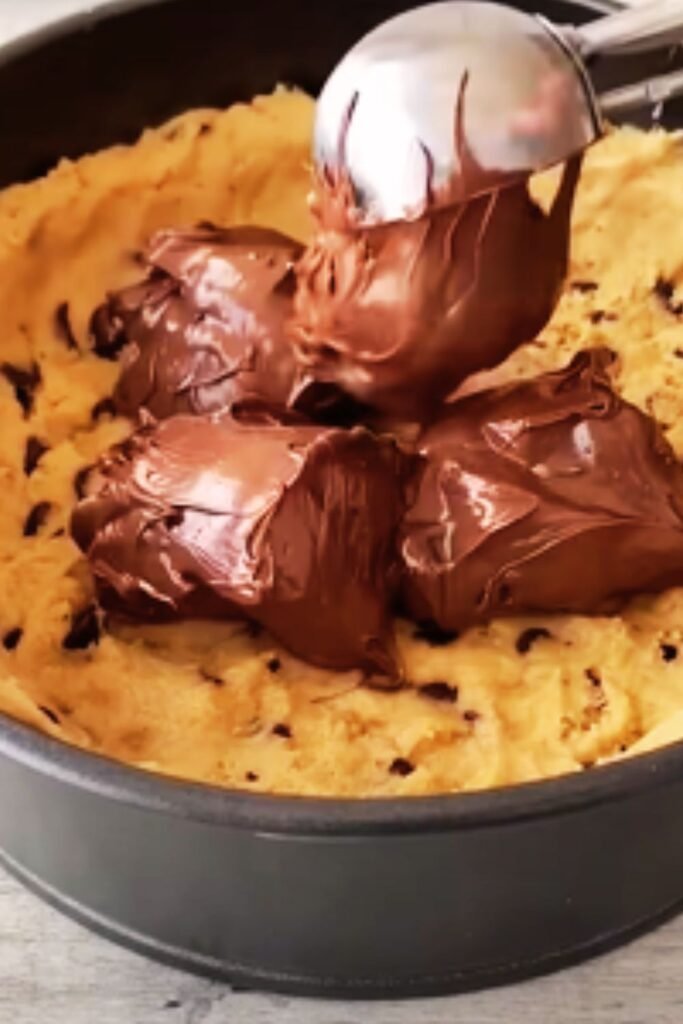
Step 6: Fold in the Chocolate Chips and Any Mix-ins
Using a rubber spatula, gently fold in the chocolate chips and any additional mix-ins you’ve chosen. This gentle folding maintains the air you’ve incorporated during the creaming stage.
Step 7: Transfer to the Pie Dish
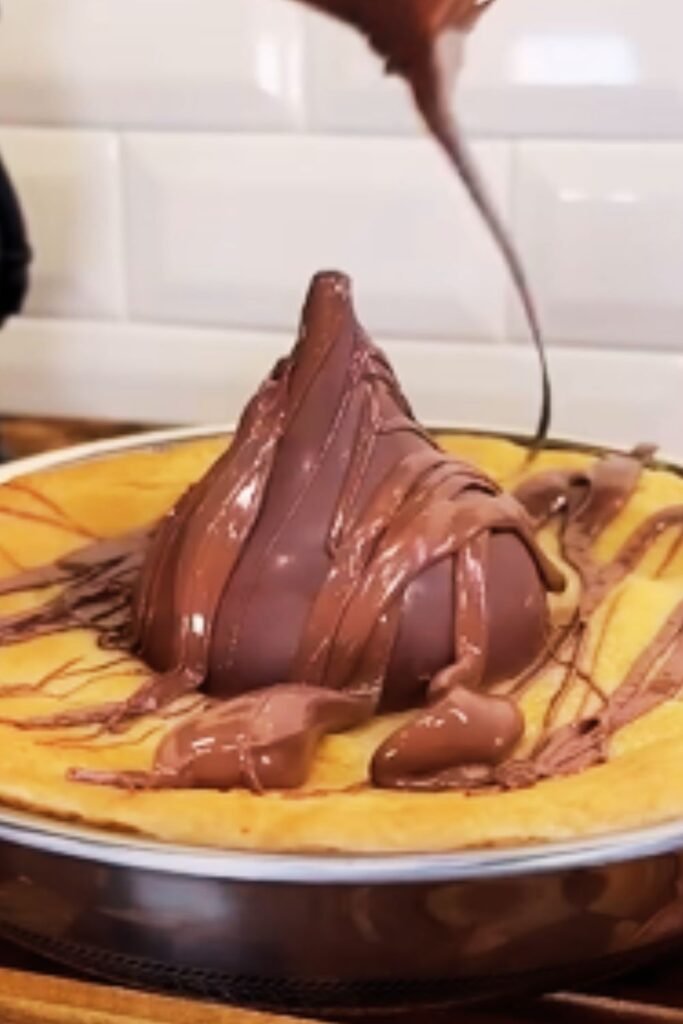
Spread the cookie dough evenly in your prepared pie dish. Unlike a regular pie, you don’t need to shape this into a crust—simply ensure the dough is spread relatively evenly while maintaining a slightly rustic look. Sprinkle a handful of extra chocolate chips on top for that instagram-worthy finish.
Step 8: Baking Strategy
This is where the magic happens! Place the pie dish on the middle rack of your preheated oven. Bake at 375°F for the first 10 minutes, then lower the temperature to 350°F and continue baking for another 25-30 minutes.
The cookie pie is done when the edges are set and golden brown, but the center still looks slightly underdone. This is intentional! The residual heat will continue cooking the center as it cools, resulting in that perfect gooey texture.
Step 9: The Critical Cooling Period
Allow the cookie pie to cool in the dish on a wire rack for at least 20-30 minutes before serving. This cooling period is essential for two reasons:
- It allows the structure to set enough to hold its shape when sliced
- It prevents burnt mouths! The melted chocolate chips retain heat significantly longer than the surrounding dough
Serving Suggestions
While this cookie pie is absolutely divine on its own while still warm, there are several ways to elevate it even further:
- Top with a scoop of high-quality vanilla ice cream
- Drizzle with warm caramel or chocolate sauce
- Add a dollop of freshly whipped cream
- Sprinkle with a light dusting of flaky sea salt to enhance the chocolate flavor
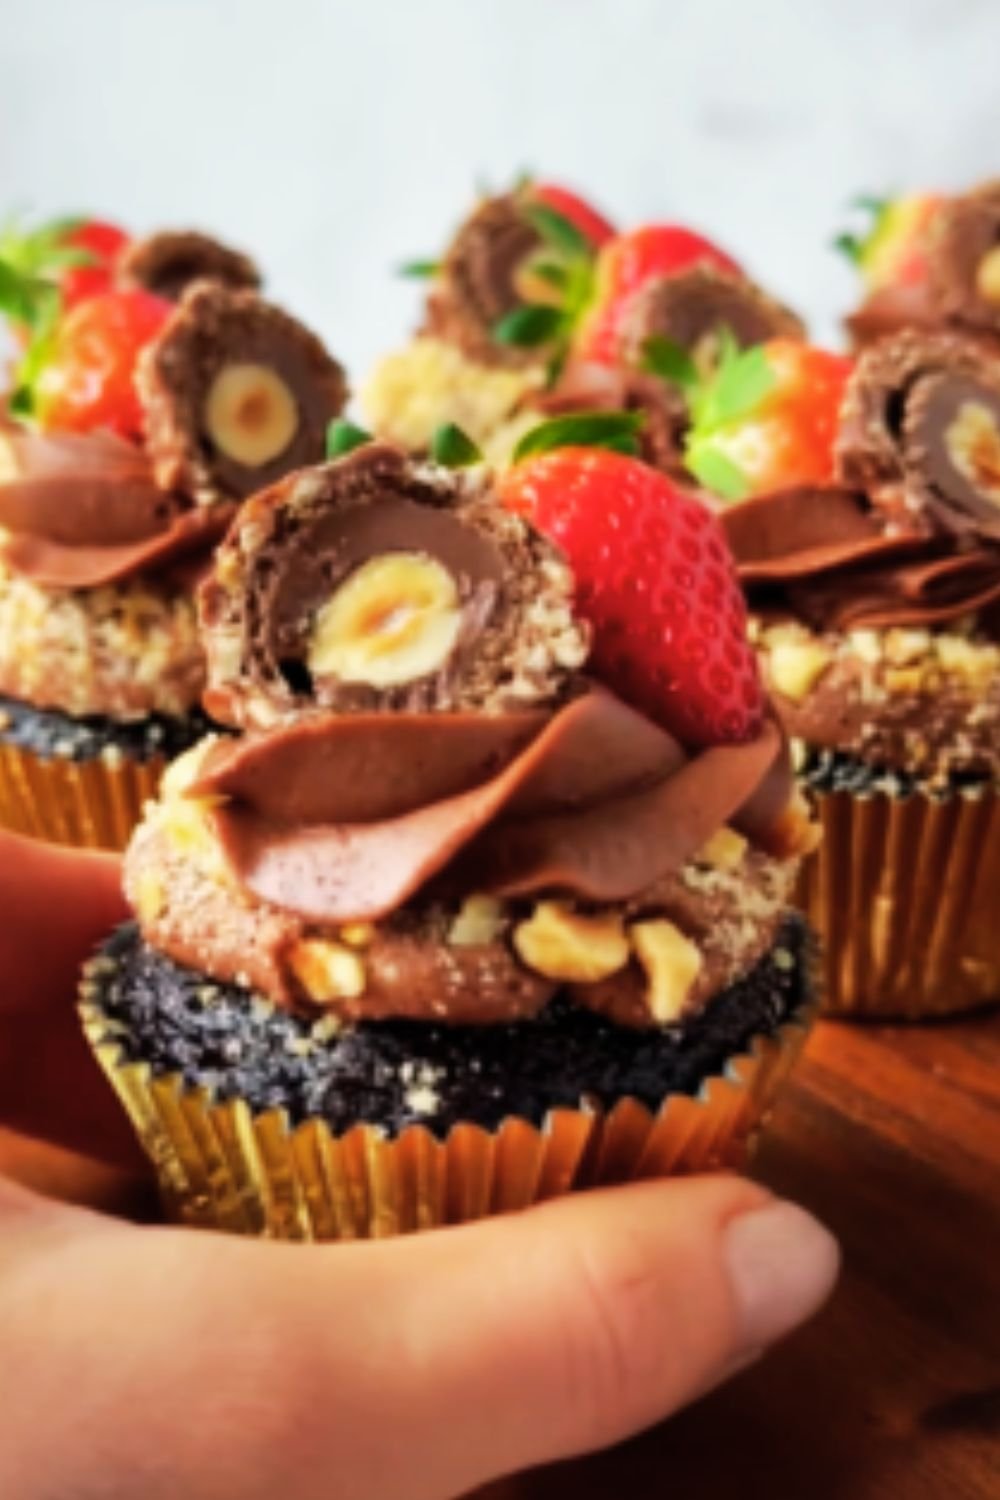
- Garnish with fresh berries for a pop of color and freshness
- Serve with a glass of cold milk or hot coffee for the perfect temperature contrast

Nutritional Information
For those who like to keep track of what they’re indulging in, here’s a breakdown of the approximate nutritional values per slice (assuming 8 slices per pie):
| Nutrient | Amount per Slice |
|---|---|
| Calories | 520 |
| Total Fat | 27g |
| Saturated Fat | 16g |
| Cholesterol | 85mg |
| Sodium | 380mg |
| Carbohydrates | 67g |
| Fiber | 3g |
| Sugar | 42g |
| Protein | 6g |
Storage and Reheating Tips
This cookie pie can be stored at room temperature in an airtight container for up to 3 days, though it rarely lasts that long in my household! For longer storage, refrigerate for up to a week.
To recapture that fresh-baked magic when enjoying leftovers, try one of these reheating methods:
- Microwave Method: Heat an individual slice for 15-20 seconds. The chocolate chips will get melty again, recreating that just-baked experience.
- Oven Method: Wrap the slice in foil and warm in a 300°F oven for about 5-7 minutes.
- Skillet Method: My personal favorite! Heat a slice in a small skillet over low heat for 2-3 minutes. The bottom gets slightly caramelized, adding an extra dimension of flavor.
Troubleshooting Common Issues
Even experienced bakers encounter challenges sometimes. Here are solutions to the most common problems with cookie pies:
Too Crispy or Overbaked
- Your oven might run hot. Try reducing the temperature by 25°F next time.
- Bake for 5 minutes less in your next attempt.
- Consider using a lighter-colored pie dish, as dark pans absorb more heat.
Too Gooey or Underbaked
- Give it more time to cool completely before cutting.
- Next time, bake for an additional 5 minutes.
- Check that your oven is properly calibrated with an oven thermometer.
Stuck to the Pan
- Make sure to grease the pie dish thoroughly before adding the dough.
- For easy removal, consider lining the bottom with parchment paper.
- Allow the pie to cool for at least 20 minutes before attempting to slice.
Variations to Try
The basic cookie pie recipe is wonderful on its own, but here are some creative variations I’ve developed over the years:
Double Chocolate Version
Add ¼ cup of unsweetened cocoa powder to the dry ingredients and use a combination of semisweet and white chocolate chips.
Autumn Spice Version
Add 1 teaspoon of cinnamon, ¼ teaspoon of nutmeg, and substitute butterscotch chips for half of the chocolate chips.
Salted Caramel Edition
Before baking, create 5-6 small divots in the dough and fill each with a teaspoon of caramel sauce. After baking, sprinkle with flaky sea salt.
S’mores Inspiration
Use graham cracker crumbs in place of ¼ cup of the flour, and after baking, top with mini marshmallows and broil just until golden.
Why This Recipe Works
As someone who has tested countless cookie and dessert recipes, I’ve learned that the perfect cookie pie requires a balance of science and art:
The Science:
- The higher fat content from the extra butter creates a more tender texture
- Starting with a higher oven temperature sets the edges quickly
- Reducing the temperature allows the interior to bake more gently
- The specific flour-to-sugar ratio ensures the right amount of spread
The Art:
- Knowing exactly when to remove the pie from the oven (slightly underdone by traditional standards)
- The perfect blend of mix-ins that complement without overwhelming
- The presentation touches that make it visually irresistible
Frequently Asked Questions
Can I prepare the dough ahead of time? Yes! The cookie dough can be prepared up to 2 days in advance and refrigerated. Let it sit at room temperature for about 30 minutes before spreading in the pie dish and baking.
Can I freeze this cookie pie? Absolutely. After baking and cooling completely, wrap the entire pie or individual slices tightly in plastic wrap and then aluminum foil. Freeze for up to 3 months. Thaw overnight in the refrigerator before serving or reheating.
Can I use a different size pan? Yes, but you’ll need to adjust the baking time accordingly. A smaller pan will require slightly longer baking as the dough will be thicker. A larger pan will need less time as the cookie pie will be thinner.
Is it normal for the center to seem underbaked? Yes! That’s intentional and part of what makes this dessert special. The center should be soft and gooey when hot but will set more as it cools. If you bake until the center is completely firm, you’ll lose that signature texture.
Can I make this gluten-free? I’ve had success using a 1-to-1 gluten-free flour blend in place of the all-purpose flour. The texture may be slightly different, but still delicious.
Can I reduce the sugar? You can reduce the total sugar by up to ¼ cup without significantly affecting the texture. Keep in mind that sugar contributes to both sweetness and structure in baked goods.
Do I really need to cream the butter and sugar for that long? Yes! This step is crucial for creating the right texture. Properly creamed butter and sugar incorporates air into the dough, which helps create that tender cookie texture we’re aiming for.
Final Thoughts
What started as a fun experiment in my kitchen has become one of my signature desserts. There’s something so comforting and satisfying about a warm slice of cookie pie that brings together the best elements of two beloved desserts.
The most rewarding aspect of sharing this recipe has been hearing from readers who have made it for special occasions. From first dates to anniversary celebrations, this dessert seems to have a way of creating sweet memories.
I hope this Makeout Chocolate Chip Cookie Pie becomes a favorite in your dessert rotation as well. Remember that baking is both science and art—follow the recipe closely the first time, then feel free to add your personal touch as you become comfortable with it.
Happy baking, and even happier eating!