There’s something undeniably charming about individual desserts. They’re perfect portions, they’re adorably cute, and let’s be honest—they make me feel like I’ve got my life together when I serve them at gatherings. After years of experimenting with desserts, I’ve perfected my individual tiramisu recipe, and I’m thrilled to share it with you today.
The Magic of Individual Tiramisu
Traditional tiramisu has always been one of my favorite desserts. The combination of coffee-soaked ladyfingers, creamy mascarpone filling, and dusting of cocoa powder creates a symphony of flavors that’s hard to resist. But there’s something special about serving tiramisu in individual portions.
I first discovered the joy of making individual tiramisus when hosting a dinner party where several guests had different dietary preferences. Making separate desserts allowed me to customize each one while maintaining the elegant presentation that makes tiramisu such a showstopper.
The individual servings are not only adorable but practical. There’s no messy cutting or serving, guests can grab their own, and portion control becomes effortless. Plus, they’re perfect for make-ahead entertaining, which is always a win in my book.
Why This Recipe Works
Before diving into the recipe, let me share why this particular method produces exceptional results:
- Perfect ratio: Each component is perfectly balanced in individual servings
- Make-ahead convenience: These can be prepared up to 24 hours in advance
- Customizable: Easy to adjust for dietary needs or flavor preferences
- Consistent results: The smaller format ensures each serving sets properly
- Impressive presentation: Minimal effort for maximum wow-factor
Ingredients You’ll Need
For 6 individual tiramisu servings:
For the Coffee Soak
- 1 cup strong brewed espresso (room temperature)
- 2 tablespoons granulated sugar
- 1 tablespoon coffee liqueur (optional)
For the Mascarpone Cream
- 16 ounces mascarpone cheese (room temperature)
- 4 large eggs, separated
- ½ cup granulated sugar, divided
- 1 teaspoon pure vanilla extract
- Pinch of salt
For Assembly and Garnish
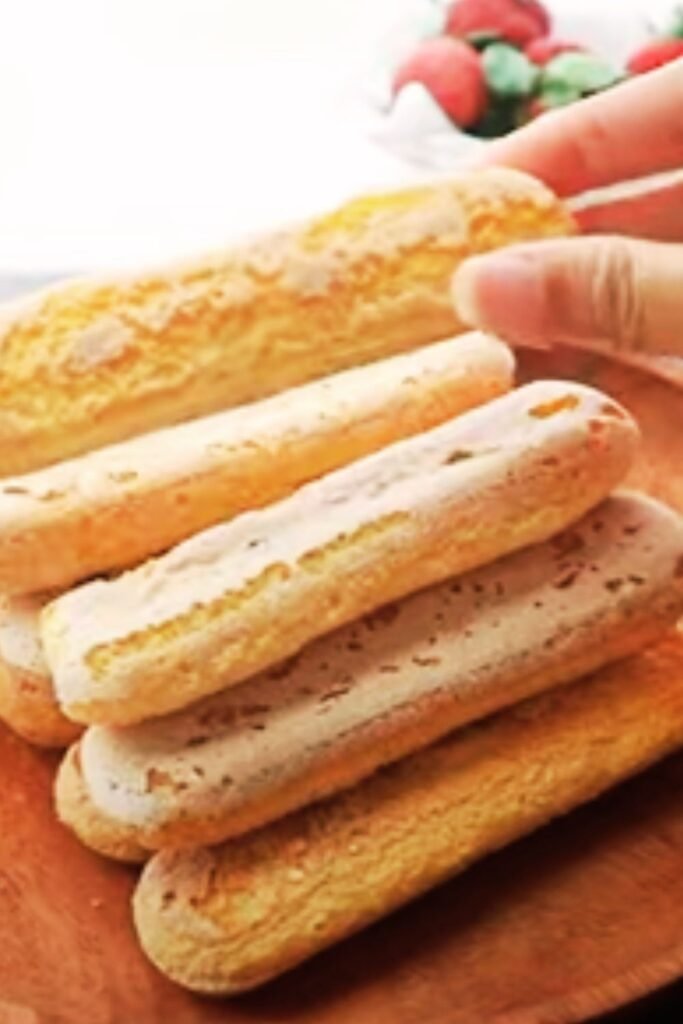
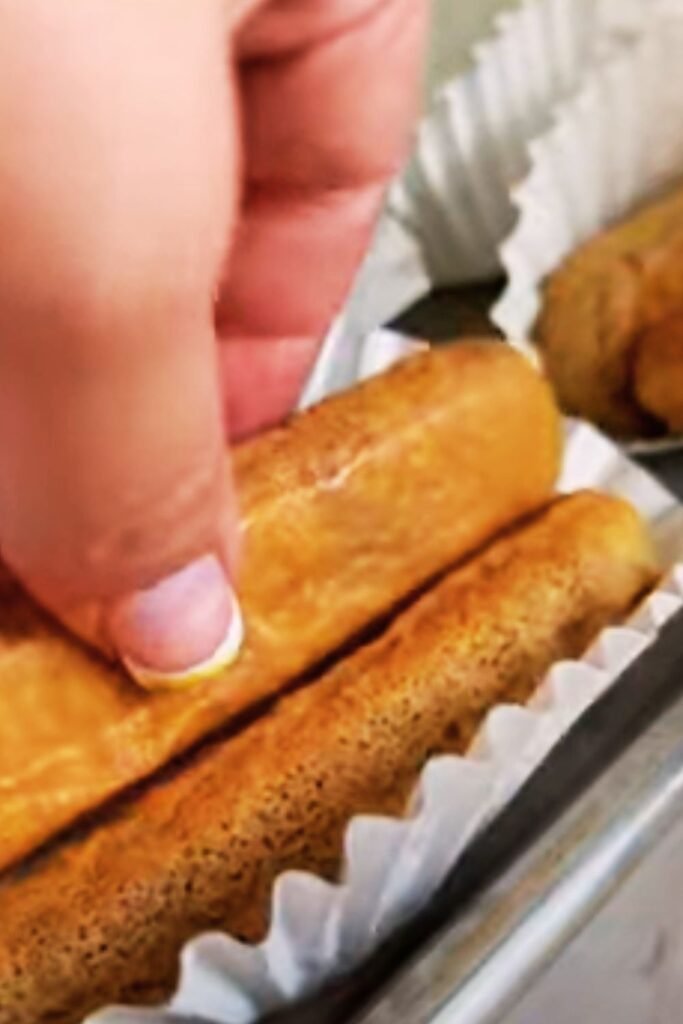
- 12-18 ladyfingers (savoiardi), depending on your container size
- 3 tablespoons unsweetened cocoa powder
- 1 ounce dark chocolate for shaving/grating
- Fresh berries (optional, for garnish)
- 6 small glass jars, glasses, or ramekins
Equipment Needed
I believe having the right tools makes baking so much more enjoyable. Here’s what I use for perfect individual tiramisus:
- Electric mixer (stand or handheld)
- Medium mixing bowls
- Shallow dish for coffee dipping
- Piping bag with round tip (optional but helpful)
- Fine mesh sieve for cocoa dusting
- Microplane for chocolate shaving
- 6 serving glasses or jars (8-ounce capacity works well)
Step-by-Step Instructions
Prepare the Coffee Soak
- Brew 1 cup of strong espresso (or very strong coffee) and let it cool to room temperature.
- Once cooled, stir in 2 tablespoons of sugar until dissolved.
- Add the coffee liqueur if using. This adds depth but isn’t essential if you prefer to avoid alcohol.
- Pour the mixture into a shallow dish wide enough to dip the ladyfingers.
Make the Mascarpone Cream
This two-part process creates that signature light-yet-rich texture that makes tiramisu so special.
- Prepare the yolk mixture:
- In a medium bowl, whisk the egg yolks with ¼ cup of sugar until pale and creamy (about 2-3 minutes).
- Add the room temperature mascarpone and vanilla extract.
- Whisk until smooth and velvety. Set aside.
- Prepare the egg whites:
- In a clean, dry bowl, beat the egg whites with a pinch of salt until foamy.
- Gradually add the remaining ¼ cup sugar while continuing to beat until soft peaks form.
- Be careful not to overbeat—we want soft, glossy peaks, not stiff meringue.
- Combine:
- Gently fold the whipped egg whites into the mascarpone mixture.
- Use a rubber spatula and a light hand, folding from the bottom up to maintain as much air as possible.
- Continue until just combined—a few small streaks are fine.
Food Safety Note: Traditional tiramisu contains raw eggs. If this concerns you, use pasteurized eggs or try an alternative method where you cook the egg yolks with sugar over a double boiler to 160°F before beating with mascarpone.
Assembly
Now comes the fun part—bringing everything together in beautiful individual servings.
- Prepare your containers:
- Choose clear glasses or jars so the beautiful layers are visible.
- Wine glasses, small mason jars, or dessert cups all work wonderfully.
- Dip and layer:
- Working one at a time, quickly dip each ladyfinger into the coffee mixture.
- The key word here is quickly—about 1 second per side. Too long and they’ll become soggy.
- Break or cut the ladyfingers as needed to fit your containers.
- Create a single layer at the bottom of each serving glass.
- Add cream:
- Spoon or pipe approximately 2-3 tablespoons of the mascarpone cream over the ladyfingers.
- Smooth the surface with the back of a spoon.
- Repeat:
- Add another layer of dipped ladyfingers.
- Top with another layer of mascarpone cream, filling to about ½ inch from the top.
- Finish:
- Using a fine mesh sieve, dust the top generously with cocoa powder.
- Cover each glass with plastic wrap without touching the surface.
- Refrigerate for at least 4 hours, preferably overnight.
Serving Suggestions
When it’s time to serve these beautiful individual tiramisus, I like to add a few special touches:
- Add a fresh dusting of cocoa powder just before serving
- Grate or shave dark chocolate over the top
- Garnish with a few fresh berries (raspberries or strawberries work beautifully)
- Add a small sprig of mint for color contrast
- Serve with a small spoon and napkin
- Pair with a small espresso for an authentic Italian experience
- For special occasions, add a chocolate-covered coffee bean on top
I find that these individual tiramisus are wonderful for dinner parties, holiday gatherings, or even as a special weeknight treat. The make-ahead nature means you can focus on enjoying your company rather than last-minute dessert prep.
Flavor Variations
While the classic tiramisu is perfection in my opinion, I’ve experimented with several variations that have been huge hits:
Berry Tiramisu
- Replace coffee soak with 1 cup berry puree mixed with 2 tablespoons sugar
- Layer with fresh berries between cream layers
- Dust with powdered sugar instead of cocoa
Chocolate Orange
- Add 1 tablespoon orange liqueur to coffee soak
- Fold 2 teaspoons orange zest into mascarpone mixture
- Use chocolate ladyfingers instead of regular
Pumpkin Spice (Fall Favorite)
- Add 1/2 cup pumpkin puree and 1 teaspoon pumpkin spice to mascarpone
- Use spiced chai tea instead of coffee for soaking
- Garnish with crushed gingersnap cookies
Lemon Tiramisu
- Replace coffee with limoncello diluted with lemon juice and sugar
- Add 2 teaspoons lemon zest to the mascarpone mixture
- Garnish with candied lemon peel
Make-Ahead and Storage Tips
One of the best things about tiramisu is that it actually improves with time in the refrigerator. Here’s my guide to making these ahead:
Timeline Options:
- 4-6 hours before serving: Minimum setting time for flavors to develop
- 24 hours before serving: Ideal time for perfect flavor and texture
- Up to 3 days ahead: Still delicious, though ladyfingers may soften more
Storage Tips:
- Keep covered in the refrigerator
- The cocoa powder may absorb moisture over time, so consider adding a fresh dusting before serving if made more than 24 hours in advance
- Do not freeze assembled tiramisu, as the texture will suffer
Nutritional Information
For those who like to keep track of these things, here’s an approximate nutritional breakdown per serving:
| Nutrient | Amount per Serving |
|---|---|
| Calories | 425 |
| Total Fat | 32g |
| Saturated Fat | 18g |
| Cholesterol | 225mg |
| Sodium | 160mg |
| Total Carbohydrates | 28g |
| Dietary Fiber | 1g |
| Sugars | 18g |
| Protein | 9g |
Note: Values are approximate and may vary based on specific ingredients used.
Troubleshooting Common Issues
Even with the best recipes, sometimes things don’t go as planned. Here are solutions to common tiramisu challenges:
| Problem | Possible Cause | Solution |
|---|---|---|
| Runny cream | Mascarpone too warm or overbeaten | Ensure mascarpone is cool but not cold; fold gently |
| Soggy ladyfingers | Soaked too long in coffee | Dip for just 1 second per side |
| Grainy texture | Sugar not fully dissolved | Beat egg yolks and sugar longer before adding mascarpone |
| Bitter taste | Too much cocoa powder | Use a light dusting; balance with sweetened cream |
| Cream separating | Mascarpone overmixed | Mix until just combined; don’t overwork |
| Not setting properly | Not chilled long enough | Allow at least 4 hours, preferably overnight |
Budget-Friendly Tips
Quality ingredients make a difference in tiramisu, but there are ways to make this dessert more affordable:
- Make your own ladyfingers (simple sponge cookies)
- Use cream cheese with a bit of heavy cream as a mascarpone substitute
- Skip the coffee liqueur or use a small amount of vanilla extract with a drop of almond extract
- Buy mascarpone when on sale and freeze for up to 2 months
- Use instant espresso powder instead of brewed espresso
Sustainability Notes
I’m always looking for ways to make my cooking more sustainable. Here are some eco-friendly approaches to this recipe:
- Choose organic, free-range eggs
- Look for locally produced mascarpone or dairy products
- Serve in reusable glassware you already own rather than buying special containers
- Compost coffee grounds and eggshells
- Purchase ingredients with minimal packaging

Special Dietary Adaptations
While traditional tiramisu has several ingredients that can be problematic for certain dietary needs, here are adaptations I’ve tested:
Gluten-Free Option
- Use gluten-free ladyfingers or gluten-free vanilla cookies
- Double-check that your cocoa powder is gluten-free (most are)
Alcohol-Free Version
- Simply omit the coffee liqueur
- Add 1/4 teaspoon almond extract to the coffee soak for depth of flavor
Lower Sugar Option
- Reduce sugar in both the coffee soak and mascarpone mixture by half
- Use a monk fruit/erythritol blend instead of sugar
Dairy-Free Alternative
- Substitute dairy-free cream cheese mixed with coconut cream for mascarpone
- Use dairy-free cookies instead of traditional ladyfingers
The History Behind Tiramisu
I find that understanding the history of a dish makes it even more enjoyable to prepare and serve. Tiramisu, which translates to “pick me up” or “lift me up” in Italian, has a relatively recent history compared to many classic Italian desserts.
While there are competing claims about its exact origin, most food historians agree that tiramisu emerged in the Veneto region of Italy, particularly around Treviso, in the 1960s or 1970s. The dessert quickly gained popularity throughout Italy and eventually worldwide.
The traditional version was made as a large, family-style dessert, but the individual serving trend has grown as restaurants and home cooks recognized the appeal of personalized desserts.
Frequently Asked Questions
Q: Can I make tiramisu without raw eggs?
Yes! You have several options. You can use pasteurized eggs, cook the egg yolks with sugar to 160°F before mixing with mascarpone, or use an eggless recipe that substitutes whipped cream for the egg whites and cooked custard for the yolks.
Q: How far in advance can I make individual tiramisus?
I recommend making them up to 24 hours in advance for optimal flavor and texture. They’ll keep for up to 3 days in the refrigerator, though the texture of the ladyfingers will continue to soften.
Q: Can I freeze individual tiramisu?
I don’t recommend freezing assembled tiramisu as the texture can become grainy when thawed. However, you can freeze the mascarpone mixture for up to 1 month and assemble fresh when needed.
Q: What can I substitute for mascarpone cheese?
In a pinch, you can make a reasonable substitute by combining 8 oz cream cheese with 1/4 cup heavy cream and 2 tablespoons sour cream. Beat until smooth before using.
Q: Why did my mascarpone mixture curdle?
This usually happens when the mascarpone is too cold or is overbeaten. Ensure your mascarpone is at room temperature and mix gently just until combined.
Q: Can I use something other than ladyfingers?
Absolutely! Graham crackers, vanilla wafers, pound cake slices, or even sponge cake can work well. Just adjust the soaking time based on the density of your substitute.
Q: Is there a non-coffee version for kids or those who don’t like coffee?
Yes! You can make a chocolate version by using hot chocolate instead of coffee for soaking. Or try a fruit version using fruit juice or flavored syrup for dipping.
Q: How do I know when tiramisu is properly set?
Properly set tiramisu should be firm enough that when you tip the glass slightly, the layers stay intact. The cream should be set but still soft and mousse-like.
Q: What’s the best type of container to use for individual servings?
Clear containers work best to showcase the beautiful layers. Wine glasses, small mason jars, stemless champagne flutes, or dessert cups are all great options. Aim for 6-8 oz capacity.
Q: Can I make this recipe in one large dish instead of individual servings?
Absolutely! This recipe converts easily to an 8×8 inch dish. Layer in the same way and refrigerate for at least 6 hours before serving.
Final Thoughts
Making individual tiramisu servings has become one of my signature desserts. There’s something so satisfying about creating a classic dessert in a personalized format that never fails to impress guests. The beauty of these individual servings is that they look intricate and fancy, but they’re actually quite simple to prepare.
What I love most about this recipe is its versatility. Whether you’re hosting an elegant dinner party, need a make-ahead dessert for a busy holiday, or simply want to elevate an ordinary weeknight, these individual tiramisus fit the bill perfectly.
I encourage you to make this recipe your own. Play with the flavors, experiment with the presentation, and most importantly, enjoy the process. Cooking should be a joy, and few things are more joyful than creating something so delicious with your own hands.
The next time you’re looking for a dessert that combines elegance with convenience, give these individual tiramisus a try. I’m confident they’ll become a favorite in your recipe collection just as they have in mine.