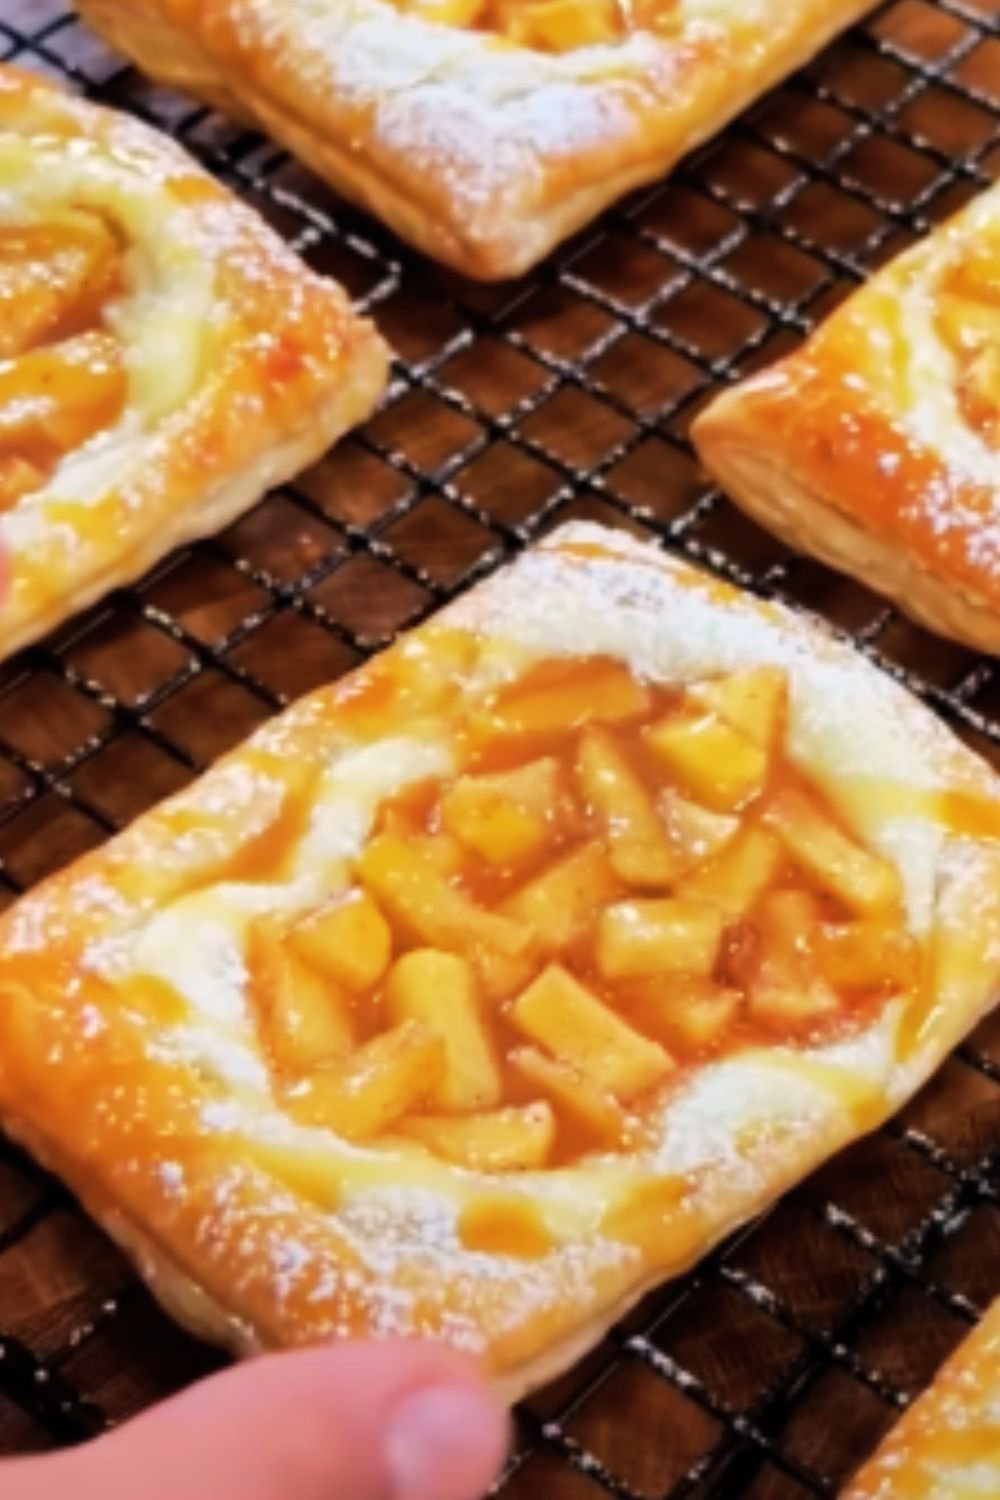
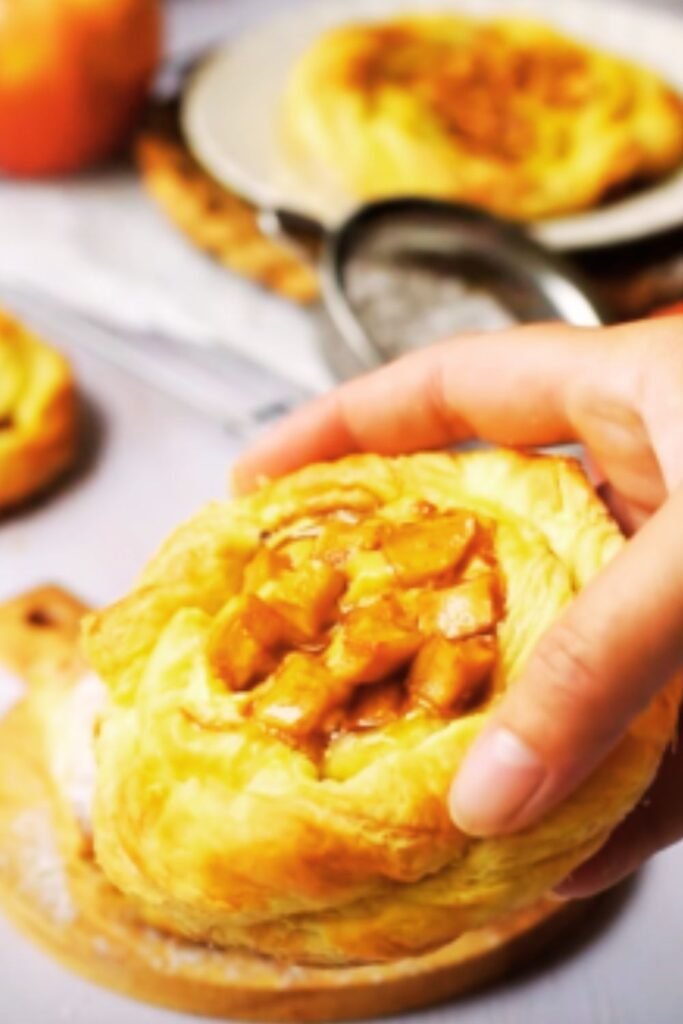
There’s something magical about the aroma of apples and cinnamon wafting through the kitchen. It instantly transforms any ordinary day into something special. I’ve been baking for over two decades now, and if there’s one recipe that consistently earns rave reviews at family gatherings and potlucks, it’s these Apple Cheese Danish Bars. They combine the comforting flavors of apple pie with the creamy indulgence of cheesecake, all nestled on a buttery, flaky crust that’s reminiscent of traditional Danish pastries—without the fuss of making actual Danish dough!
The beauty of these bars lies in their versatility. They’re elegant enough for special occasions yet simple enough for a weekend treat. I’ve served them at everything from casual brunches to holiday dessert tables, and they never fail to disappear quickly. What I particularly love about this recipe is how it balances different textures and flavors: the crispness of the pastry, the tanginess of the cream cheese, and the warm spiced sweetness of the apples create a harmony that’s simply irresistible.
The Magic Behind These Danish Bars
Before diving into the recipe, let’s talk about what makes these bars special. Traditional Danish pastries require a time-consuming lamination process—repeatedly folding butter into dough to create those characteristic flaky layers. My recipe takes a clever shortcut using refrigerated crescent roll dough that delivers impressive results without the hours of work.
The cream cheese layer is where these bars truly shine. It’s not quite a cheesecake, not quite a frosting, but somewhere deliciously in between. I’ve perfected the ratios over years of testing to ensure it sets properly while maintaining a luscious creaminess that complements the apples perfectly.
Speaking of apples, choosing the right variety makes all the difference. While I’ll share my favorites below, the key is selecting apples that hold their shape when baked and offer a good balance of sweetness and tartness.
Ingredients You’ll Need
For the Crust and Topping:
- 2 cans (8 oz each) refrigerated crescent roll dough
- 3 tablespoons unsalted butter, melted
- 2 tablespoons granulated sugar
- 1 teaspoon ground cinnamon
For the Cream Cheese Filling:
- 2 packages (8 oz each) cream cheese, softened
- 3/4 cup granulated sugar
- 1 teaspoon pure vanilla extract
- 1 large egg, room temperature
For the Apple Layer:
- 4 medium apples (see my recommendations below)
- 1/3 cup granulated sugar
- 2 tablespoons fresh lemon juice
- 2 tablespoons all-purpose flour
- 1 1/2 teaspoons ground cinnamon
- 1/4 teaspoon ground nutmeg
- 1/8 teaspoon ground cloves
For the Glaze (Optional):
- 1 cup powdered sugar
- 1-2 tablespoons milk
- 1/2 teaspoon pure vanilla extract
- Pinch of salt
Best Apple Varieties for Baking
Not all apples are created equal when it comes to baking. Here’s a detailed breakdown of my top choices for these Danish bars:
| Apple Variety | Flavor Profile | Texture When Baked | Best Used For | Notes |
|---|---|---|---|---|
| Honeycrisp | Sweet with slight tartness | Holds shape excellently | All-purpose baking | My top recommendation for this recipe |
| Granny Smith | Very tart, minimal sweetness | Holds shape perfectly | Balancing sweet recipes | Adds brightness to counter the sweet filling |
| Pink Lady | Sweet-tart balance | Maintains texture well | Bars and pies | Consistent performance in most recipes |
| Braeburn | Sweet with citrus notes | Stays firm with slight softening | Bars and crisps | Great flavor complexity |
| Jonagold | Honey-sweet with tartness | Medium firmness when baked | When you want prominent apple flavor | Large size means fewer apples needed |
| Golden Delicious | Mellow sweetness | Softens but doesn’t fall apart | When softer texture is desired | Use when fresh; deteriorates in storage |
I typically use a combination of Honeycrisp and Granny Smith in these bars. The Honeycrisp provides natural sweetness and juiciness, while the Granny Smith contributes tartness and structural integrity. This pairing creates a perfectly balanced apple layer that isn’t too sweet or too soft.
Step-by-Step Instructions
Preparing Your Baking Pan
- Preheat your oven to 375°F (190°C).
- Line a 9×13-inch baking pan with parchment paper, leaving an overhang on the long sides to create “handles” for easy removal later.
- Lightly spray the parchment with non-stick cooking spray.
Creating the Base Layer
- Unroll one can of crescent roll dough and press it into the bottom of your prepared pan.
- Pinch together any seams to create a solid sheet of dough.
- Par-bake this bottom layer for 5 minutes, then remove from the oven. This gives the base a head start and prevents sogginess.
Making the Cream Cheese Filling
- In a medium bowl, beat the softened cream cheese until smooth and fluffy, about 2 minutes.
- Add the sugar and continue beating until well incorporated.
- Mix in the vanilla extract.
- Beat in the egg until just combined. (Avoid over-mixing once the egg is added to prevent the filling from puffing up too much and then falling.)
Preparing the Apple Layer
- Peel, core, and thinly slice the apples (about 1/8-inch thick slices work best).
- In a large bowl, toss the apple slices with lemon juice to prevent browning.
- In a separate small bowl, mix together the sugar, flour, cinnamon, nutmeg, and cloves.
- Sprinkle this mixture over the apples and toss until evenly coated.
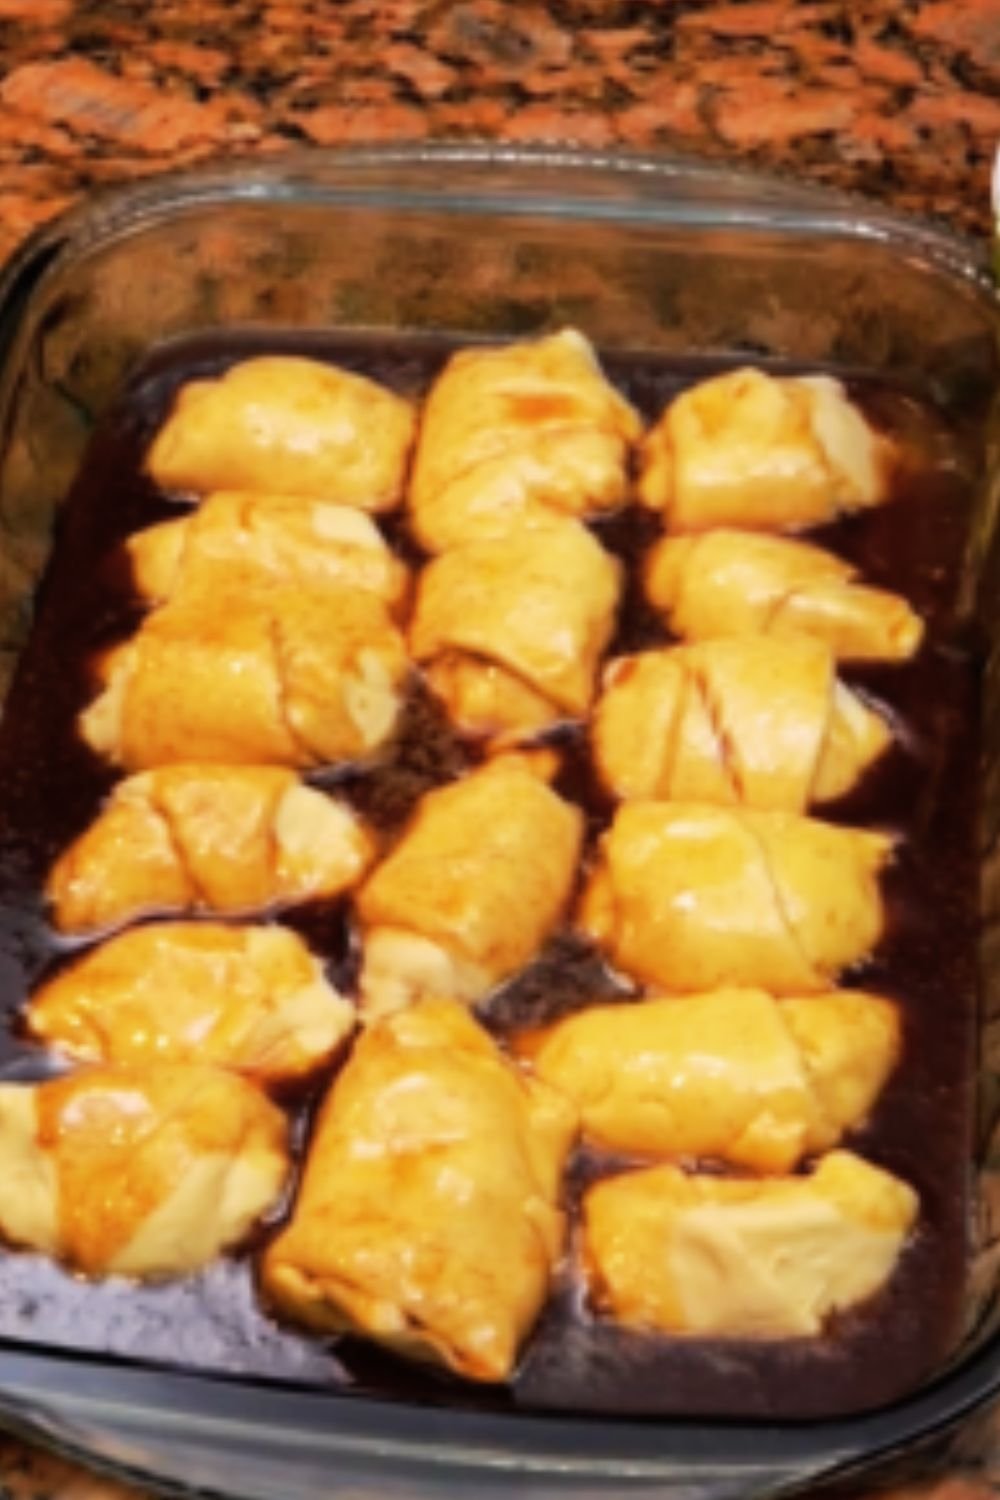
Assembling the Bars
- Spread the cream cheese mixture evenly over the par-baked crust.
- Arrange the spiced apple slices on top of the cream cheese layer. I like to slightly overlap them for even distribution and an attractive appearance.
- Unroll the second can of crescent roll dough onto a lightly floured surface. Press the seams together to form a single rectangle.
- Carefully place this dough over the apple layer. Don’t worry if it’s not perfect—this is meant to be rustic!
- Brush the top crust with melted butter.
- Mix together the 2 tablespoons of sugar and 1 teaspoon of cinnamon, then sprinkle this mixture evenly over the buttered crust.
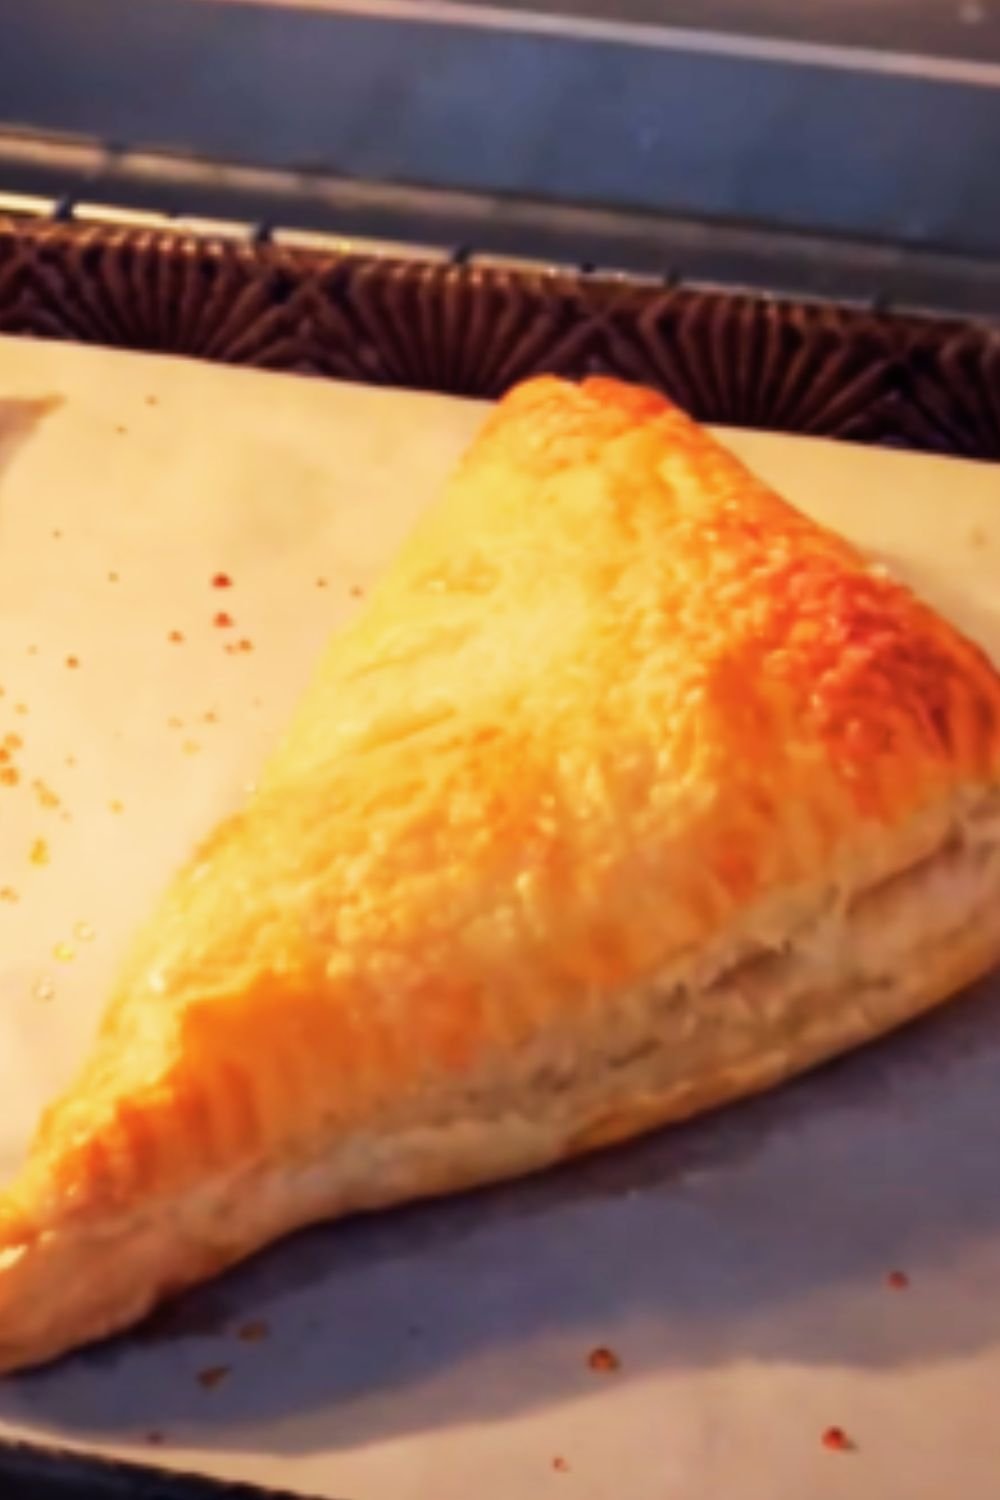
Baking to Perfection
- Bake in your preheated oven for 30-35 minutes, until the top is golden brown and the filling is set.
- If the top is browning too quickly, loosely cover with aluminum foil for the remaining bake time.
- Once baked, place the pan on a wire rack and let cool completely in the pan, at least 1 hour. For the cleanest cuts, refrigerate for 2 hours after cooling.
Optional Glaze
- In a small bowl, whisk together the powdered sugar, milk, vanilla extract, and salt until smooth.
- Add more milk, a teaspoon at a time, if needed to reach a drizzling consistency.
- Using a spoon, drizzle the glaze in a zigzag pattern over the completely cooled bars.
Cutting and Serving Tips
After waiting patiently for your bars to cool (the hardest part!), it’s time to cut and serve them. Here are my tried-and-true tips for picture-perfect results:
- Use the parchment paper handles to lift the entire slab out of the pan and onto a cutting board.
- For the cleanest cuts, run a large, sharp knife under hot water, then wipe dry before each cut.
- Cut into 15 bars (5 rows by 3 rows) for generous portions, or 24 smaller bars for a larger crowd.
- If you’ve refrigerated the bars, let them sit at room temperature for about 15 minutes before serving for the best texture and flavor.
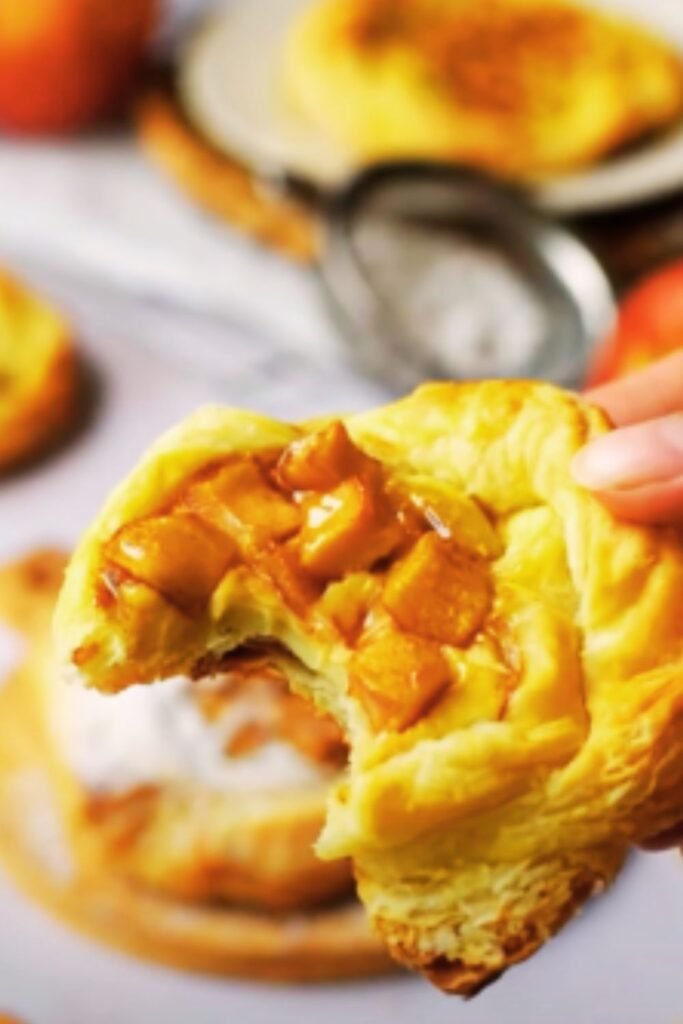
Serving Suggestions
These Apple Cheese Danish Bars are wonderfully versatile when it comes to serving. Here are some of my favorite ways to enjoy them:
- For breakfast or brunch: Serve slightly warm with a dollop of Greek yogurt and fresh berries on the side.
- As a dessert: Top with a scoop of vanilla ice cream and a drizzle of caramel sauce.
- For afternoon tea: Pair with a cup of chai or cinnamon tea for a comforting treat.
- Holiday gatherings: Arrange on a platter with other mini desserts for a beautiful spread.
- Fall festivities: These bars make a perfect addition to autumn harvest celebrations and Thanksgiving dessert tables.
For an extra-special touch, I sometimes serve these with a small pitcher of warm vanilla cream sauce (1 cup heavy cream, 3 tablespoons sugar, and 1 teaspoon vanilla extract, gently heated until warm but not boiling).
Storage and Make-Ahead Tips
One of the reasons I love these bars is that they actually taste even better the next day, after the flavors have had time to meld. Here’s how to store them properly:
- Room temperature: Will keep in an airtight container for up to 2 days.
- Refrigerator: Store in an airtight container for up to 5 days.
- Freezer: These bars freeze beautifully! Wrap individual portions in plastic wrap, then aluminum foil, and freeze for up to 3 months. Thaw overnight in the refrigerator.
Make-Ahead Options
If you’re planning for a special event, you can prepare these bars in stages:
- The apple mixture can be prepared up to 24 hours in advance and stored in the refrigerator.
- The cream cheese filling can be made up to 1 day ahead and refrigerated. Let it come to room temperature for about 20 minutes before spreading for easier application.
- The entire assembled bars can be baked 1-2 days before serving and stored in the refrigerator.
Troubleshooting Common Issues
Even experienced bakers encounter challenges occasionally. Here are solutions to some common problems you might face with these bars:
| Problem | Possible Cause | Solution |
|---|---|---|
| Soggy bottom crust | Underbaking the base layer | Make sure to par-bake the bottom crust for the full 5 minutes |
| Cream cheese layer too soft | Not enough cooling time | Allow bars to cool completely, then refrigerate for at least 2 hours |
| Apples too crunchy | Slices too thick | Cut apple slices no thicker than 1/8 inch |
| Top crust browning too quickly | Oven temperature too high | Cover loosely with foil during baking |
| Filling oozing out | Too much filling or crust not sealed | Ensure edges are pinched together well; don’t overfill |
| Bars difficult to cut cleanly | Cutting while warm | Refrigerate bars before cutting; use a hot, clean knife |
Variations to Try
While the classic version is always a hit, here are some delicious variations I’ve experimented with over the years:
- Pear and Ginger: Replace apples with firm pears and add 1 tablespoon of minced crystallized ginger to the fruit mixture.
- Mixed Berry: Substitute the apples with 4 cups of mixed berries (strawberries, blueberries, raspberries) and reduce the sugar slightly if berries are very sweet.
- Peach Bourbon: Use fresh peaches instead of apples and add 1 tablespoon of bourbon to the fruit mixture.
- Apple Streusel: Replace the top crescent layer with a streusel topping made from 1 cup flour, 1/2 cup brown sugar, 1/2 cup butter, and 1/2 cup chopped nuts.
- Savory-Sweet: Add 1/4 cup of shredded sharp cheddar to the cream cheese mixture for a subtle savory note that pairs beautifully with the apples.
The Health Perspective
While these Danish bars are definitely a treat, there are some nutritional benefits worth noting. Apples provide dietary fiber and various antioxidants. If you’re looking to make these bars a bit healthier, consider these modifications:
- Reduce the sugar in the cream cheese filling to 1/2 cup.
- Use light cream cheese in place of regular.
- Increase the proportion of apples to cream cheese.
- Add 1/4 cup of chopped walnuts or pecans to the apple mixture for healthy fats and protein.
Remember, though, that sometimes enjoying a dessert exactly as it’s meant to be—in all its delicious glory—is good for the soul!
Questions & Answers
Q: Can I use apple pie filling instead of fresh apples?
While you certainly can use canned apple pie filling in a pinch, I strongly recommend using fresh apples. Canned fillings tend to be much sweeter and softer, which can make the bars overly sweet and potentially soggy. Fresh apples provide better texture, more vibrant flavor, and allow you to control the sweetness and spice levels.
Q: My cream cheese layer cracked after baking. What went wrong?
Cracking usually happens when the bars cool too quickly or when the cream cheese mixture was over-mixed. Try these fixes: 1) Allow the bars to cool gradually at room temperature before refrigerating; 2) Mix the cream cheese filling just until ingredients are incorporated, especially after adding the egg; 3) Consider adding 1 tablespoon of flour to the cream cheese mixture for stability.
Q: Can I make these bars gluten-free?
Yes! Look for gluten-free crescent roll dough, which several brands now make. Alternatively, you can use a gluten-free pie crust for the bottom and top layers. Just be sure to substitute the all-purpose flour in the apple mixture with a gluten-free flour blend or cornstarch.
Q: How far in advance can I make these for a party?
These bars can be made up to 2 days in advance and stored in the refrigerator. If you’re making them for a special occasion, I recommend baking them the day before and refrigerating overnight. This not only saves you time on the day of your event but actually improves the flavor as the components meld together.
Q: Why are my apples turning brown before I bake the bars?
The browning is caused by oxidation when the apple flesh is exposed to air. To prevent this, toss your apple slices in lemon juice immediately after cutting them. The acid in the lemon juice slows down the oxidation process. You can also prepare your cream cheese mixture first, so the apples spend minimal time sitting out before assembly.
Q: Can I reduce the sugar in this recipe?
Absolutely! The sugar can be reduced by about 25% in both the cream cheese filling and the apple mixture without dramatically affecting the texture. If you’re using naturally sweet apple varieties like Honeycrisp or Fuji, you can reduce the sugar even further in the apple component.
Q: My bars turned out too wet. How can I fix this?
Excess moisture usually comes from the apples. To prevent this: 1) Make sure to toss the apple slices with flour as directed in the recipe; 2) Consider letting the apple mixture sit for 10 minutes after mixing and drain any accumulated juice before assembly; 3) For very juicy apple varieties, you might increase the flour in the apple mixture to 3 tablespoons.
Q: Can I use puff pastry instead of crescent roll dough?
Yes! Puff pastry makes an excellent substitute and creates an even flakier texture. You’ll need two sheets of puff pastry. Roll each sheet slightly to fit your pan, and follow the same assembly instructions. Note that puff pastry might require slight adjustments to baking time, so keep an eye on it.
Q: The top of my bars puffed up unevenly during baking. Is this normal?
Some uneven puffing is completely normal with crescent dough. To minimize this: 1) Make sure to press the seams together well before placing over the filling; 2) Create a few small vent holes in the top crust with a fork to allow steam to escape; 3) Don’t worry too much—once cooled and glazed, minor imperfections add to the homemade charm!
Q: Can I double this recipe for a larger crowd?
Yes, this recipe doubles beautifully! Use a large 15×10-inch baking pan (a standard jelly roll pan). The baking time might need to be increased by 5-10 minutes, but otherwise, follow the same instructions. This is perfect for potlucks or large family gatherings.
Final Thoughts
There’s something deeply satisfying about creating a dessert that bridges the gap between sophisticated and comforting. These Apple Cheese Danish Bars do exactly that—they’re impressive enough to serve to guests yet familiar enough to make you feel right at home with each bite.
I’ve lost count of how many times I’ve been asked for this recipe over the years. There’s a certain pride that comes from watching people’s eyes light up when they take their first bite, followed by the inevitable question, “Could I get the recipe?” Now you have it, and I hope these bars bring as much joy to your kitchen as they have to mine.
Whether you’re an experienced baker or trying this type of dessert for the first time, the detailed instructions and troubleshooting tips should set you up for success. Remember that baking is both a science and an art—precision matters, but so does the love and care you put into creating something delicious for yourself and others to enjoy.
Happy baking!