Have you ever scrolled through social media, spotted those gorgeous apple roses nestled in puff pastry, and thought, “I could never make something that beautiful”? I’m here to tell you that not only can you create these stunning treats, but they’re also surprisingly simple to prepare! My kitchen adventures have led me to perfect these apple roses over the years, and today I’m sharing all my secrets with you.
The Magic of Apple Roses
The first time I attempted apple roses, I was intimidated. They looked like something that belonged in a high-end patisserie, not my humble kitchen. But after several tries (and yes, a few amusing failures), I discovered that the wow factor of these pastries far outweighs their actual difficulty level.
What makes these apple roses truly special is their versatility. They’re elegant enough for special occasions but simple enough for a weekend breakfast treat. I’ve served them at everything from baby showers to casual brunches, and they never fail to impress my guests, who always assume I spent hours in the kitchen.
Why You’ll Love This Recipe
Before we dive into the details, let me tell you why this apple rose recipe deserves a permanent spot in your baking repertoire:
- Visually Stunning: These pastries look professionally made with minimal effort
- Flexible Ingredients: Works with various apple varieties and can be customized in countless ways
- Make-Ahead Friendly: Components can be prepared in advance for quick assembly
- Beginner-Friendly: Despite their elegant appearance, they’re surprisingly forgiving for novice bakers
- Crowd-Pleasing: Appeals to both adults and children alike
Essential Ingredients
Let’s talk about what you’ll need to bring these beautiful apple roses to life:
| Ingredient | Quantity | Notes |
|---|---|---|
| Red apples | 2-3 medium | Choose firm, crisp varieties like Honeycrisp, Gala, or Pink Lady |
| Lemon juice | 2 tablespoons | Prevents browning and adds brightness |
| Granulated sugar | 3 tablespoons | Adjust according to the sweetness of your apples |
| Ground cinnamon | 1 teaspoon | Ceylon cinnamon works beautifully here |
| Puff pastry | 1 sheet (thawed) | All-butter puff pastry yields the best flavor |
| Apricot preserves | 3 tablespoons | Creates a glossy finish and adds subtle flavor |
| Powdered sugar | For dusting | Optional but adds a professional touch |
| Unsalted butter | 2 tablespoons (melted) | For brushing the pastry |
| Pure vanilla extract | 1 teaspoon | Enhances the flavor profile |
Special Equipment Needed
While this recipe doesn’t require professional tools, a few basic items will make the process smoother:
- Sharp knife or mandoline: For slicing the apples paper-thin
- Microwave-safe bowl: For softening the apple slices
- Muffin tin: Standard size works perfectly for shaping the roses
- Pastry brush: For applying butter and apricot glaze

Preparation Steps
Preparing the Apples
- Wash the apples thoroughly and cut them in half vertically.
- Remove the cores and seeds with a melon baller or small paring knife.
- Using a sharp knife or mandoline (my preferred method for even slices), cut the apples into paper-thin semicircles.
- Place the apple slices in a microwave-safe bowl and toss them with lemon juice to prevent browning.
- Add sugar and cinnamon to the bowl, gently tossing until all slices are coated.
- Microwave the apple mixture for about 45 seconds to 1 minute, just until the slices become slightly flexible. This is my secret to perfect roses – the slices need to be pliable enough to roll without breaking.
- Allow the apple slices to cool while you prepare the pastry.
Preparing the Pastry
- Preheat your oven to 375°F (190°C) and lightly grease a standard muffin tin.
- On a lightly floured surface, unroll the thawed puff pastry sheet.
- Using a rolling pin, gently roll the sheet to create a slightly thinner rectangle, approximately 12×9 inches.
- Cut the pastry into 6 equal strips, each about 2 inches wide and 9 inches long.
- In a small bowl, mix the melted butter with vanilla extract.
- Brush each pastry strip lightly with the butter-vanilla mixture.
- In another small bowl, warm the apricot preserves in the microwave for about 20 seconds until fluid, then strain if necessary to remove any fruit chunks.
Assembling the Apple Roses
This is where the magic happens! Follow these steps carefully to create perfect roses every time:
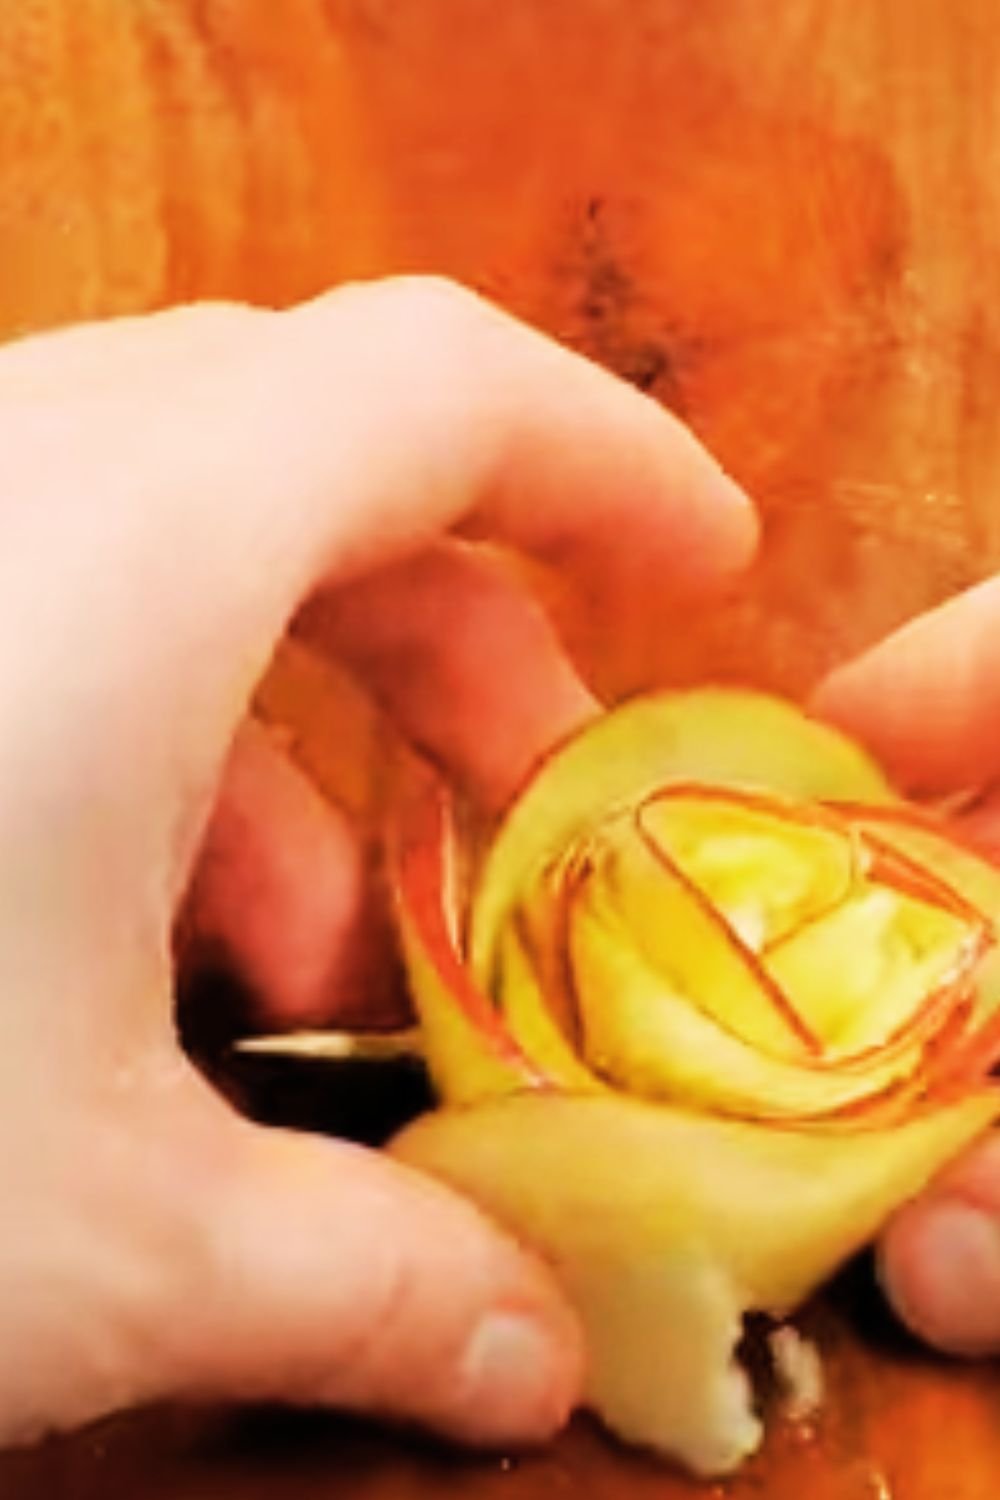
- Take one strip of pastry and arrange apple slices along the top half of the strip, with the curved side of the slices extending just beyond the edge of the pastry. The slices should overlap slightly, resembling rose petals.
- Fold up the bottom half of the pastry to cover the straight edge of the apple slices, leaving the curved edges exposed.
- Starting from one end, carefully roll up the pastry strip to create a rose shape. The tighter you roll, the more compact your rose will be.
- Place the completed rose in a muffin cup, and repeat with the remaining pastry strips and apple slices.
- Once all roses are assembled, brush the exposed apple edges with the warmed apricot preserves. This adds shine and helps prevent the edges from burning.
Baking Instructions
- Place the muffin tin in the preheated oven and bake for 40-45 minutes, or until the pastry is golden brown and fully cooked.
- If you notice the apple edges getting too dark during baking, loosely cover the muffin tin with aluminum foil.
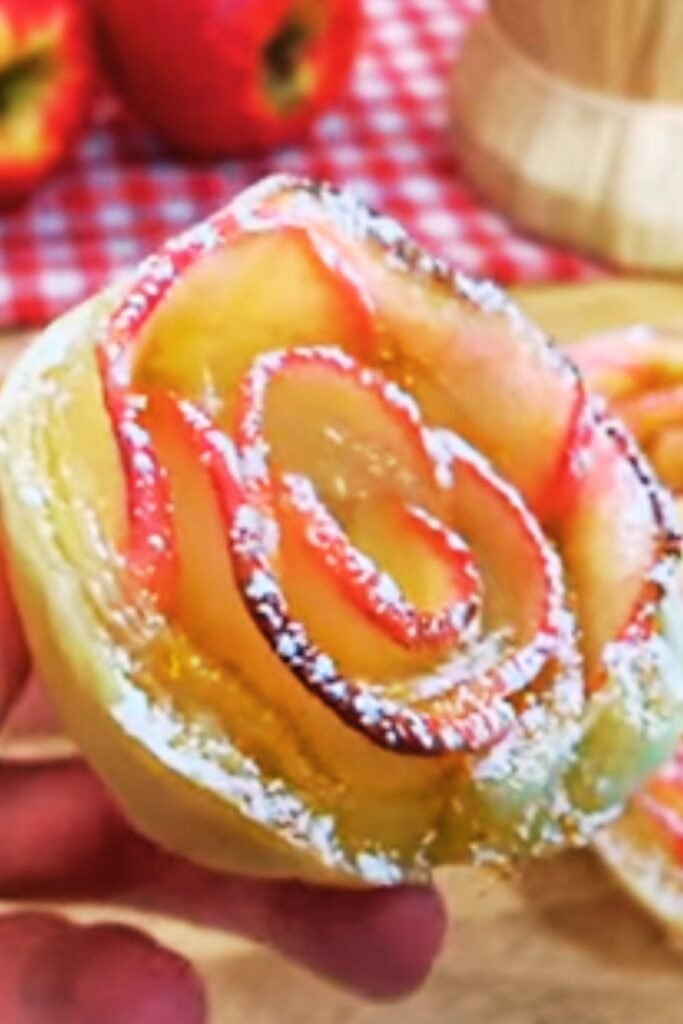
- After removing from the oven, allow the roses to cool in the tin for 5-10 minutes.
- Carefully remove each rose from the muffin cups and transfer to a wire rack to cool completely.
- Just before serving, dust with powdered sugar for that professional bakery finish.
Troubleshooting Common Issues
Even experienced bakers encounter challenges sometimes. Here are solutions to common apple rose problems:
| Issue | Cause | Solution |
|---|---|---|
| Apple slices break when rolling | Slices are too thick or not microwaved enough | Cut slices thinner or microwave for 15 seconds longer |
| Roses unfurl while baking | Pastry not rolled tightly enough | Ensure roses are rolled tightly and tucked securely in muffin cups |
| Soggy bottom pastry | Too much moisture from apples | Pat apple slices dry with paper towels before arranging on pastry |
| Edges burning before center cooks | Oven temperature too high | Lower temperature to 350°F and increase baking time by 5-7 minutes |
| Pastry not cooking through | Rolled too tightly | Roll slightly looser or increase baking time |
Serving Suggestions
I’ve found that apple roses are incredibly versatile when it comes to serving options. Here are my favorite ways to present these beautiful pastries:
- Dust with powdered sugar and serve warm with a dollop of vanilla bean ice cream
- Drizzle with warm caramel sauce and a sprinkle of sea salt
- Pair with a custard sauce (crème anglaise) for an elegant dessert
- Serve alongside fresh berries and a mint garnish for a bright contrast
- Add a side of maple-sweetened Greek yogurt for a more balanced breakfast option
- For afternoon tea, simply dust with cinnamon-sugar and serve with your favorite tea
Make-Ahead and Storage Tips
One of the reasons I love this recipe is its flexibility. Here’s how to work it into your schedule:
Make-Ahead Options:
- Prepare apple slices up to 4 hours ahead and keep in lemon water to prevent browning
- Cut pastry strips and store between sheets of parchment paper in the refrigerator for up to 24 hours
- Assemble roses completely and refrigerate unbaked for up to 12 hours before baking
Storage Solutions:
- Store baked roses in an airtight container at room temperature for up to 2 days
- Refrigerate for up to 4 days, though the pastry will soften slightly
- Freeze baked and cooled roses for up to 3 months; thaw at room temperature and reheat in a 300°F oven for 10 minutes to restore crispness
Seasonal Variations
While this recipe is perfect year-round, I love adapting it to the seasons:
Fall Harvest
In autumn, when apples are at their peak, I add a touch of nutmeg and allspice to the cinnamon mixture and serve with maple butter.
Winter Warmth
During the colder months, I incorporate a touch of star anise and cardamom into the spice blend and serve the roses with a warm vanilla bean sauce.
Spring Freshness
When spring arrives, I like to add a touch of lemon zest to the apple mixture and serve with a light honey-lavender glaze.
Summer Delight
In summer, I often pair these roses with fresh berries and a basil-infused whipped cream for a refreshing contrast.
Dietary Adaptations
Over the years, I’ve adapted this recipe for friends with various dietary needs:
Gluten-Free Version:
- Substitute regular puff pastry with gluten-free puff pastry (available in many specialty stores)
- Ensure your cinnamon and other spices are certified gluten-free
Vegan Option:
- Use vegan puff pastry (many commercial brands are accidentally vegan!)
- Replace butter with melted coconut oil or vegan butter
- Use maple syrup instead of honey in any glazes
Reduced Sugar:
- Reduce or omit the granulated sugar and rely on the natural sweetness of ripe apples
- Use unsweetened apricot preserves or a reduced-sugar version
- Skip the powdered sugar dusting
Why This Recipe Works
Through countless iterations, I’ve learned that the success of apple roses hinges on a few critical factors:
- Thin apple slices: The thinner the slices, the more pliable they become, making them easier to roll without breaking.
- Microwaving the apple slices: This quick step softens the apples just enough for perfect rolling while retaining their structural integrity.
- Working with cool (not cold) pastry: Puff pastry at room temperature is easier to handle but still firm enough to maintain definition.
- Proper baking temperature: Starting at a slightly higher temperature helps the pastry puff, then reducing heat ensures even cooking.
The Story Behind My Apple Roses
I first discovered apple roses at a local farmers’ market where a small bakery was selling them at premium prices. Intrigued by their beauty and the reactions they elicited from other shoppers, I decided to try making them at home.
My first attempt was a disaster – slices too thick, pastry too warm, roses that completely unfurled in the oven. But there was something therapeutic about the process of arranging those delicate slices that kept me coming back for more attempts.
After several iterations and learning from my mistakes, I finally created a version that not only looked beautiful but tasted even better than the bakery version. The satisfaction of mastering this technique and the joy it brings to friends and family make these apple roses one of my signature recipes.
Frequently Asked Questions
Q: Can I use green apples instead of red ones?
Absolutely! Green apples like Granny Smith provide a lovely tart contrast to the sweet pastry. The color won’t be as striking, but the flavor is wonderful, especially with a touch more cinnamon.
Q: How far in advance can I make these for a party?
For the freshest results, I recommend baking them the same day you plan to serve them, ideally within 4-6 hours. However, you can prepare all components ahead of time and assemble just before baking.
Q: My puff pastry keeps breaking when I roll it. What am I doing wrong?
Your pastry is likely too cold. Let it thaw at room temperature for about 5-10 more minutes until pliable but still cool to the touch. Never try to force cold puff pastry to unroll.
Q: Can I use canned apple pie filling to save time?
I don’t recommend it. Fresh apples provide the right texture and moisture level. Canned filling is too soft and wet, which will make your pastry soggy.
Q: Why do my roses sometimes unfurl during baking?
This usually happens when the roses aren’t placed snugly enough in the muffin cups. Make sure to tuck them in securely, and consider using smaller muffin tins if available.
Q: Is there a way to make these less sweet for a breakfast option?
Yes! Reduce the sugar to just 1 tablespoon, skip the apricot glaze, and consider adding a pinch of salt to the apple mixture to enhance the natural flavors.
Q: Can I use other fruits instead of apples?
Yes, though the technique varies slightly. Firm pears work well using the same method. For softer fruits like peaches or plums, you’ll want to skip the microwaving step and handle them even more gently.
Final Thoughts
Creating these apple roses has become one of my favorite kitchen rituals. There’s something deeply satisfying about transforming simple ingredients into something so visually impressive. The methodical process of arranging those thin apple slices and watching them transform in the oven brings me joy every time.
What I love most about sharing this recipe is seeing people’s reactions when they realize they can create something this beautiful in their own kitchens. Baking shouldn’t be intimidating, and these apple roses are proof that with a few simple techniques, anyone can create pastries worthy of a professional bakery window.
So preheat that oven, slice those apples paper-thin, and prepare to watch kitchen magic unfold. I promise the results will be worth it, and you’ll soon be adding your own creative touches to this versatile recipe. Happy baking!