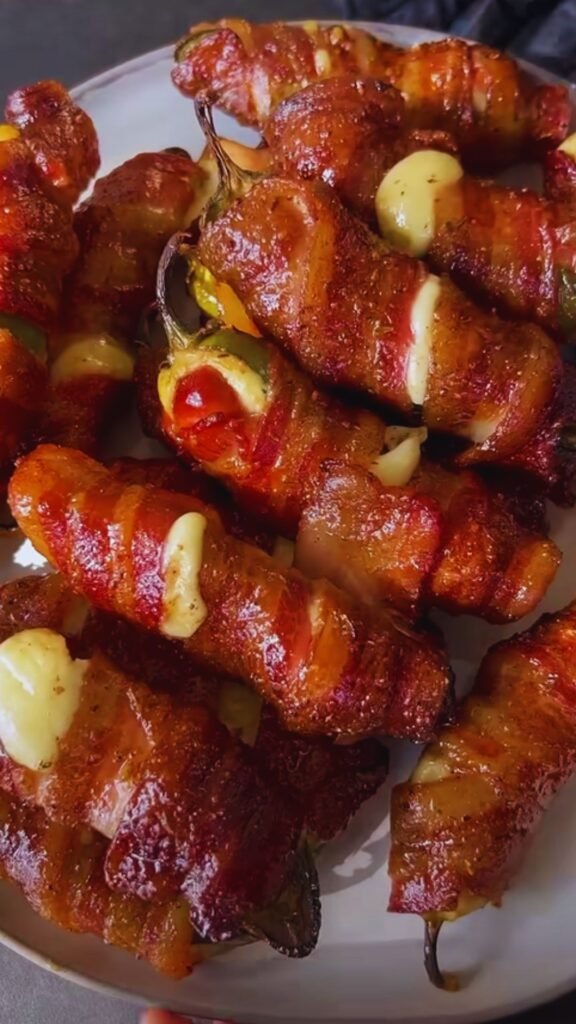
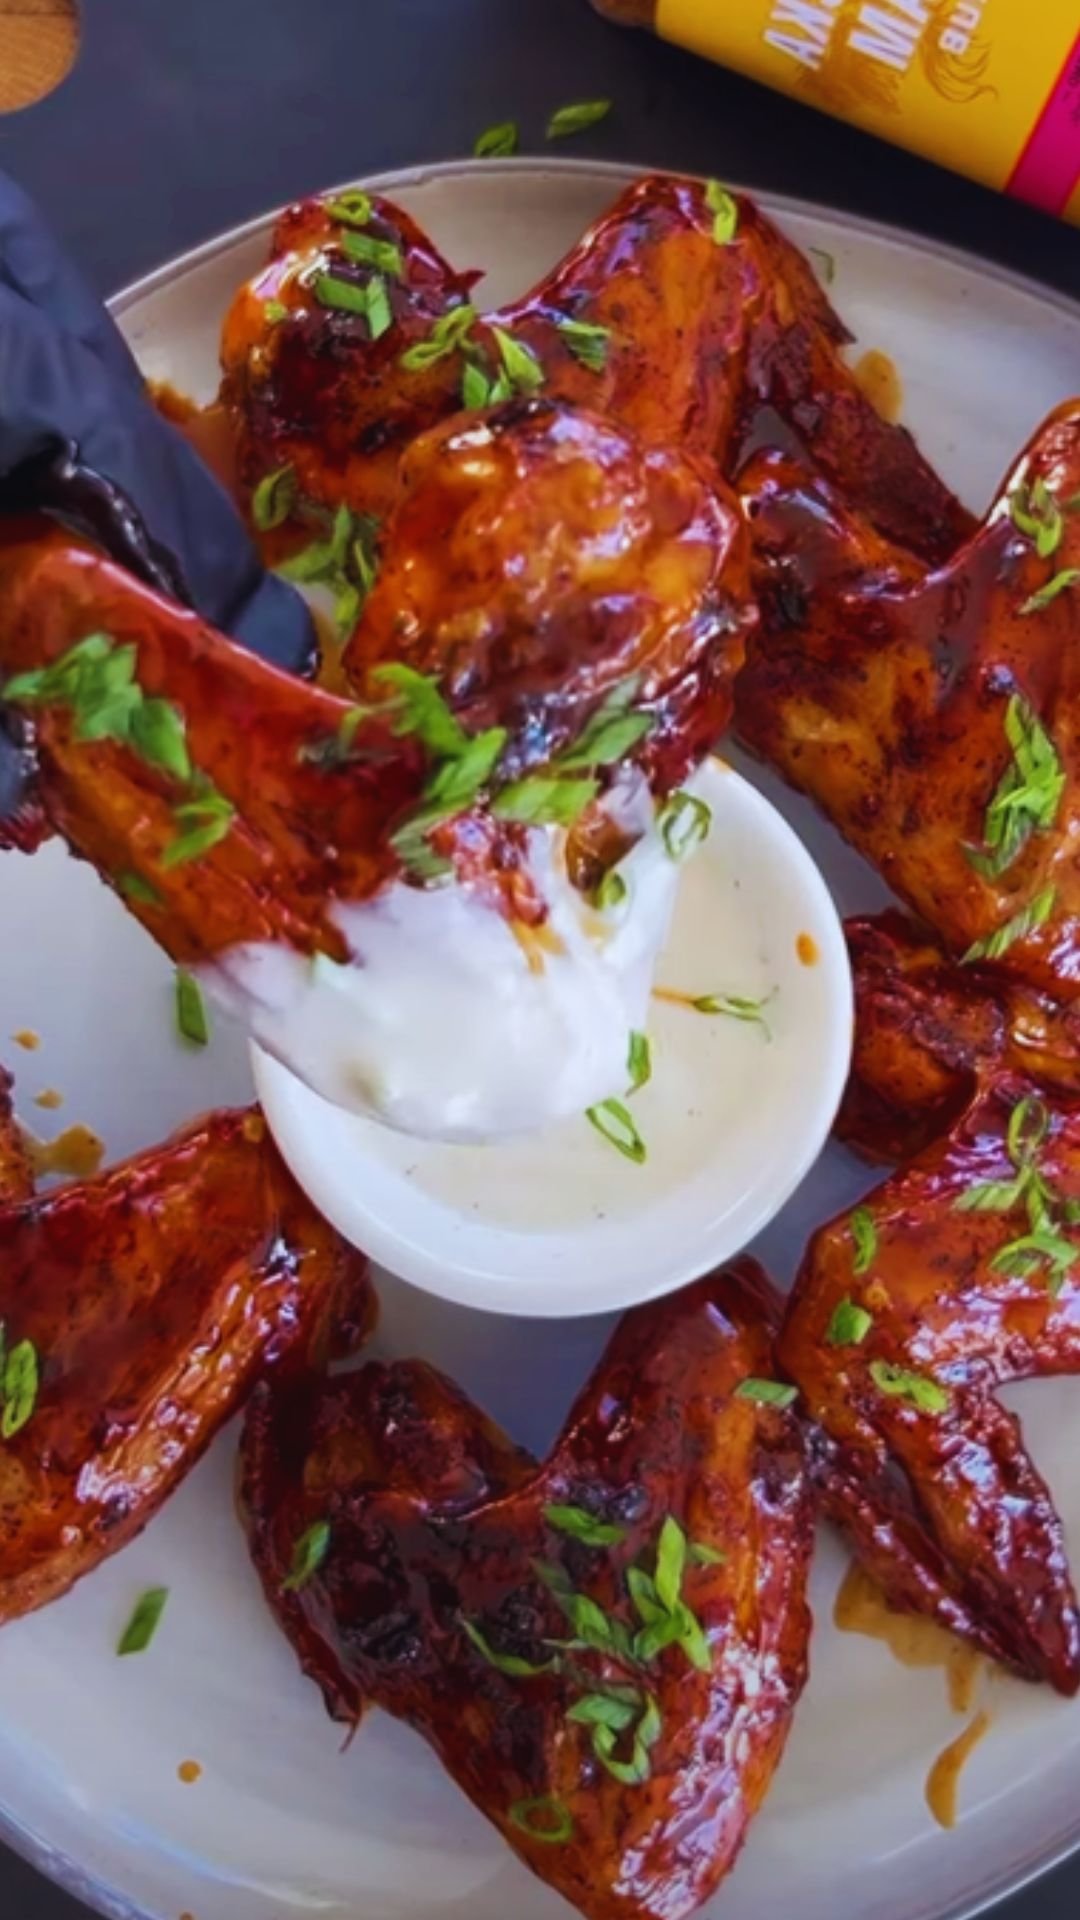
Have you ever been to a party where one appetizer steals the show? That’s exactly what happens when I bring my Bacon Jalapeño Popper Cheese Balls to any gathering. These delectable bite-sized treats combine everything we love about jalapeño poppers—creamy cheese, spicy peppers, and crispy bacon—rolled into convenient, poppable form that’s perfect for entertaining.
I’ve spent years perfecting this recipe, tweaking ingredients and methods until I created what my friends now demand at every get-together. The beauty of these cheese balls lies in their versatility: they’re equally at home on a casual game day spread or an elegant holiday appetizer platter.
In this article, I’ll share my foolproof recipe, preparation techniques, and serving suggestions that will help you create these crowd-pleasing appetizers with confidence. I’ll also answer the most common questions I receive about making these irresistible treats.
What Makes These Bacon Jalapeño Popper Cheese Balls Special?
These aren’t your grandmother’s cheese balls (though I’m sure hers were lovely too). What sets these apart is the perfect balance of flavors and textures:
- The creamy, tangy cream cheese base
- The sharp cheddar that adds depth and character
- The kick of fresh jalapeños (adjustable to your heat preference)
- The smokiness of crispy bacon
- The satisfying crunch of the panko coating
Each bite delivers the complete jalapeño popper experience without the hassle of stuffing and baking individual peppers. It’s a win-win for both the cook and the guests!
Ingredients Breakdown
Let’s take a closer look at what goes into these amazing cheese balls:
The Cheese Mixture
- Cream cheese: Provides the creamy base and binding agent
- Sharp cheddar cheese: Adds flavor depth and that classic popper taste
- Jalapeños: Brings the signature heat and pepper flavor
- Bacon: Contributes smokiness and savory notes
- Green onions: Adds freshness and color
- Garlic powder: Enhances overall flavor profile
- Smoked paprika: Adds subtle smokiness
- Salt and pepper: Balances and enhances all other flavors
The Coating
- Panko breadcrumbs: Creates the perfect crispy exterior
- Additional bacon bits: Reinforces the bacon flavor and adds visual appeal
- Fresh parsley: Provides color contrast and freshness
Equipment You’ll Need
Before diving into the recipe, gather these kitchen tools:
- Large mixing bowl
- Electric mixer (optional but helpful)
- Measuring cups and spoons
- Cutting board and sharp knife
- Food processor (optional, for finely chopping bacon and jalapeños)
- Baking sheet
- Parchment paper
- Small bowl for coating mixture
- Refrigerator space for chilling
The Complete Recipe

Ingredients
For the cheese balls:
- 16 oz (2 packages) cream cheese, softened to room temperature
- 2 cups sharp cheddar cheese, freshly grated
- 8 slices bacon, cooked crispy and finely chopped (reserve 2 tbsp for coating)
- 3-4 jalapeños, seeds and membranes removed, finely diced (adjust according to heat preference)
- 4 green onions, thinly sliced (white and green parts)
- 1 tsp garlic powder
- ½ tsp smoked paprika
- ¼ tsp salt (adjust to taste)
- ¼ tsp black pepper
For the coating:
- 1 cup panko breadcrumbs
- 2 tbsp reserved bacon bits
- 2 tbsp fresh parsley, finely chopped
Instructions
- Cook the bacon until crispy. I prefer the oven method: arrange bacon strips on a parchment-lined baking sheet and bake at 400°F for 15-20 minutes until crispy. Drain on paper towels, let cool, then chop finely. Reserve 2 tablespoons for the coating.
- Prepare the jalapeños by wearing gloves (trust me on this one), cutting them in half, removing seeds and membranes (leave some if you prefer more heat), and finely dicing.
- In a large bowl, combine softened cream cheese and grated cheddar cheese. Use an electric mixer on medium speed for about 2 minutes until well blended.
- Add the remaining ingredients to the cheese mixture: chopped bacon, diced jalapeños, sliced green onions, garlic powder, smoked paprika, salt, and pepper. Mix until evenly distributed.
- Cover and refrigerate the mixture for at least 30 minutes (or up to 2 hours) to firm up, making it easier to form balls.
- Prepare the coating by combining panko breadcrumbs, reserved bacon bits, and chopped parsley in a small bowl.
- Form the cheese mixture into 1-inch balls. I use a cookie scoop to ensure uniform size, which helps with even serving and presentation.
- Roll each ball in the coating mixture, pressing gently to ensure the coating adheres.
- Arrange the coated balls on a parchment-lined baking sheet and refrigerate for at least 1 hour before serving to firm them up.
- Serve chilled with toothpicks for easy grabbing.
Yield
This recipe makes approximately 24-30 cheese balls, depending on the size you form them.
Detailed Nutritional Information
For those watching their nutritional intake, here’s a breakdown per cheese ball (based on a yield of 24 balls):
| Nutrient | Amount per Ball | % Daily Value* |
|---|---|---|
| Calories | 125 | – |
| Total Fat | 10.5g | 13% |
| Saturated Fat | 5.8g | 29% |
| Cholesterol | 30mg | 10% |
| Sodium | 210mg | 9% |
| Total Carbohydrates | 3.2g | 1% |
| Dietary Fiber | 0.2g | 1% |
| Sugars | 0.5g | – |
| Protein | 5.1g | 10% |
| Calcium | 80mg | 6% |
| Iron | 0.3mg | 2% |
| Potassium | 65mg | 2% |
| Vitamin A | 300IU | 6% |
| Vitamin C | 2mg | 2% |
*Percent Daily Values are based on a 2,000 calorie diet.
Make-Ahead and Storage Tips
One of the things I love most about this recipe is how well it works for advance preparation:
Make-Ahead Options
- Prepare cheese mixture up to 2 days ahead: Store covered in the refrigerator.
- Form balls and coat them up to 24 hours ahead: Keep refrigerated on a parchment-lined tray covered loosely with plastic wrap.
- Freeze uncoated balls for longer storage: Place formed balls on a baking sheet and freeze until solid, then transfer to freezer bags for up to 1 month. Thaw overnight in the refrigerator before coating and serving.
Storage Guidelines
| Storage Method | Duration | Notes |
|---|---|---|
| Refrigerator (prepared but unformed) | Up to 3 days | Keep in airtight container |
| Refrigerator (formed and coated) | Up to 2 days | Cover loosely with plastic wrap |
| Freezer (uncoated) | Up to 1 month | Freeze individually first, then bag |
| At room temperature | Up to 2 hours | For serving only |
Variations to Try

The beauty of this recipe is its adaptability. Here are some of my favorite variations:
Heat Level Adjustments
- Mild: Remove all seeds and membranes from jalapeños, or substitute with mild green chiles
- Medium: Leave some seeds and membranes intact
- Hot: Use all seeds and membranes, or add a finely diced serrano pepper
- Extra Hot: Add ¼ teaspoon cayenne pepper to the mixture
Cheese Substitutions
- Replace half the cheddar with pepper jack for extra spice
- Add ¼ cup crumbled blue cheese for a tangy twist
- Use smoked gouda instead of cheddar for an enhanced smoky flavor
- Mix in 2 tablespoons grated parmesan for a savory depth
Additional Mix-ins
- For a Southwest twist: Add ½ teaspoon ground cumin and 2 tablespoons finely chopped cilantro
- For a BBQ flavor: Mix in 1 tablespoon BBQ seasoning and use BBQ-flavored chips for coating
- For an Italian variation: Add 1 teaspoon Italian seasoning and substitute mozzarella for part of the cheddar
- For a ranch version: Mix in 1 tablespoon ranch seasoning mix
Serving Suggestions
These cheese balls are incredibly versatile when it comes to serving:
Presentation Ideas
- Arrange on a wooden board with small bowls of additional toppings
- Serve in a martini glass for an elegant cocktail party
- Use decorative toothpicks with colored ends for easy identification
- Create a “bar” where guests can add their own toppings
Accompaniments
- Dips: Ranch dressing, chipotle mayo, or honey mustard
- Crunchy elements: Tortilla chips, pretzel sticks, or vegetable crudités
- Fresh items: Celery sticks, cucumber slices, or bell pepper strips
- Sweet contrasts: Apple slices or grape tomatoes
Complete Party Menu Suggestions
For a cohesive appetizer spread, pair these cheese balls with:
- Buffalo chicken wings
- Spinach artichoke dip
- Hummus and pita chips
- Fresh fruit platter
- Antipasto skewers
Troubleshooting Common Issues
Even experienced cooks can run into challenges. Here are solutions to common problems:
Problem: Mixture is too soft to form balls
Solutions:
- Refrigerate the mixture longer (at least 1 hour)
- Add more grated cheddar cheese, 2 tablespoons at a time
- Place the mixing bowl in the freezer for 10 minutes
Problem: Coating doesn’t stick well
Solutions:
- Make sure balls are cold when coating
- Press coating firmly but gently into the surface
- If needed, roll balls again in coating just before serving
Problem: Cheese balls are bland
Solutions:
- Add more jalapeño, including some seeds
- Increase garlic powder to 1½ teaspoons
- Add ¼ teaspoon onion powder
- Use extra-sharp cheddar instead of sharp
Problem: Cheese balls are too spicy
Solutions:
- Use only the flesh of the jalapeños, no seeds or membranes
- Substitute half or all jalapeños with bell peppers
- Increase the amount of cream cheese by 2 ounces
- Serve with cooling dips like ranch or sour cream

The Secret to Perfect Bacon Jalapeño Popper Cheese Balls
After making these countless times, I’ve discovered a few professional tips that take these from good to outstanding:
- Grate your own cheese: Pre-shredded cheese contains anti-caking agents that affect both texture and meltability. Taking the extra few minutes to grate fresh cheese makes a noticeable difference.
- Temperature matters: Always start with room temperature cream cheese for the smoothest mixing. Cold cream cheese leads to lumps.
- Cook the bacon properly: Underdone bacon will be chewy in the balls, while burned bacon will taste bitter. Aim for perfectly crisp bacon that crumbles easily.
- Handle jalapeños with care: Not just for safety reasons, but consistent, fine dicing ensures even heat distribution throughout the mixture.
- Double-coating technique: For extra crunch, after the first coating and a brief chill, dip the balls in a beaten egg and coat again with the panko mixture.
Health Considerations and Modifications
These cheese balls are undeniably indulgent, but there are ways to adjust the recipe for various dietary needs:
Lower-Fat Version
- Use reduced-fat cream cheese (not fat-free)
- Replace half the cheddar with part-skim mozzarella
- Use turkey bacon instead of pork bacon
- Bake the balls at 375°F for 10 minutes instead of frying
Gluten-Free Option
- Replace panko breadcrumbs with gluten-free breadcrumbs
- Add 1 tablespoon cornstarch to the cheese mixture to help binding
- Check all seasoning packages for hidden gluten
Vegetarian Adaptation
- Omit the bacon
- Add 1 tablespoon smoked paprika for smokiness
- Include 2 tablespoons finely chopped sun-dried tomatoes for umami
- Use smoke-flavored almonds, finely chopped, in the coating
Cost Efficiency
Making these at home is significantly more economical than purchasing similar appetizers pre-made. Here’s a cost breakdown (approximate, will vary by location):
| Ingredient | Approximate Cost | Cost Per Recipe |
|---|---|---|
| Cream cheese (16 oz) | $3.99 | $3.99 |
| Cheddar cheese (8 oz) | $2.99 | $5.98 |
| Bacon (1 lb) | $5.99 | $3.00 |
| Jalapeños (4) | $0.89 | $0.89 |
| Green onions (bunch) | $0.99 | $0.50 |
| Panko breadcrumbs | $1.99 | $0.50 |
| Spices | – | $0.35 |
| Parsley | $1.29 | $0.30 |
| TOTAL | $15.51 |
This works out to approximately $0.50-$0.65 per cheese ball, compared to $1.50-$2.00 for similar pre-made appetizers at grocery stores or $8-$12 per serving at restaurants.
Why I Love This Recipe
These Bacon Jalapeño Popper Cheese Balls have become my signature appetizer for good reason. Beyond the incredible taste, they solve so many entertaining challenges:
- They can be prepared well in advance
- They don’t require last-minute heating or cooking
- They’re easy to eat with just a toothpick (no plate needed)
- They satisfy multiple flavor preferences at once
- They look impressive with minimal effort
I’ve brought these to birthday parties, holiday gatherings, game days, and even a wedding reception (at the bride’s request!). Without fail, they’re the first appetizer to disappear, and I always go home with an empty container and multiple requests for the recipe.
What started as an experiment has become a tradition, and now I’m sharing that tradition with you. I hope these cheese balls bring as much joy to your gatherings as they have to mine.

Frequently Asked Questions
Q: Can I use canned jalapeños instead of fresh? Yes, you can substitute with drained, canned jalapeños. Use about 3-4 tablespoons, chopped. The flavor will be slightly different, and they’re often less spicy than fresh peppers.
Q: How far in advance can I make these? The cheese mixture can be prepared up to 3 days ahead and stored in the refrigerator. I recommend forming and coating the balls no more than 24 hours before serving for the best texture.
Q: Can I freeze these cheese balls? Yes, but freeze them before adding the coating. Place formed balls on a baking sheet, freeze until solid, then transfer to freezer bags. Thaw overnight in the refrigerator, then coat before serving.
Q: What’s the best way to transport these to a party? Line a shallow airtight container with parchment paper and arrange cheese balls in a single layer. Add another layer of parchment and cheese balls if needed. Keep refrigerated until just before leaving, and transport in a cooler with ice packs if traveling more than 30 minutes.
Q: Are these suitable for keto diets? The cheese and bacon are keto-friendly, but the panko breadcrumbs are not. For a keto version, use crushed pork rinds instead of panko for the coating.
Q: How spicy are these cheese balls? Following the recipe as written with seeds and membranes removed, they have a mild to medium heat level. The cheese helps temper the spiciness. Adjust according to your preference by keeping or removing seeds and membranes.
Q: Can I make mini versions for a larger crowd? Absolutely! Form smaller, bite-sized balls (about ½-inch diameter) for larger gatherings. This will yield approximately 50-60 mini balls from the same recipe.
Q: What can I use instead of bacon for a non-pork version? Turkey bacon works well, as does beef bacon if available. For a completely different flavor profile, substitute finely chopped roasted red peppers mixed with a bit of smoked paprika for the smokiness.
Q: The mixture is sticking to my hands when I try to form balls. Any tips? Slightly dampening your hands with cold water helps prevent sticking. Alternatively, use a small cookie scoop to portion the mixture, then quickly roll between your palms.
Q: Can these be served warm? While traditionally served cold, you can warm them if desired. Place on a baking sheet and heat in a 350°F oven for about 5-7 minutes, just until warmed through. Be careful not to overheat, or they will melt.
Final Thoughts
Making great food isn’t just about following recipes—it’s about creating experiences and memories. These Bacon Jalapeño Popper Cheese Balls have been the backdrop to countless conversations, celebrations, and connections in my life.
What makes them special isn’t just their perfect balance of creamy, crunchy, spicy, and smoky elements. It’s the way they bring people together, encouraging mingling and sharing as guests reach for “just one more.”
I encourage you to make this recipe your own. Adjust the spice level, experiment with different cheese combinations, or try one of the variations I’ve suggested. The most important ingredient is the joy you bring to the process.
So the next time you’re asked to bring an appetizer to a gathering, consider these Bacon Jalapeño Popper Cheese Balls. I can almost guarantee you’ll be asked for the recipe before the night is over.


