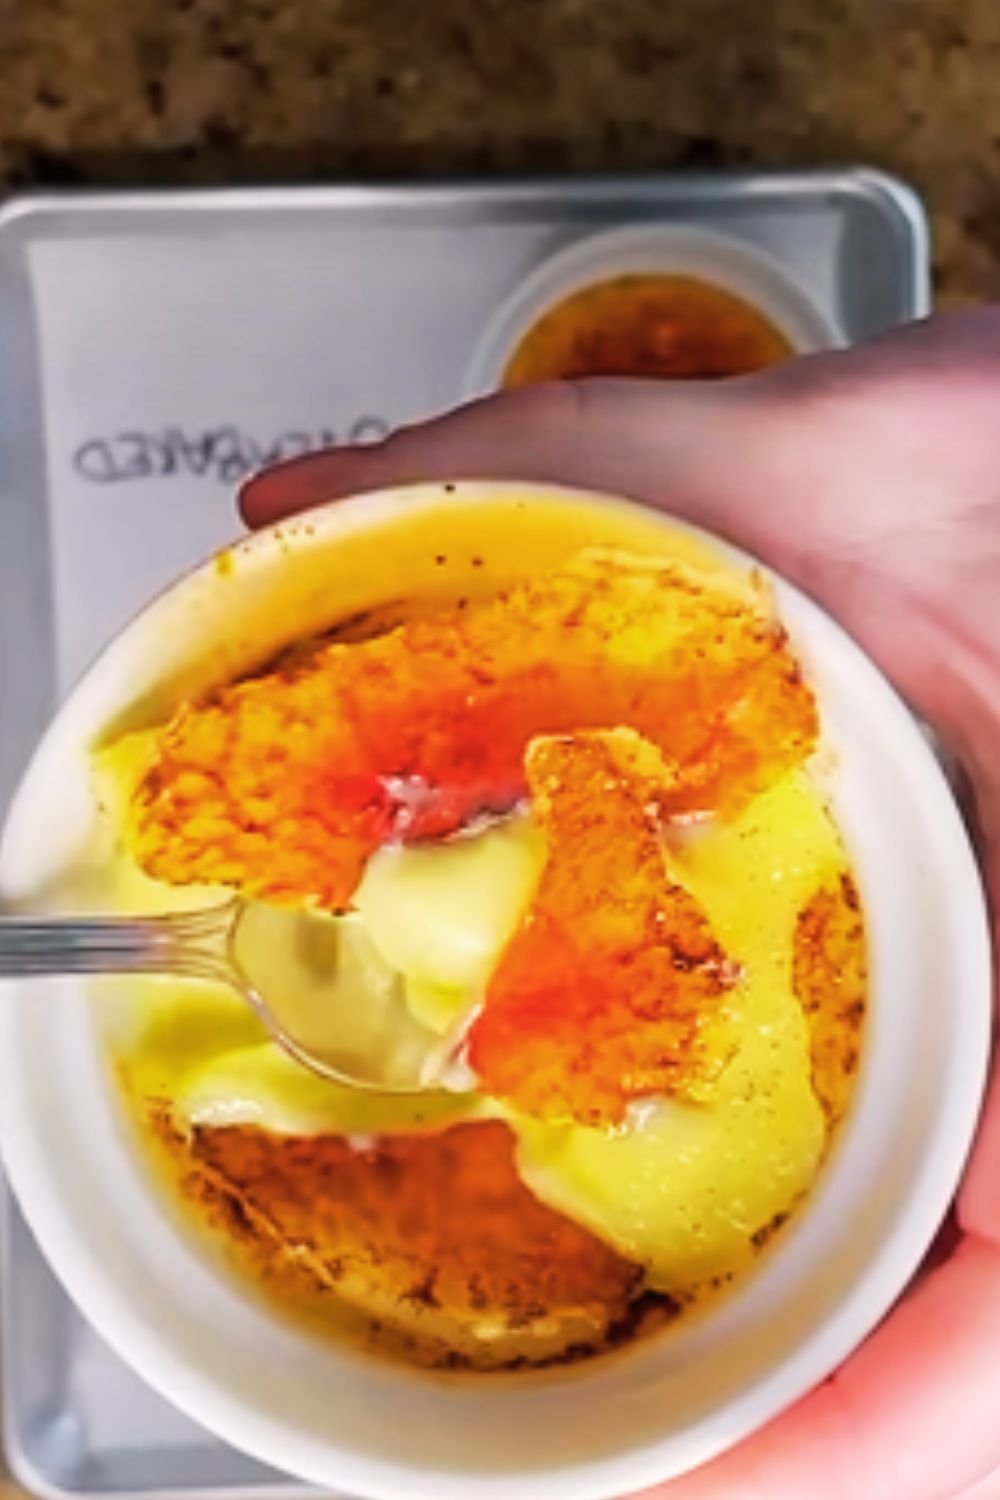
There’s something magical about cracking through that glassy caramelized sugar surface to reach the silky custard beneath. As a pastry enthusiast who has made countless crème brûlées over the years, I’m excited to share my foolproof recipe that will help you create this classic French dessert in your own kitchen. Whether you’re preparing it for a special occasion or simply want to master this elegant dessert, I’ll guide you through every step to achieve restaurant-quality results.
What Makes a Perfect Crème Brûlée?
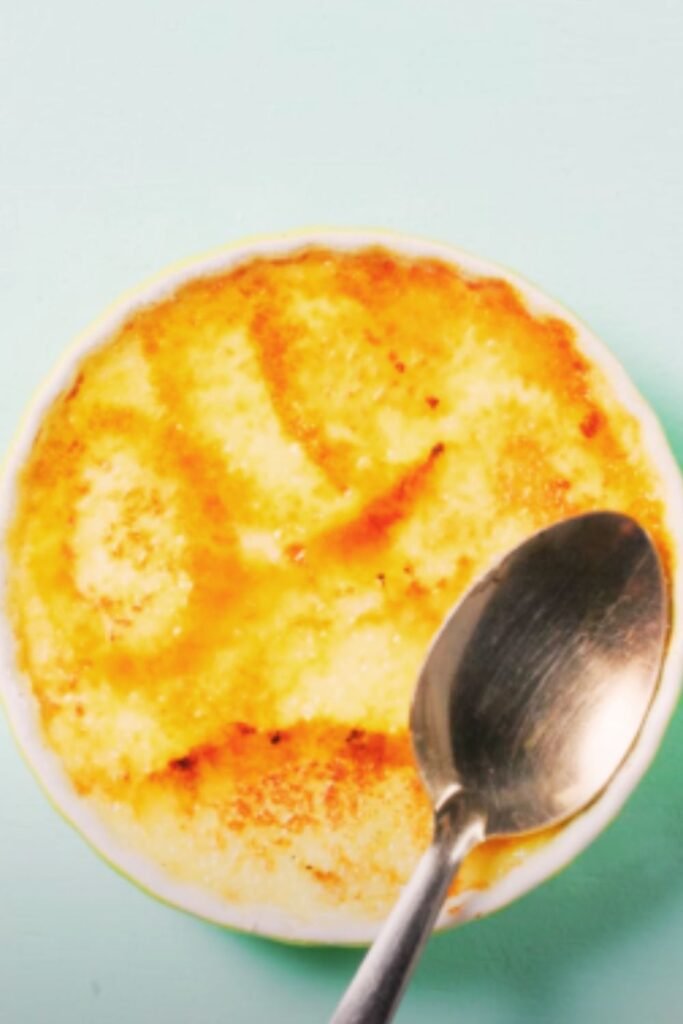
Before diving into the recipe, let’s understand what makes an exceptional crème brûlée. The perfect crème brûlée should have:
- A smooth, creamy custard with a rich vanilla flavor
- A paper-thin caramelized sugar crust that cracks like glass
- A barely set center that wobbles slightly when gently shaken
- A pure, clean vanilla flavor without any eggy taste
- A consistent temperature throughout the custard
Essential Equipment

For best results, you’ll need:
| Equipment | Purpose | Recommended Type |
|---|---|---|
| Ramekins | Individual serving dishes | 4-6 oz ceramic ramekins |
| Kitchen torch | Caramelizing sugar topping | Butane culinary torch |
| Fine-mesh strainer | Straining custard | Stainless steel, 6-inch diameter |
| Digital thermometer | Monitoring temperature | Instant-read digital |
| Roasting pan | Water bath container | Heavy-duty aluminum |
| Mixing bowls | Preparation | Heatproof glass or stainless steel |
| Whisk | Mixing ingredients | Balloon whisk |
Ingredients
For 6 servings:
| Ingredient | Amount | Notes |
|---|---|---|
| Heavy cream | 2 cups (480ml) | 36% fat content |
| Vanilla bean | 1 pod | Madagascar or Tahitian |
| Egg yolks | 4 large | Room temperature |
| Granulated sugar | 1/4 cup (50g) | For custard base |
| Salt | 1/8 tsp | Fine sea salt |
| Superfine sugar | 6 tbsp | For caramelized topping |
The Science Behind Perfect Custard
Understanding the chemistry helps achieve consistent results:
- Proteins in egg yolks begin to thicken at 150°F (65°C)
- Overcooking beyond 180°F (82°C) causes curdling
- Optimal final temperature is 175°F (79°C)
- Sugar interferes with protein coagulation, providing smoothness
- Fat content in cream affects richness and stability
Step-by-Step Instructions
Preparing the Cream Base
- Split the vanilla bean lengthwise and scrape out seeds
- Combine cream, vanilla pod, and seeds in a saucepan
- Heat until bubbles form around edges (180°F/82°C)
- Remove from heat and let steep for 30 minutes
- Remove vanilla pod and reheat cream slightly
Making the Custard
- Whisk egg yolks, sugar, and salt until pale (3-4 minutes)
- Slowly stream in warm cream while whisking
- Strain mixture through fine-mesh strainer
- Divide among ramekins
- Remove any surface bubbles
Baking Process
Temperature and timing are crucial:
| Stage | Temperature | Duration |
|---|---|---|
| Oven preheating | 300°F (150°C) | 15 minutes |
| Water bath | 180°F (82°C) | N/A |
| Initial baking | 300°F (150°C) | 25-30 minutes |
| Final setting | Residual heat | 5-10 minutes |
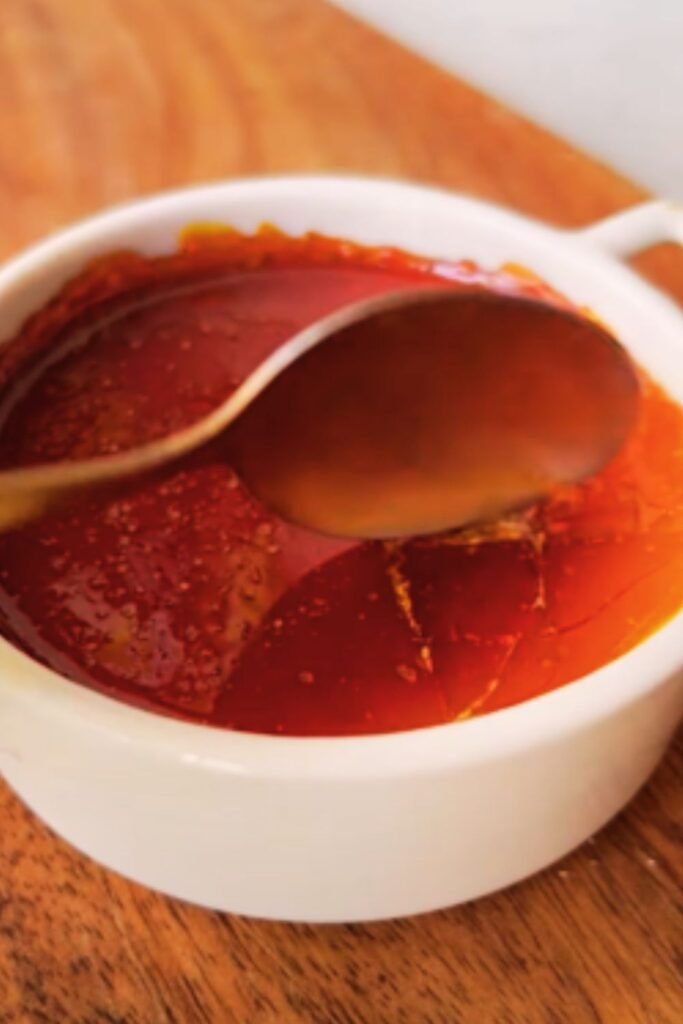
Caramelizing the Top
- Chill custards thoroughly (4 hours minimum)
- Blot any moisture from surface
- Sprinkle 1 tbsp superfine sugar evenly
- Torch in circular motions until caramelized
- Let cool 1-2 minutes before serving
Troubleshooting Common Issues
| Problem | Cause | Solution |
|---|---|---|
| Curdled custard | Overheated eggs | Use lower temperature, strain mixture |
| Runny center | Underbaked | Increase baking time by 3-5 minutes |
| Weepy surface | Condensation | Blot surface before sugar layer |
| Burnt sugar | Too much heat | Use less sugar, torch more gently |
| Grainy texture | Sugar crystallization | Strain mixture, control temperature |
Make-Ahead Tips
- Custards can be baked up to 3 days ahead
- Store covered in refrigerator
- Add sugar topping just before serving
- Never freeze completed custards
Serving Suggestions
- Fresh seasonal berries
- Edible flowers
- Mint leaves
- Dark chocolate shavings
- Fresh whipped cream
Flavor Variations
While classic vanilla is traditional, try these variations:
| Flavor | Addition | Amount |
|---|---|---|
| Coffee | Espresso powder | 1 tbsp |
| Chocolate | Cocoa powder | 2 tbsp |
| Citrus | Orange zest | 1 tbsp |
| Lavender | Dried buds | 1 tsp |
| Maple | Grade A syrup | 2 tbsp |
Questions & Answers
Q: Why did my custard crack during baking?
A: Cracks usually occur from baking at too high a temperature or overcooking. Always use a water bath and remove custards when they still have a slight wobble.
Q: Can I use vanilla extract instead of vanilla beans?
A: Yes, though the flavor won’t be as complex. Use 1 tablespoon of pure vanilla extract as a substitute.
Q: How do I know when the custard is perfectly baked?
A: The edges should be set but the center should wobble slightly when gently shaken. An instant-read thermometer should register 175°F (79°C).
Q: Why isn’t my sugar caramelizing evenly?
A: Ensure the surface is completely dry and use superfine sugar for better melting. Move the torch in small circular motions for even caramelization.
Q: Can I make this without a kitchen torch?
A: While a torch gives the best results, you can use your oven’s broiler. Watch carefully to prevent burning and rotate for even browning.
Storage Tips
| Storage Method | Temperature | Duration | Notes |
|---|---|---|---|
| Refrigerator (uncaramelized) | 38°F (3°C) | Up to 3 days | Cover with plastic |
| Refrigerator (caramelized) | 38°F (3°C) | Up to 4 hours | Sugar layer will soften |
| Room temperature | N/A | Up to 2 hours | Serve immediately |
Remember, crème brûlée is about patience and precision. Take your time with each step, and you’ll be rewarded with a dessert that rivals any restaurant version. The key is in the details: properly tempered eggs, perfectly steeped cream, and that satisfying crack of caramelized sugar that makes this dessert so special.
With practice and attention to detail, you’ll master this classic French dessert and have a go-to recipe for special occasions or whenever you want to impress your guests with something truly spectacular.

