There’s something magical about the way lemon desserts balance sweetness with refreshing tartness. I’ve been perfecting this Lemon Mousse Cake recipe for years, and I’m thrilled to finally share it with you. This show-stopping dessert combines a buttery shortbread crust, a velvety smooth lemon mousse filling, and a delicate mirror glaze that creates an elegant finish perfect for special occasions or whenever you need a little sunshine on your plate.
The Perfect Marriage of Textures
When I first started experimenting with mousse cakes, I quickly learned that texture is everything. This lemon mousse cake delivers on all fronts—a crisp, buttery base that provides structure, an airy yet rich mousse that melts in your mouth, and a glossy, smooth top layer that adds visual appeal and an extra burst of lemon intensity.
My journey with this recipe started after tasting a similar dessert at a small patisserie during a trip to France. I was captivated by how light yet satisfying it was, and I knew I had to recreate that experience in my own kitchen. After countless trials (and some delicious failures!), I’ve crafted a recipe that brings that French patisserie magic right to your home.
Why You’ll Love This Lemon Mousse Cake
This dessert has become my go-to for so many reasons:
- The bright lemon flavor is present in every layer but never overwhelming
- The mousse sets perfectly without being rubbery or too firm
- The combination of textures creates a truly memorable dessert experience
- It can be made ahead of time, perfect for entertaining
- It looks impressively professional with minimal decoration required
Let me walk you through creating this citrus dream from scratch, sharing all my tips and tricks along the way.
Ingredients
For the Shortbread Base:
- 1½ cups (190g) all-purpose flour
- ½ cup (100g) granulated sugar
- ¼ teaspoon salt
- Zest of 1 lemon, finely grated
- ¾ cup (170g) unsalted butter, cold and cubed
- 1 large egg yolk
- 1 teaspoon vanilla extract
For the Lemon Mousse:
- 1 cup (240ml) fresh lemon juice (approximately 6-8 lemons)
- Zest of 3 lemons, finely grated
- 1 cup (200g) granulated sugar
- 6 large eggs
- 2 tablespoons (16g) cornstarch
- ¼ teaspoon salt
- ½ cup (113g) unsalted butter, cut into small pieces
- 2½ teaspoons (7g) powdered gelatin
- 3 tablespoons cold water
- 2 cups (480ml) heavy cream, chilled
For the Lemon Mirror Glaze:
- ⅓ cup (80ml) fresh lemon juice
- ⅓ cup (80ml) water
- ¾ cup (150g) granulated sugar
- 2 tablespoons (16g) cornstarch
- 1 tablespoon (9g) powdered gelatin
- 3 tablespoons cold water
- Yellow food coloring (optional, for enhanced color)
For Garnish (Optional):
- Fresh lemon slices
- Fresh berries (raspberries, blueberries, or strawberries)
- Mint leaves
- White chocolate curls
- Edible flowers
Equipment Needed
Before diving into the preparation, make sure you have these essential tools on hand:
- 9-inch (23cm) springform pan
- Parchment paper
- Stand mixer or hand mixer
- Microplane zester or fine grater
- Citrus juicer
- Medium saucepan
- Heat-resistant bowls
- Silicone spatula
- Whisk
- Fine mesh strainer
- Cake lifter or large flat spatula
- Cake stand or serving plate
Preparation Method
Step 1: Prepare the Shortbread Base
- Preheat your oven to 350°F (175°C). Line the bottom of a 9-inch (23cm) springform pan with parchment paper and lightly grease the sides.
- In a food processor, combine the flour, sugar, salt, and lemon zest. Pulse a few times to mix.
- Add the cold cubed butter and pulse until the mixture resembles coarse sand.
- Add the egg yolk and vanilla extract, then pulse until the dough just begins to come together.
- Press the dough evenly into the bottom of the prepared springform pan. Use the bottom of a measuring cup to create a smooth, even surface.
- Prick the dough all over with a fork to prevent it from puffing up during baking.
- Bake for 20-25 minutes until the edges are lightly golden. The center may still look slightly soft but will firm up as it cools.
- Allow the crust to cool completely in the pan while you prepare the mousse.
Step 2: Create the Lemon Curd Base for the Mousse
- In a medium bowl, sprinkle the gelatin over the 3 tablespoons of cold water. Set aside to bloom for about 5 minutes.
- In a medium saucepan, whisk together the lemon juice, lemon zest, sugar, eggs, cornstarch, and salt until smooth.
- Cook over medium heat, whisking constantly, until the mixture thickens enough to coat the back of a spoon (about 8-10 minutes). Be patient here—rushing can lead to curdling.
- Once thickened, remove from heat and immediately strain through a fine-mesh sieve into a clean bowl to remove any cooked egg bits and zest.
- Add the butter pieces to the hot lemon curd and stir until completely melted and incorporated.
- Add the bloomed gelatin to the hot lemon mixture and stir until completely dissolved.
- Allow the lemon mixture to cool to room temperature, stirring occasionally to prevent a skin from forming. The mixture should thicken slightly but still be pourable.
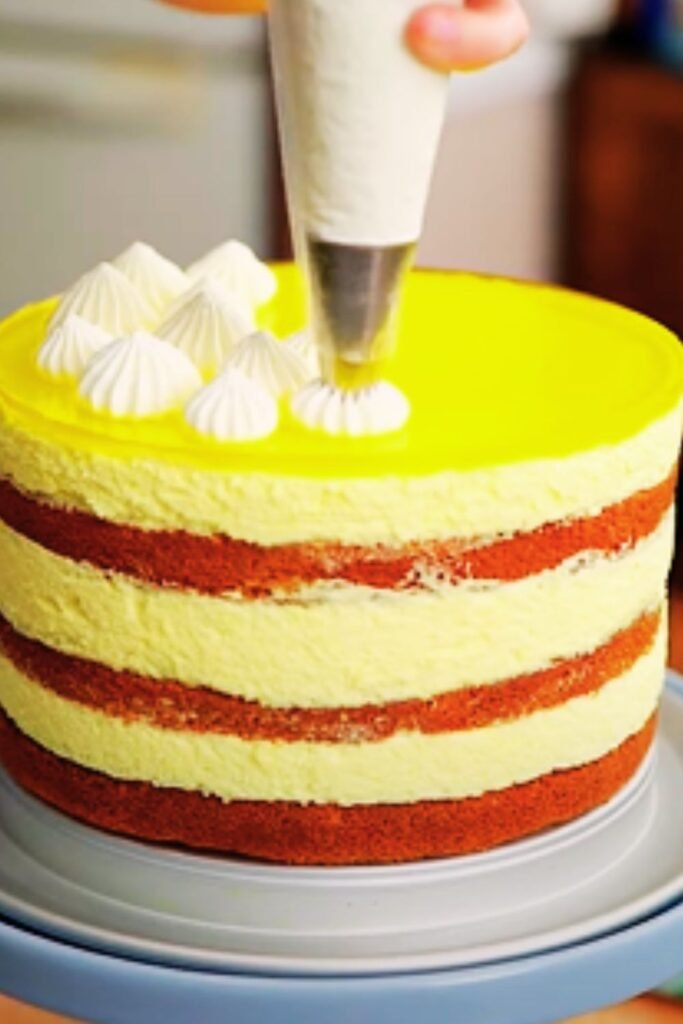
Step 3: Complete the Mousse and Assemble
- Once the lemon base has cooled to room temperature (but before it sets), whip the chilled heavy cream in a stand mixer fitted with the whisk attachment until stiff peaks form.
- Gently fold about one-third of the whipped cream into the lemon mixture to lighten it.
- Carefully fold in the remaining whipped cream until just combined, maintaining as much air as possible for a light, fluffy mousse.
- Pour the mousse mixture over the cooled shortbread base in the springform pan. Smooth the top with an offset spatula.
- Refrigerate for at least 4 hours or, ideally, overnight to allow the mousse to set completely.
Step 4: Prepare the Mirror Glaze
- In a small bowl, sprinkle the gelatin over the 3 tablespoons of cold water and let it bloom for 5 minutes.
- In a medium saucepan, whisk together the lemon juice, water, sugar, and cornstarch.
- Heat over medium heat, whisking constantly, until the mixture comes to a boil and thickens (about 2-3 minutes after reaching a boil).
- Remove from heat and add the bloomed gelatin, stirring until completely dissolved.
- If using food coloring, add a small amount now to achieve a pale yellow color.
- Allow the glaze to cool to room temperature. It should be pourable but not hot, as a hot glaze will melt the mousse.
Step 5: Finish the Cake
- Once the mousse cake has set completely, carefully run a thin knife around the edge of the springform pan to loosen the cake.
- Remove the sides of the springform pan.
- Place the cake (still on the springform base) on a wire rack set over a baking sheet to catch drips.
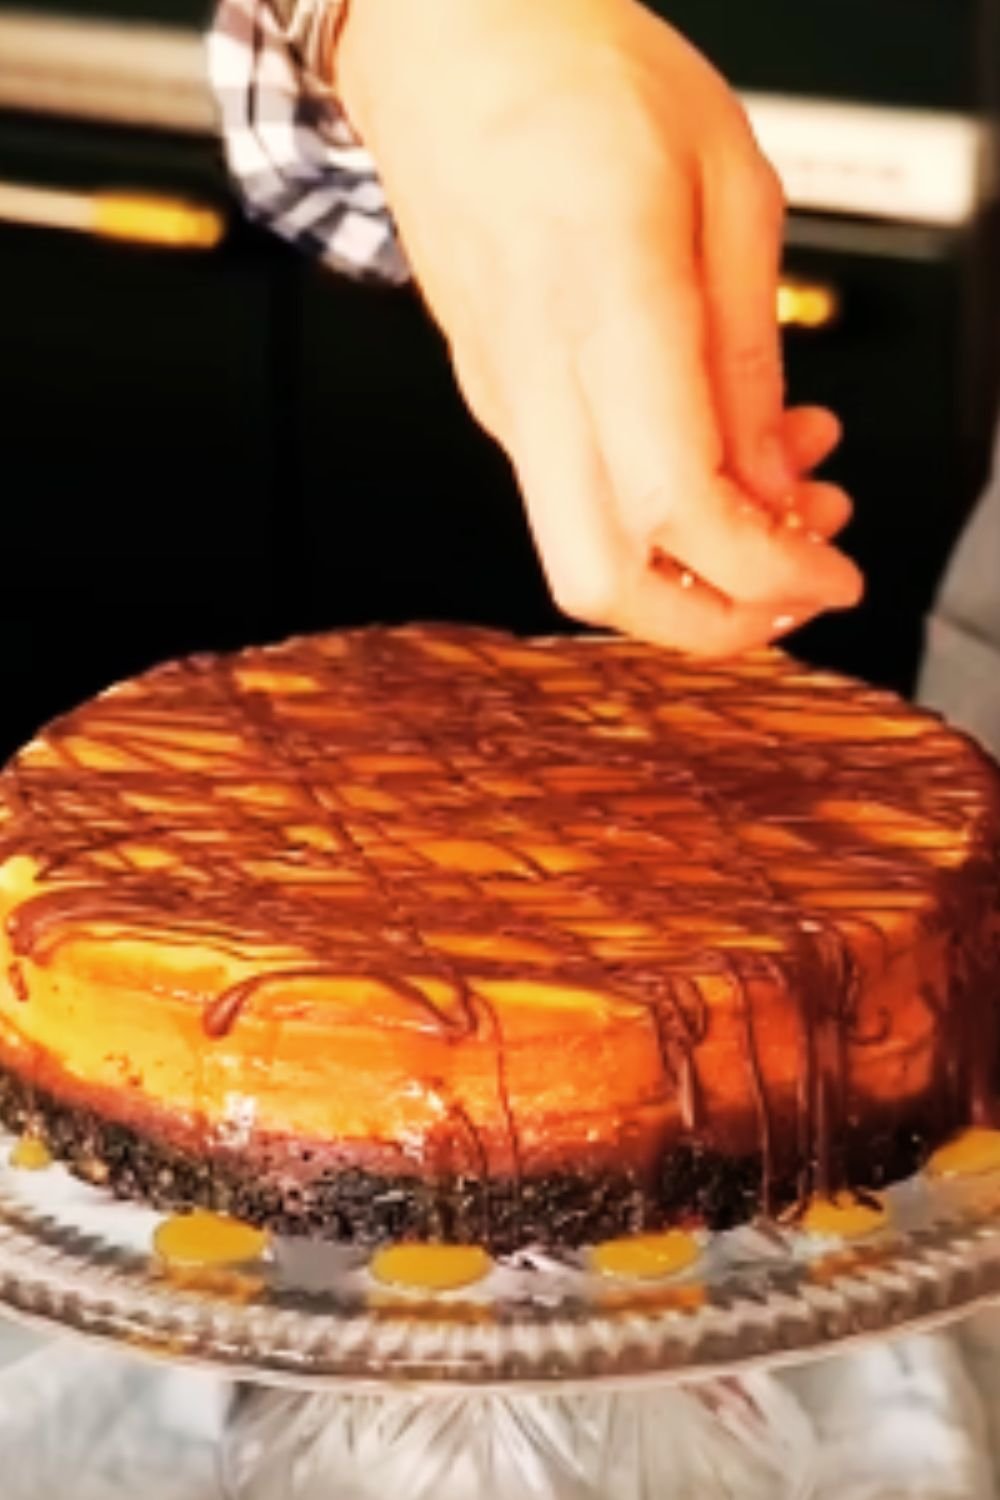
- Pour the cooled mirror glaze over the top of the cake, starting from the center and working outward. Use an offset spatula to guide the glaze to cover the entire top surface if needed.
- Allow the glaze to set for about 30 minutes in the refrigerator.
- Using a cake lifter or large flat spatula, carefully transfer the finished cake to a cake stand or serving plate.
- Decorate as desired with fresh berries, lemon slices, mint leaves, or white chocolate curls just before serving.

Storage and Make-Ahead Tips
One of the things I love most about this dessert is how well it keeps and how perfect it is for advance preparation:
- The finished cake will keep well in the refrigerator for up to 3 days.
- Store it in a cake keeper or loosely tent with foil to prevent the glaze from sticking to any covering.
- For the best flavor and texture, remove the cake from the refrigerator 20-30 minutes before serving.
- The shortbread base can be made up to 2 days in advance and stored at room temperature, well-wrapped.
- The lemon curd portion (before adding gelatin and folding in cream) can be made 1 day ahead and refrigerated. Bring to room temperature before continuing with the recipe.
Troubleshooting Guide
| Issue | Possible Cause | Solution |
|---|---|---|
| Mousse didn’t set properly | Gelatin wasn’t fully bloomed or dissolved | Ensure gelatin blooms for full 5 minutes and is completely dissolved in hot liquid |
| Mousse not chilled long enough | Allow at least 6 hours, preferably overnight, for setting | |
| Cream was not whipped to stiff peaks | Make sure cream is properly whipped before folding | |
| Crust is too hard | Overbaked | Watch carefully and remove when edges are just golden |
| Pressed too firmly | Use gentle pressure when forming the crust | |
| Mirror glaze is lumpy | Gelatin not fully dissolved | Strain glaze before pouring if needed |
| Glaze cooled too much before pouring | Glaze should be room temperature but still pourable | |
| Mousse has bits of curd | Curd wasn’t strained | Always strain hot curd to remove solids |
| Eggs started to scramble | Use lower heat and constant whisking | |
| Mousse separated from crust | Crust not cooled before adding mousse | Ensure base is completely cool before adding mousse layer |
| Mousse mixture was too warm | Let curd cool properly before adding whipped cream |
Variations
While I adore this classic lemon version, I’ve experimented with several delicious variations:
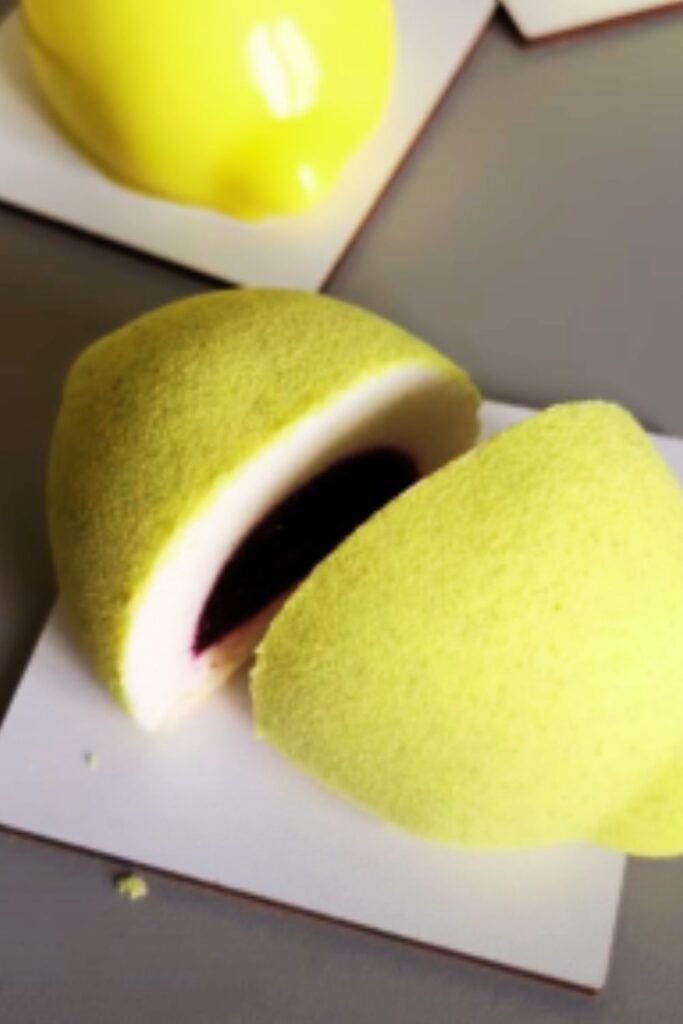
Lemon-Raspberry Mousse Cake
- Add 1 cup of fresh raspberries to the mousse
- Garnish with additional fresh raspberries
- Consider a raspberry coulis drizzle when serving
Lemon-Blueberry Mousse Cake
- Fold ¾ cup fresh blueberries into the mousse
- Add 1 teaspoon of finely grated lemon zest to the shortbread base
- Decorate with fresh blueberries and lemon zest
Lemon-Coconut Mousse Cake
- Replace ¼ cup of the flour with shredded coconut in the base
- Add 2 tablespoons of coconut cream to the mousse
- Garnish with toasted coconut flakes
Meyer Lemon Variation
- Replace regular lemons with Meyer lemons for a sweeter, more floral flavor
- Reduce sugar in the mousse by 2 tablespoons to account for the sweeter lemon variety
Expert Tips for Success
After making this cake countless times, I’ve collected some wisdom that makes all the difference:
- Temperature matters: Ingredients like butter, eggs, and cream work best at their specified temperatures. Cold cream whips better, while room temperature butter incorporates more smoothly.
- Mise en place: This recipe has several components. Having everything measured and ready before you start each section makes the process much smoother.
- Patience pays off: Don’t rush the cooling or setting times. They’re crucial for achieving the perfect texture and ensuring the layers remain distinct.
- Zest before juicing: Always zest your lemons before juicing them—it’s nearly impossible to do it the other way around.
- Quality ingredients: Since this dessert highlights lemon flavor, use fresh, high-quality lemons. The difference in taste is remarkable.
- Gentle folding: When incorporating the whipped cream into the lemon base, use a light hand and a folding motion rather than stirring to preserve the air in the whipped cream.
Serving Suggestions
This Lemon Mousse Cake stands beautifully on its own, but I love to serve it with:
- A light dusting of powdered sugar
- Fresh mixed berries on the side
- A small dollop of lightly sweetened whipped cream
- A sprig of fresh mint
- A hot cup of Earl Grey tea or a strong espresso to balance the sweetness
For special occasions, I create a small plate presentation with a slice of cake accompanied by a quenelle of vanilla bean crème fraîche and a scattering of candied lemon peel.
Nutritional Information
For those watching their nutritional intake, here’s an approximate breakdown per slice (assuming 12 slices per cake):
| Nutrient | Amount per Serving |
|---|---|
| Calories | 485 |
| Total Fat | 32g |
| Saturated Fat | 19g |
| Cholesterol | 185mg |
| Sodium | 115mg |
| Total Carbohydrates | 45g |
| Dietary Fiber | 1g |
| Sugars | 34g |
| Protein | 6g |
| Calcium | 6% DV |
| Iron | 8% DV |
| Vitamin C | 15% DV |
Why This Recipe Works
This lemon mousse cake achieves the perfect balance through careful attention to several critical factors:
- The acid-base balance: The tartness of the lemons is perfectly counteracted by the sweetness of the sugar and the richness of the cream and butter.
- Textural contrast: The crisp shortbread, cloud-like mousse, and smooth glaze create a delightful sensory experience.
- Gelatin proportion: Just enough to set the mousse without making it rubbery or firm.
- Proper cooling: Each component is allowed to cool to the right temperature before proceeding to the next step, ensuring perfect integration.
- Fresh ingredients: Using fresh lemon juice and zest provides a vibrant, authentic flavor that bottled alternatives simply can’t match.
Questions & Answers
Can I make this cake without gelatin?
Yes, though the texture will be slightly different. For a vegetarian version, you can substitute agar-agar (use about 1 teaspoon per tablespoon of gelatin) or use a combination of cornstarch and egg yolks to thicken the mousse. Keep in mind that these substitutions may result in a slightly different texture and setting properties.
How far in advance can I make this cake?
This cake can be made up to 2 days in advance and stored in the refrigerator. I actually find the flavors develop nicely after a day, making it perfect for preparing ahead for special occasions.
Can I freeze this lemon mousse cake?
While you can freeze it, I don’t generally recommend freezing the completed cake as the texture of the mousse may change slightly upon thawing. However, you can freeze the shortbread base if you want to prepare that component ahead of time.
What size pan should I use if I don’t have a 9-inch springform?
If you don’t have a 9-inch springform pan, you can use an 8-inch springform (which will yield a taller cake with slightly longer baking and setting times) or a 10-inch springform (resulting in a shorter cake with slightly reduced times). Alternatively, you could use a cake ring with a removable bottom placed on a flat baking sheet.
My mirror glaze set before I could spread it evenly. What happened?
If your glaze begins to set too quickly, it was likely too cool when you poured it. You can gently reheat it over a double boiler or in the microwave in short bursts, stirring between each, until it returns to a pourable consistency.
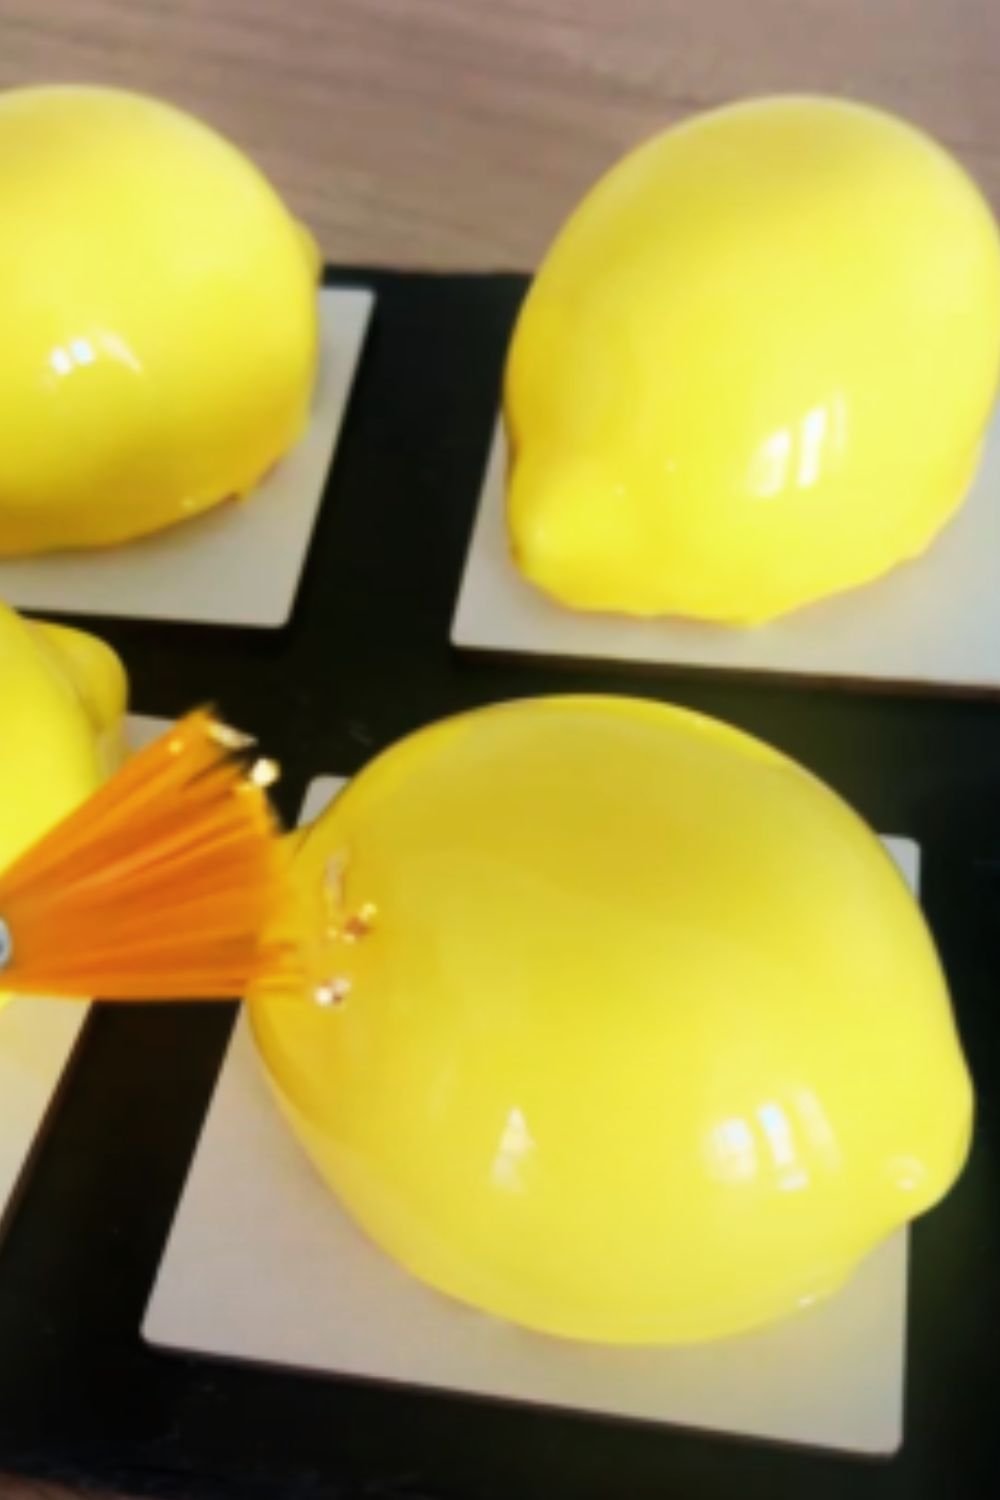
Can I make individual mini lemon mousse cakes instead of one large cake?
Absolutely! Use individual 3-inch springform pans or dessert rings on a baking sheet. Adjust the baking time for the crust to about 12-15 minutes. The mousse setting time will be shorter for individual servings, typically 2-3 hours instead of overnight.
Is there a way to make this cake less sweet?
Yes, you can reduce the sugar in the mousse by up to ¼ cup without affecting the texture significantly. You might also consider using slightly less sugar in the mirror glaze if you prefer a more pronounced tart flavor.
How can I get my shortbread base evenly thick?
I find using the flat bottom of a measuring cup or glass helps to create an even layer. Press from the center outward, and pay special attention to the edges to avoid an overly thick border.
Why did my lemon curd curdle?
Curdling usually happens when the eggs are heated too quickly or to too high a temperature. To avoid this, cook over medium-low heat rather than high heat, and whisk constantly. If it does curdle slightly, straining it through a fine-mesh sieve will remove any solid bits.
Can I use bottled lemon juice instead of fresh?
While you technically can, I strongly advise against it. Fresh lemon juice has a brighter, cleaner flavor that makes a significant difference in this recipe. Bottled juice often has a somewhat bitter aftertaste that becomes noticeable in a dessert where lemon is the star flavor.
Final Thoughts
This Lemon Mousse Cake has become one of my signature desserts, requested by friends and family for special celebrations and gatherings. There’s something about the bright, sunny flavor of lemon transformed into a cloud-like mousse that brings joy to any table.
I believe desserts should not only taste wonderful but also create moments of connection. This cake, with its impressive appearance yet approachable taste, does exactly that—it’s sophisticated enough for a dinner party but comforting enough to make everyone feel at home.
I hope you enjoy making and sharing this lemon mousse cake as much as I do. Remember that baking is as much about the journey as the destination, so take your time, enjoy the process, and don’t worry if things aren’t perfect the first time around. Each time you make it, you’ll discover new tricks and techniques to make it even better.