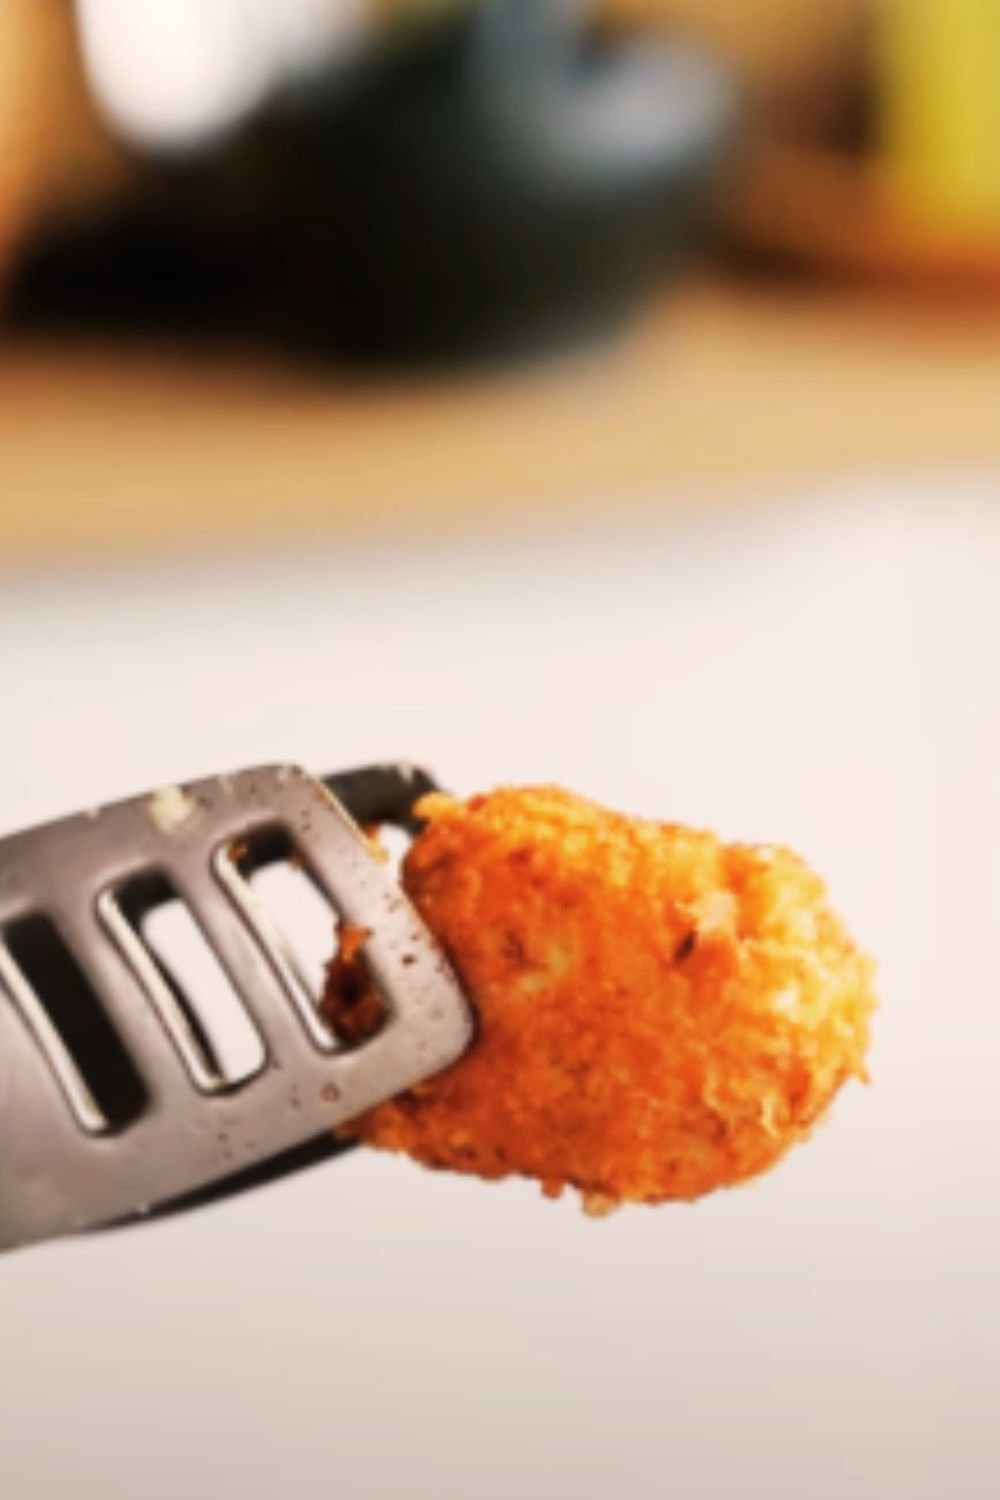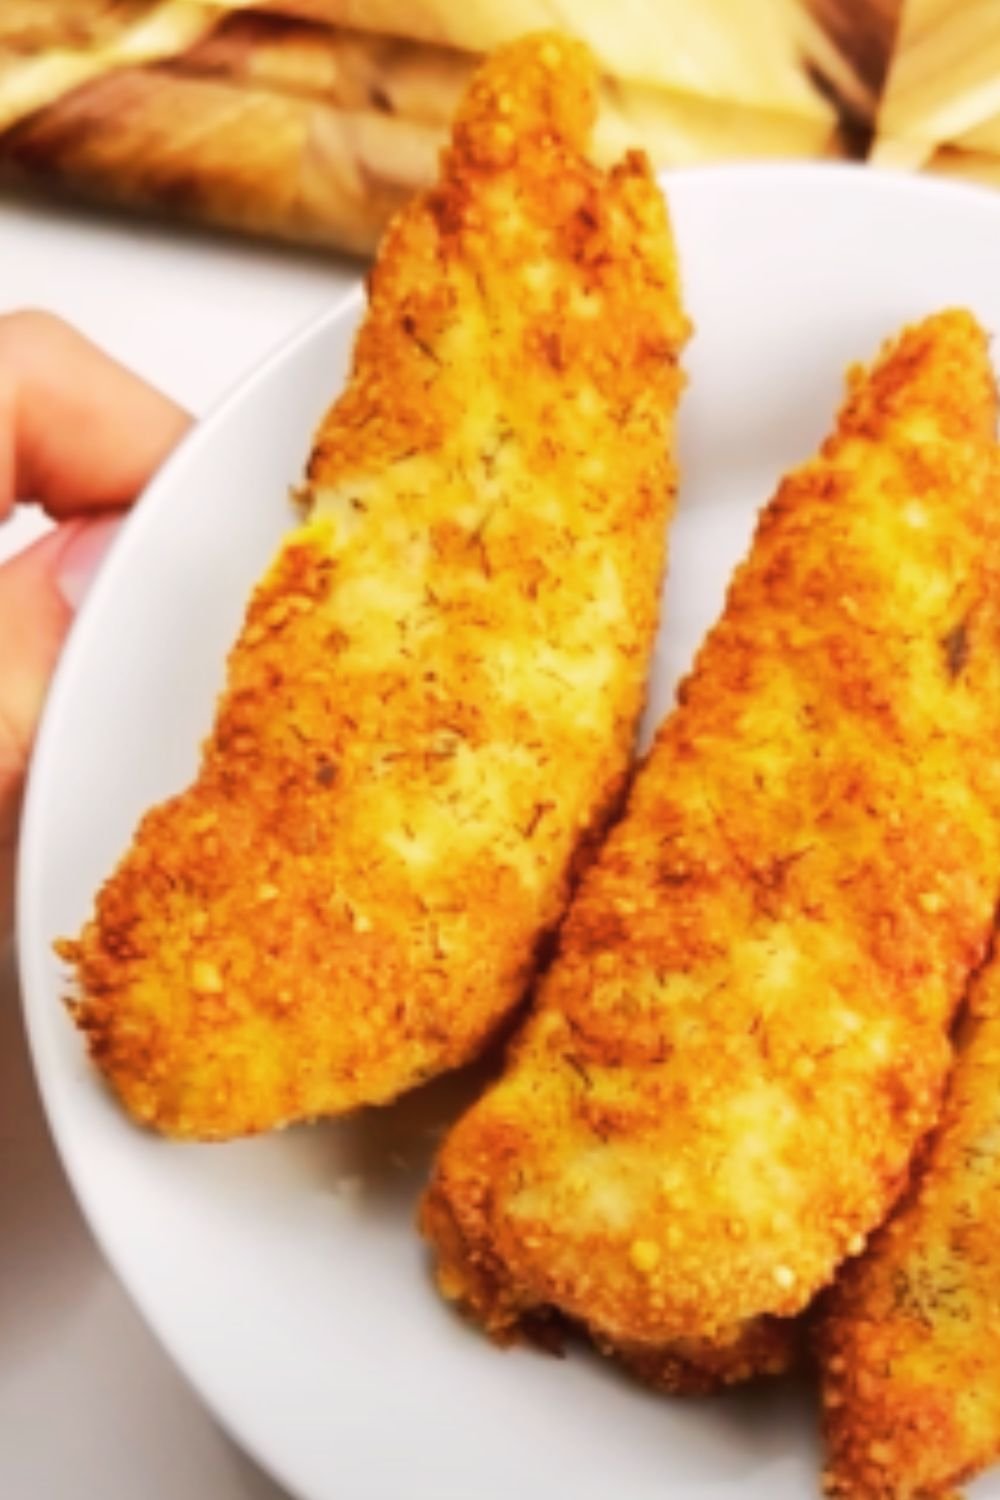
There’s something about homemade chicken tenders that just hits different. They’re crispy on the outside, juicy on the inside, and when you add that addictive ranch and Parmesan flavor profile? Well, let’s just say I’ve had guests literally fighting over the last piece. I’ve spent years perfecting this recipe, and I’m thrilled to finally share my secret technique for what my family affectionately calls “crack chicken” – because once you start, you just can’t stop!
Why You’ll Love This Recipe
Before we dive into the nitty-gritty, let me tell you why these chicken tenders deserve a spot in your recipe collection:
- Double-coated crispiness: The double dredging technique creates an ultra-crunchy exterior that stays crisp even when cooled
- Perfect seasoning blend: A carefully balanced mix of ranch seasoning and Parmesan creates that “can’t-stop-eating-it” flavor
- Versatile serving options: Works as an appetizer, main dish, or even in wraps and salads
- Make-ahead friendly: Can be prepped in advance and even frozen for quick weeknight meals
- Kid and adult approved: The ultimate crowd-pleaser that bridges generations
I originally created this recipe when my picky nephew came to visit, and now it’s requested at every family gathering. The secret is in the double coating and that magical ranch-Parmesan combination that creates flavor explosions in every bite.
The Science Behind Perfect Chicken Tenders
What makes a truly exceptional chicken tender? It comes down to three key factors:
- Moisture retention: Keeping the chicken juicy while crisping the exterior
- Texture contrast: Creating that satisfying crunch against tender meat
- Flavor development: Layering seasonings throughout the coating process
I’ve tested dozens of methods over the years, and I’ve found that the buttermilk marinade is non-negotiable for tenderizing the chicken while the double-dredging creates that restaurant-quality crunch we’re after. The ranch-Parmesan blend works its way into every nook and cranny, ensuring flavor in every bite.
Ingredients You’ll Need
For the Chicken and Marinade:
- 2 pounds chicken tenders (or chicken breasts cut into strips)
- 2 cups buttermilk
- 2 tablespoons hot sauce (I prefer Frank’s RedHot)
- 1 tablespoon garlic powder
- 1 teaspoon salt
For the Seasoned Flour Mixture:
- 2 cups all-purpose flour
- 2 packets ranch seasoning mix (2 ounces total)
- 1 cup grated Parmesan cheese (the shelf-stable kind works best here)
- 1 tablespoon garlic powder
- 1 tablespoon onion powder
- 2 teaspoons paprika
- 1 teaspoon black pepper
- 1 teaspoon salt
For the Wet Dredge:
- 3 large eggs
- ¼ cup buttermilk
- 1 tablespoon ranch seasoning mix
- 2 tablespoons grated Parmesan cheese
For Frying:
- Vegetable or canola oil (enough for 2 inches in your pan)
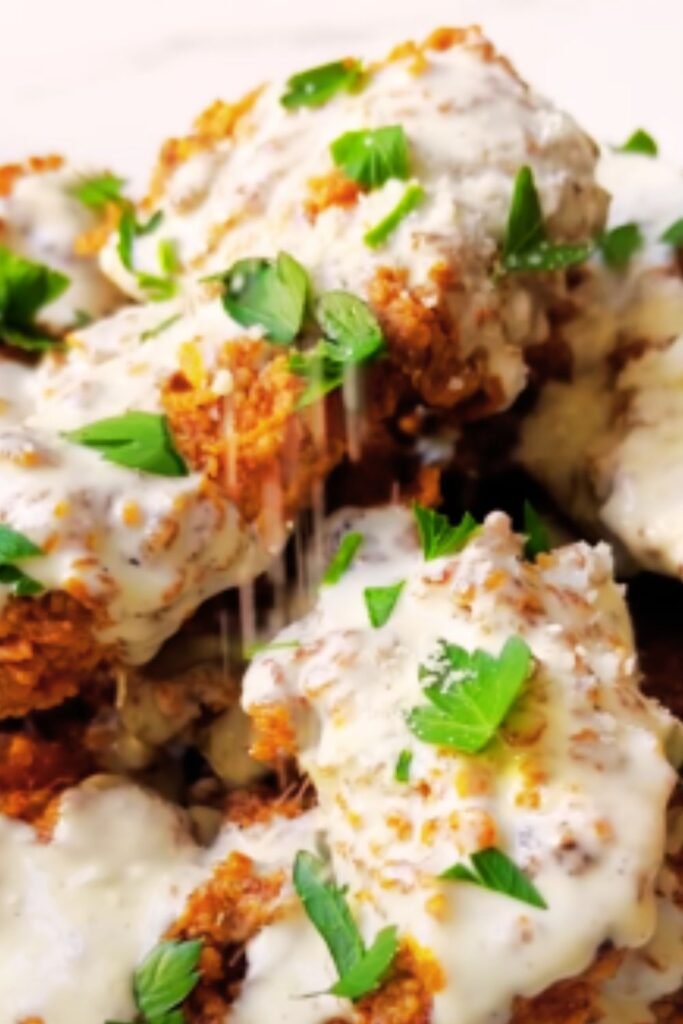
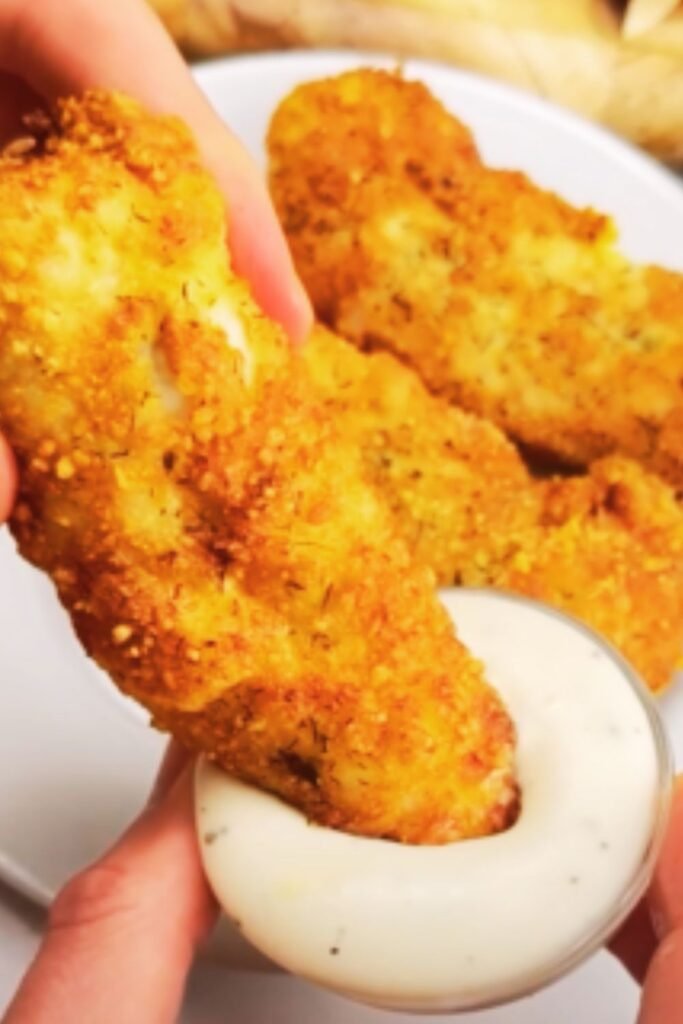
For the Dipping Sauce:
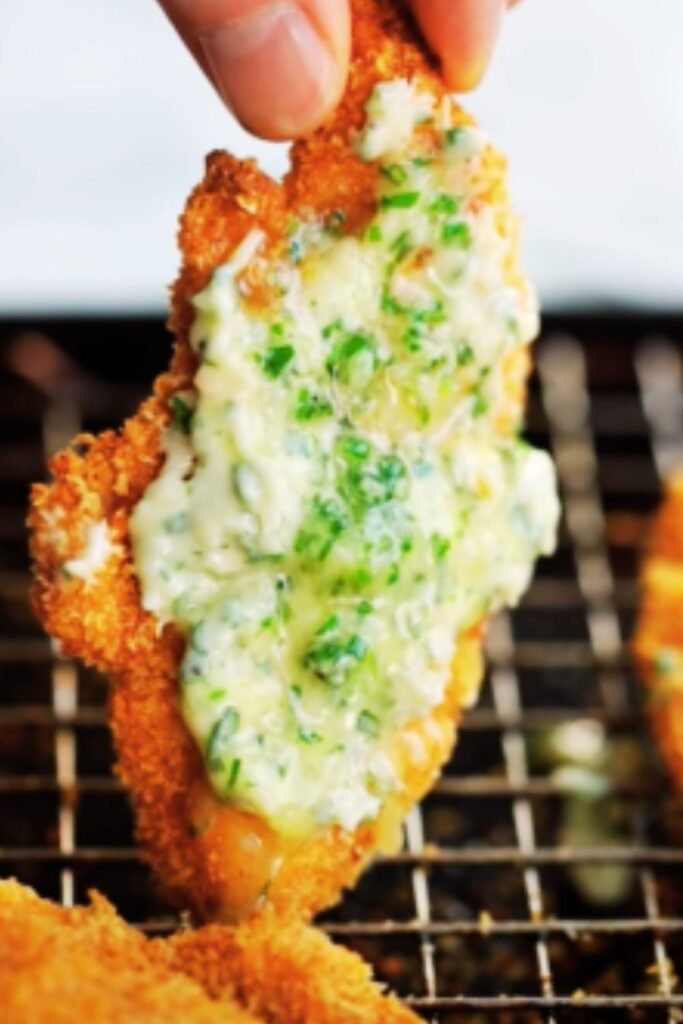
- 1 cup ranch dressing
- ¼ cup grated Parmesan cheese
- 1 tablespoon fresh chopped parsley
- ½ teaspoon garlic powder
- ¼ teaspoon black pepper
- Hot sauce to taste (optional)
Kitchen Equipment
Having the right tools makes this process much smoother:
- Large bowl for marinating
- Two shallow dishes for dredging stations
- Large heavy-bottomed pot or deep skillet
- Cooking thermometer
- Wire cooling rack
- Baking sheet
- Tongs
- Paper towels
Step-by-Step Instructions
Step 1: Marinate the Chicken
- In a large bowl, whisk together the buttermilk, hot sauce, garlic powder, and salt.
- Add the chicken tenders, ensuring they’re fully submerged.
- Cover and refrigerate for at least 4 hours, preferably overnight. (The buttermilk works as a tenderizer, breaking down tough proteins while adding flavor.)
Step 2: Prepare Your Dredging Stations
- For the seasoned flour mixture: In a shallow dish, combine flour, ranch seasoning, Parmesan, garlic powder, onion powder, paprika, black pepper, and salt. Mix thoroughly.
- For the wet dredge: In another shallow dish, whisk together eggs, buttermilk, ranch seasoning, and Parmesan cheese until well combined.
- Place a wire rack over a baking sheet to hold your dredged chicken.
Step 3: Double-Dredge Process
- Remove a chicken tender from the marinade, allowing excess to drip off.
- Dredge in the flour mixture, pressing gently to adhere.
- Dip into the egg mixture, coating completely.
- Return to the flour mixture for a second coat, pressing firmly to create a shaggy texture (these little bits will create extra-crispy edges).
- Place on the wire rack and repeat with remaining tenders.
- Allow the coated tenders to rest for 10 minutes (this helps the coating stick during frying).
Step 4: Heat Oil for Frying
- In a heavy-bottomed pot or deep skillet, heat 2 inches of oil to 350°F (175°C).
- Line another baking sheet with paper towels and top with a wire rack.
Step 5: Fry to Perfection
- Working in batches of 3-4 tenders (don’t overcrowd!), carefully lower chicken into the hot oil.
- Fry for 4-5 minutes, turning occasionally, until golden brown and internal temperature reaches 165°F (74°C).
- Transfer to the prepared rack to drain excess oil.
- Allow oil to return to 350°F before adding the next batch.
Step 6: Prepare Dipping Sauce
While the chicken rests, combine all dipping sauce ingredients in a small bowl, mixing well. Refrigerate until ready to serve.
Cooking Notes & Tips
After making these tenders hundreds of times, I’ve collected some invaluable tips:
- Temperature matters: Keep your oil between 340-360°F for the perfect crisp exterior without burning
- Test with a thermometer: Chicken is safely cooked at 165°F internal temperature
- Don’t skip the rest: Letting the dredged chicken rest before frying helps the coating adhere better
- Batch cooking: Frying in small batches maintains oil temperature and prevents soggy tenders
- Holding technique: Keep finished tenders warm in a 200°F oven while completing the batches
Common Troubleshooting
| Problem | Possible Cause | Solution |
|---|---|---|
| Coating falls off during frying | Coating didn’t rest long enough | Allow coated chicken to rest 10+ minutes before frying |
| Tenders burning quickly | Oil temperature too high | Use a thermometer to maintain 350°F |
| Tenders golden outside but raw inside | Pieces too thick | Cut chicken to even thickness; lower heat slightly |
| Greasy tenders | Oil not hot enough | Ensure oil reaches 350°F before adding chicken |
| Bland flavor | Insufficient marinating time | Marinate at least 4 hours, preferably overnight |
| Soggy rather than crispy | Overcrowding the pan | Fry in small batches; don’t let tenders touch |
Make-Ahead and Storage Options
Make-Ahead Options:
- Marinate chicken: Up to 24 hours in advance
- Pre-dredge: Complete through double-dredging up to 2 hours ahead, refrigerate uncovered
- Freeze uncooked: After double-dredging, freeze on a baking sheet, then transfer to freezer bags (up to 3 months)
Storage Solutions:
- Refrigerate: Store cooled tenders in an airtight container for up to 3 days
- Freeze cooked tenders: Freeze in a single layer, then transfer to freezer bags (up to 2 months)
Reheating for Maximum Crispiness:
- Oven method: 375°F for 10-15 minutes on a wire rack
- Air fryer: 375°F for 3-5 minutes
- Avoid microwave: Will make the coating soggy
Nutritional Information
For those tracking their macros, here’s the approximate nutritional breakdown per serving (about 3-4 tenders):
| Nutrient | Amount |
|---|---|
| Calories | 385 |
| Protein | 32g |
| Carbohydrates | 26g |
| Fat | 17g |
| Fiber | 1g |
| Sodium | 790mg |
| Calcium | 220mg |
| Iron | 2mg |
Note: Values are approximate and may vary based on specific ingredients and portion sizes.
Serving Suggestions
These crispy tenders are versatile enough to fit into numerous meal plans:
As an Appetizer:
- Serve with ranch-Parmesan dipping sauce and celery sticks
- Create a dipping sauce bar with ranch, honey mustard, and buffalo sauce
As a Main Dish:
- Pair with roasted garlic mashed potatoes and steamed broccoli
- Serve with a crisp garden salad and sweet potato fries
- Make loaded tender bowls with rice, avocado, and corn
For Sandwiches and Wraps:
- Slice and add to a wrap with lettuce, tomato, and ranch
- Make crispy chicken sliders with pickle chips and sauce
- Create a chicken tender sub with melted provolone and garlic aioli
For Salads:
- Slice and top a Caesar salad for added protein
- Create a southwest salad with black beans, corn, and avocado
- Add to a Greek salad with feta, olives, and cucumber
Dietary Adaptations
Need to adjust for dietary restrictions? I’ve tested these modifications:
Gluten-Free Version:
- Substitute all-purpose flour with a gluten-free 1:1 baking flour
- Verify ranch seasoning packets are gluten-free (many brands offer this)
Dairy-Free Option:
- Replace buttermilk with dairy-free milk + 1 tablespoon vinegar
- Use nutritional yeast instead of Parmesan cheese
- Choose a dairy-free ranch alternative
Spice Level Variations:
- Mild: Reduce hot sauce in marinade, omit black pepper
- Medium: Recipe as written
- Spicy: Add 1 teaspoon cayenne to flour mixture and extra hot sauce to dipping sauce
Baked Alternative:
If you prefer not to fry, here’s my tested oven method:
- Preheat oven to 425°F
- Spray a wire rack with cooking spray and place over a baking sheet
- Follow all dredging steps as written
- Spray tenders with cooking oil spray on both sides
- Bake for 15-18 minutes, flipping halfway, until golden and 165°F internally
Flavor Variations
While the classic ranch-Parmesan is my favorite, here are some delicious variations I’ve developed:
Italian Style:
- Add 2 tablespoons Italian seasoning to the flour mixture
- Replace ranch in the dipping sauce with marinara
Buffalo Ranch:
- Add 2 tablespoons buffalo seasoning to the flour mixture
- Mix equal parts buffalo sauce and ranch for dipping
Lemon Pepper:
- Add 3 tablespoons lemon pepper seasoning to the flour mixture
- Create a lemon-garlic aioli for dipping
Honey BBQ:
- Add 2 tablespoons BBQ seasoning to the flour mixture
- Mix BBQ sauce with honey for dipping
Kids’ Corner
Getting little ones involved makes mealtime more fun and encourages them to try new foods. Here are age-appropriate tasks:
- Ages 3-5: Help measure ingredients, whisk egg mixture
- Ages 6-8: Assist with dredging chicken (with clean hands)
- Ages 9-12: Help monitor cooking times, prepare dipping sauce
My niece loves helping with the “shake and bake” method: put some of the flour mixture in a plastic bag and let them shake the chicken pieces to coat them (adult does the egg dip).
Frequently Asked Questions
Q: Can I use chicken breasts instead of tenders? A: Absolutely! Cut them into 1-inch strips. They might need slightly longer cooking time depending on thickness.
Q: Why use buttermilk instead of regular milk? A: Buttermilk’s acidity helps tenderize the chicken and adds tanginess that complements the ranch flavor. If you don’t have buttermilk, add 1 tablespoon of vinegar or lemon juice to regular milk.
Q: Can I make these in an air fryer? A: Yes! Preheat your air fryer to 375°F, spray the basket with cooking spray, and cook in batches for 10-12 minutes, flipping halfway.
Q: What’s the best oil for frying these tenders? A: I prefer vegetable or canola oil for their neutral flavor and high smoke point. Peanut oil also works well if allergies aren’t a concern.
Q: Can I use panko breadcrumbs instead of flour? A: While panko makes an excellent crispy coating, it won’t give you the same “crack chicken” texture. If you want to use panko, add it as a third dredging layer after the flour and egg.
Q: How do I know when the oil is ready without a thermometer? A: Drop a small pinch of flour into the oil. If it sizzles immediately and floats to the top, your oil is ready. If it sinks or burns instantly, adjust accordingly.
Q: My coating keeps falling off during frying. What am I doing wrong? A: Make sure you’re: 1) allowing the marinade to drip off completely, 2) pressing the coating firmly onto the chicken, and 3) letting the coated chicken rest before frying.
Q: Can I freeze these after cooking? A: Yes! Cool completely, freeze in a single layer on a baking sheet, then transfer to freezer bags. They’ll keep for up to 2 months.
My Personal Touch
I discovered the magic of adding Parmesan to ranch seasoning by happy accident. During a weekend cooking for friends at our lake house, I ran short on ranch seasoning and supplemented with grated Parmesan from the fridge. The combination created such an incredible flavor profile that I’ve never gone back to plain ranch coating.
For an extra special occasion, I sometimes add a teaspoon of white truffle oil to the wet dredge mixture. The subtle earthy notes elevate these tenders to gourmet status without overpowering the classic flavors everyone loves.
Remember, the key to these crack chicken tenders is patience during the double-dredging process – those little shaggy bits of coating are what create the incredible texture that makes this recipe truly addictive!
I hope you enjoy making these Crispy Crack Chicken Tenders as much as I love sharing the recipe. If you try them, I’d love to hear how they turned out for you! These have become my signature dish for good reason, and I’m confident they’ll be a hit at your table too.