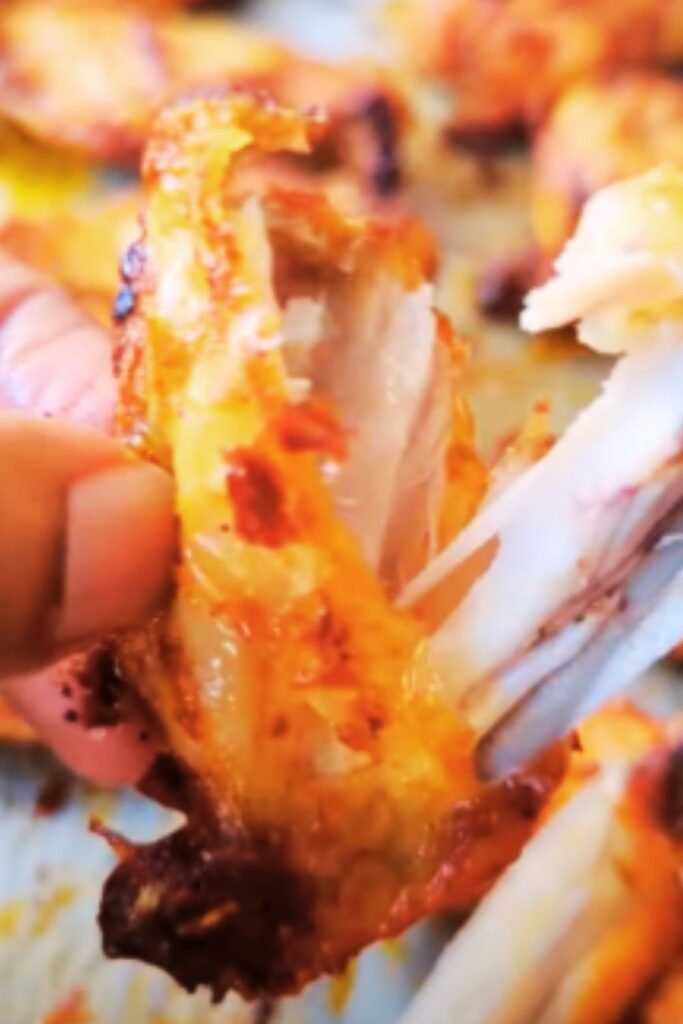
There’s something magical about biting into a perfectly crispy chicken wing. That satisfying crunch giving way to juicy, tender meat underneath—it’s a texture combination that’s practically irresistible. For years, I was convinced that achieving that restaurant-quality crispiness required deep frying. But after countless experiments in my kitchen, I discovered that the secret to incredibly crispy wings doesn’t require gallons of oil or specialized equipment. The answer was in my oven all along.
Today, I’m sharing my foolproof method for baking chicken wings that are genuinely crispy—not just “crispy for being baked” but legitimately, satisfyingly crunchy. These wings rival anything from your favorite sports bar but are healthier and far less messy to prepare. Whether you’re planning game day snacks, a casual dinner, or just craving some serious comfort food, this recipe delivers incredible results every time.
Why This Recipe Works
Before diving into the method, let’s talk about why this approach succeeds where so many others fail. Creating crispy skin in an oven requires understanding some basic food science:
- Moisture is the enemy of crispiness – My method includes steps specifically designed to remove excess moisture from the skin
- Surface area matters – More surface area exposed to heat means more opportunity for crispiness to develop
- Proper temperature control – Strategic temperature changes throughout the baking process optimize both crispiness and juiciness
- Simple ingredients that work – The recipe uses common pantry items that chemically enhance the crisping process
I’ve tested this recipe dozens of times, tweaking variables until arriving at this perfect combination. The result is wings that are consistently crispy on the outside while remaining perfectly juicy inside.
Ingredients
For the wings:
- 4 pounds chicken wings (about 40 pieces), split into flats and drumettes
- 2 tablespoons baking powder (NOT baking soda)
- 3/4 teaspoon salt
- 1/2 teaspoon garlic powder
- 1/2 teaspoon onion powder
- 1/4 teaspoon black pepper
- 1 tablespoon olive oil (optional)
For classic buffalo sauce (optional):
- 1/2 cup hot sauce (like Frank’s RedHot)
- 4 tablespoons unsalted butter
- 1 tablespoon honey
- 1 teaspoon garlic powder
- 1/2 teaspoon Worcestershire sauce
For garlic parmesan sauce (optional):
- 4 tablespoons unsalted butter
- 4 cloves garlic, minced
- 1/2 cup freshly grated Parmesan cheese
- 1 tablespoon chopped fresh parsley
- 1/2 teaspoon black pepper
- Pinch of salt
Essential Equipment
While this recipe doesn’t require specialized tools, having the right equipment makes a big difference:
- Wire rack: Elevating the wings allows hot air to circulate around them, creating even crispiness
- Baking sheets: Heavy-duty sheets prevent warping at high temperatures
- Paper towels: For thoroughly drying the wings before seasoning
- Mixing bowls: For tossing wings with seasonings and sauces
- Meat thermometer: Optional but helpful for ensuring doneness
The Secret Ingredient: Baking Powder
The true hero of this recipe is an unassuming ingredient many of us already have in our pantry: baking powder. This might seem strange, but there’s solid science behind it:
Baking powder is slightly alkaline and helps break down proteins in the chicken skin, allowing it to crisp more effectively. It also creates tiny bubbles on the surface of the skin that increase the surface area, providing more opportunity for browning and crisping. The result is remarkably similar to the texture achieved through deep frying, but without all the oil.
Important note: Be absolutely certain you’re using baking POWDER, not baking soda. The latter will make your wings inedibly bitter and ruin the dish.
Preparation Method
Step 1: Prepare the Wings
- If your wings aren’t already split, separate them at the joints into drumettes and flats. Remove the wing tips or save them for making stock.
- Thoroughly pat the wings dry with paper towels. I mean REALLY dry them—this is crucial for crispiness.
- Place the wings in a large bowl and refrigerate them, uncovered, for at least 1 hour or up to overnight. This step allows the skin to dry out further, which is essential for maximum crispiness.
Step 2: Season the Wings
- Preheat your oven to 250°F (120°C) – yes, we’ll start low and finish high!
- Remove wings from the refrigerator and pat them dry once more if any moisture has surfaced.
- In a small bowl, combine the baking powder, salt, garlic powder, onion powder, and black pepper.
- If using olive oil, drizzle it over the wings and toss to coat lightly.
- Sprinkle the baking powder mixture over the wings and toss thoroughly to ensure even coating.
Step 3: The First Bake (Low Temperature)
- Line a baking sheet with aluminum foil and place a wire rack on top. Spray the rack lightly with cooking spray.
- Arrange the wings on the rack, leaving a small space between each piece to allow air circulation.
- Place the baking sheet on the lower-middle rack of the oven.
- Bake at 250°F (120°C) for 30 minutes. This initial low-temperature bake helps render fat from beneath the skin without burning the outside.
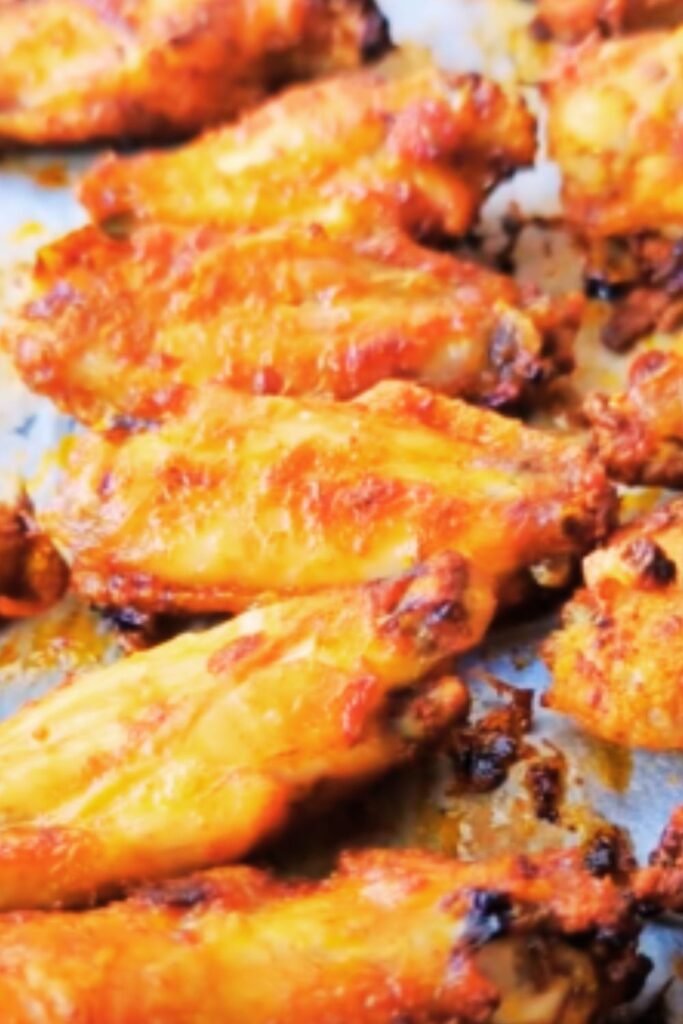
Step 4: The Second Bake (High Temperature)
- Without removing the wings from the oven, increase the temperature to 425°F (220°C).
- Continue baking for 40-50 minutes, until the wings are beautifully golden brown and crispy.
- Flip the wings halfway through this high-temperature bake to ensure even crisping.
- The wings are done when they reach an internal temperature of 165°F (74°C) and the skin is tight and crispy.
Sauce Options
While these wings are delicious with just the seasoning, adding sauce takes them to another level. Here are three ways to sauce your wings:
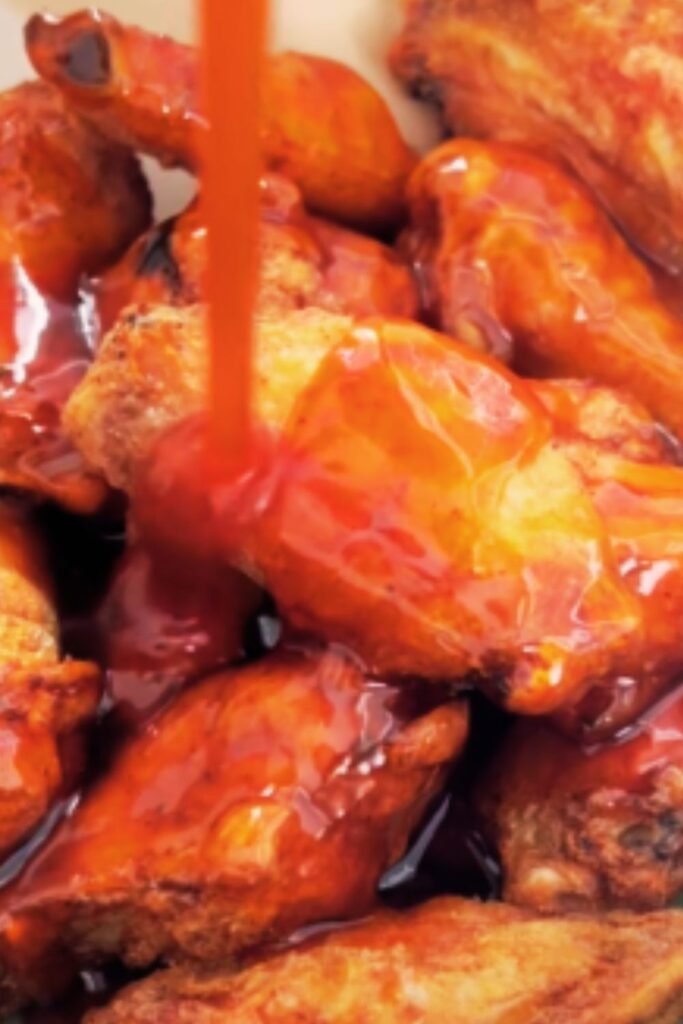
Classic Buffalo Sauce
- Melt butter in a small saucepan over medium-low heat.
- Add hot sauce, honey, garlic powder, and Worcestershire sauce.
- Whisk until fully combined and just beginning to simmer.
- Pour over wings and toss immediately before serving.
Garlic Parmesan Sauce
- Melt butter in a small saucepan over medium-low heat.
- Add minced garlic and cook for 30 seconds until fragrant.
- Remove from heat and stir in Parmesan cheese, parsley, pepper, and salt.
- Pour over wings and toss to coat.
Honey Sriracha Glaze
- Combine 1/4 cup honey, 3 tablespoons sriracha, 1 tablespoon soy sauce, and 1 minced garlic clove in a small saucepan.
- Simmer for 3-4 minutes until slightly thickened.
- Pour over wings and toss to coat.
Serving Suggestions
These wings are perfect on their own, but to make a complete meal or party spread, consider these accompaniments:
- Fresh veggie sticks (celery, carrots, cucumber)
- Blue cheese or ranch dipping sauce
- Crispy baked potato wedges
- Fresh green salad with light vinaigrette
- Corn on the cob
- Homemade coleslaw
- Pickles or pickled vegetables
If serving for a party, consider keeping the wings warm in a slow cooker set to low after they’ve been baked and sauced. This works especially well for buffalo wings.
Nutritional Information
This nutritional information is for plain baked wings without additional sauces (per 4-wing serving):
| Nutrient | Amount |
|---|---|
| Calories | 320 |
| Protein | 29g |
| Fat | 22g |
| Saturated Fat | 6g |
| Carbohydrates | <1g |
| Sodium | 450mg |
| Cholesterol | 145mg |
| Fiber | 0g |
| Sugar | 0g |
Adding sauce will change these values. Buffalo sauce typically adds about 50-75 calories per serving, while garlic parmesan adds approximately 100-120 calories.
Detailed Comparison: Baked vs. Fried Chicken Wings
For those curious about how my baking method compares to traditional frying, here’s a detailed breakdown:
| Aspect | Baked Wings (My Method) | Deep-Fried Wings |
|---|---|---|
| Calories | 320 per serving | 430 per serving |
| Fat Content | 22g per serving | 32g per serving |
| Prep Time | 15 minutes + drying time | 15 minutes |
| Cook Time | 80 minutes | 20 minutes |
| Texture | Very crispy exterior, juicy interior | Very crispy exterior, juicy interior |
| Equipment Needed | Baking sheet, wire rack | Deep fryer or large pot, thermometer |
| Clean-up | Minimal | Oil disposal, splatter cleanup |
| Hands-on Time | Very low | High (requires monitoring) |
| Health Factor | Higher | Lower |
| Oil Usage | 1 Tbsp or less (optional) | 4-6 cups |
| Batch Cooking | Can cook larger batches at once | Limited by fryer size |
Common Problems and Solutions
Even with a foolproof recipe, things can sometimes go wrong. Here are solutions to common wing-making issues:
Problem: Wings aren’t getting crispy enough Solution: Make sure you’re thoroughly drying the wings before adding the baking powder mixture. Also check that your oven temperature is accurate—an oven thermometer can help.
Problem: The skin is crispy but the meat is dry Solution: You may be overcooking them. Try reducing the high-temperature baking time by 5-10 minutes.
Problem: The wings taste metallic or bitter Solution: You might have used baking soda instead of baking powder. Unfortunately, there’s no fix except to start over with the correct ingredient.
Problem: Wings are browning too quickly Solution: Your oven may run hot. Move the rack to a lower position and consider reducing the temperature by 25 degrees.
Problem: Wings are sticking to the rack Solution: Make sure to spray the rack with non-stick spray before arranging the wings.
Advanced Tips for Wing Enthusiasts
After years of wing experimentation, I’ve discovered some pro tips that can elevate your wing game even further:
- Dry-brining: For extra flavor, sprinkle wings with salt 24 hours before cooking and leave uncovered in the refrigerator. This intensifies the drying effect and seasons the meat more deeply.
- Smoke infusion: For a smoky flavor without a smoker, add 1/2 teaspoon of liquid smoke to your sauce or 1/4 teaspoon smoked paprika to your dry seasonings.
- Double-coating: For extra-crispy wings, after the first 30 minutes of baking, remove them briefly and sprinkle with a second light coating of the baking powder mixture before returning to the high-temperature bake.
- Sauce timing: For the perfect balance of crispiness and sauciness, toss wings in sauce immediately before serving. If you prefer more sauce penetration, sauce them 2-3 minutes before serving.
- Leftover transformation: If you somehow have leftovers, chop them up and use the meat in a buffalo chicken dip or quesadillas the next day.
Storing and Reheating
These wings are best enjoyed fresh from the oven, but if you need to store them:
Refrigeration: Store leftovers in an airtight container for up to 3 days.
Freezing: You can freeze fully cooked wings for up to 3 months. Wrap them individually in plastic wrap, then place in a freezer bag.
Reheating for maximum crispiness:
- Preheat oven to 375°F (190°C)
- Place wings on a wire rack over a baking sheet
- Reheat for 15-20 minutes until crisp and heated through
- If frozen, thaw in the refrigerator before reheating
Avoid microwaving if possible, as this will make the skin soggy. If you must use a microwave, reheat on 50% power and finish with a brief broil to re-crisp the skin.
Frequently Asked Questions
Q: Can I use frozen chicken wings for this recipe? A: Yes, but thaw them completely first and pat them very dry. Frozen wings typically contain more moisture, so the drying step becomes even more important.
Q: Is the baking powder taste noticeable in the final product? A: When used in the correct amount, baking powder leaves no discernible taste. If you’re concerned, you can reduce it to 1 tablespoon, though this may slightly affect crispiness.
Q: Can I make these wings ahead of time for a party? A: Yes! Bake them fully, then reheat at 375°F for 15-20 minutes just before serving. I recommend saucing them only after reheating to maintain maximum crispiness.
Q: How can I make these wings spicier? A: For the buffalo sauce, increase the ratio of hot sauce to butter, or add cayenne pepper. For dry heat, add cayenne to the baking powder mixture.
Q: Are these wings keto-friendly? A: Yes, the wings themselves are very low in carbs. Just be careful with sauce ingredients—traditional buffalo sauce is keto-friendly, but sweet glazes may contain sugar.
Q: Can I use chicken drumsticks or thighs with this method? A: This method works beautifully with drumsticks, though you’ll need to increase the cooking time by 10-15 minutes. For thighs, I recommend removing the skin, as it won’t crisp as effectively as wing skin.
Q: Why start at a low temperature and then increase it? A: The low temperature helps render fat from the skin without burning it. This creates the conditions for ultimate crispiness when you raise the temperature.
Why You’ll Love This Recipe
After making these wings countless times, I’ve received nothing but rave reviews. Here’s why this recipe is worth adding to your regular rotation:
- Healthier option: Significantly less oil than deep-fried wings without sacrificing texture
- No special equipment: No need for a deep fryer or air fryer
- Less mess: No oil splatters to clean up
- Consistent results: The technique works reliably every time
- Customizable: Works with any sauce or seasoning you prefer
- Perfect for large batches: Great for feeding a crowd
- Cost-effective: Much cheaper than takeout or restaurant wings
I’ve served these at Super Bowl parties, casual family dinners, and everything in between. They’ve never failed to impress, even among friends who swear by their favorite wing restaurant.
Final Thoughts
Mastering crispy baked chicken wings changed my approach to homemade comfort food. It showed me that with the right technique, healthy adaptations don’t have to mean compromising on texture or flavor. These wings prove that sometimes the simplest science—understanding moisture, heat, and chemical reactions—can transform an ordinary dish into something extraordinary.
Whether you’re a wing aficionado looking for a healthier option or someone who’s always been intimidated by making restaurant-quality wings at home, this recipe is your answer. The method is straightforward, the ingredients are simple, and the results are consistently delicious.
Give these wings a try for your next gathering or family dinner. I’m confident they’ll become a requested favorite, just as they have in my household. And once you’ve mastered the basic technique, don’t be afraid to experiment with different flavors and sauces to make the recipe truly your own.