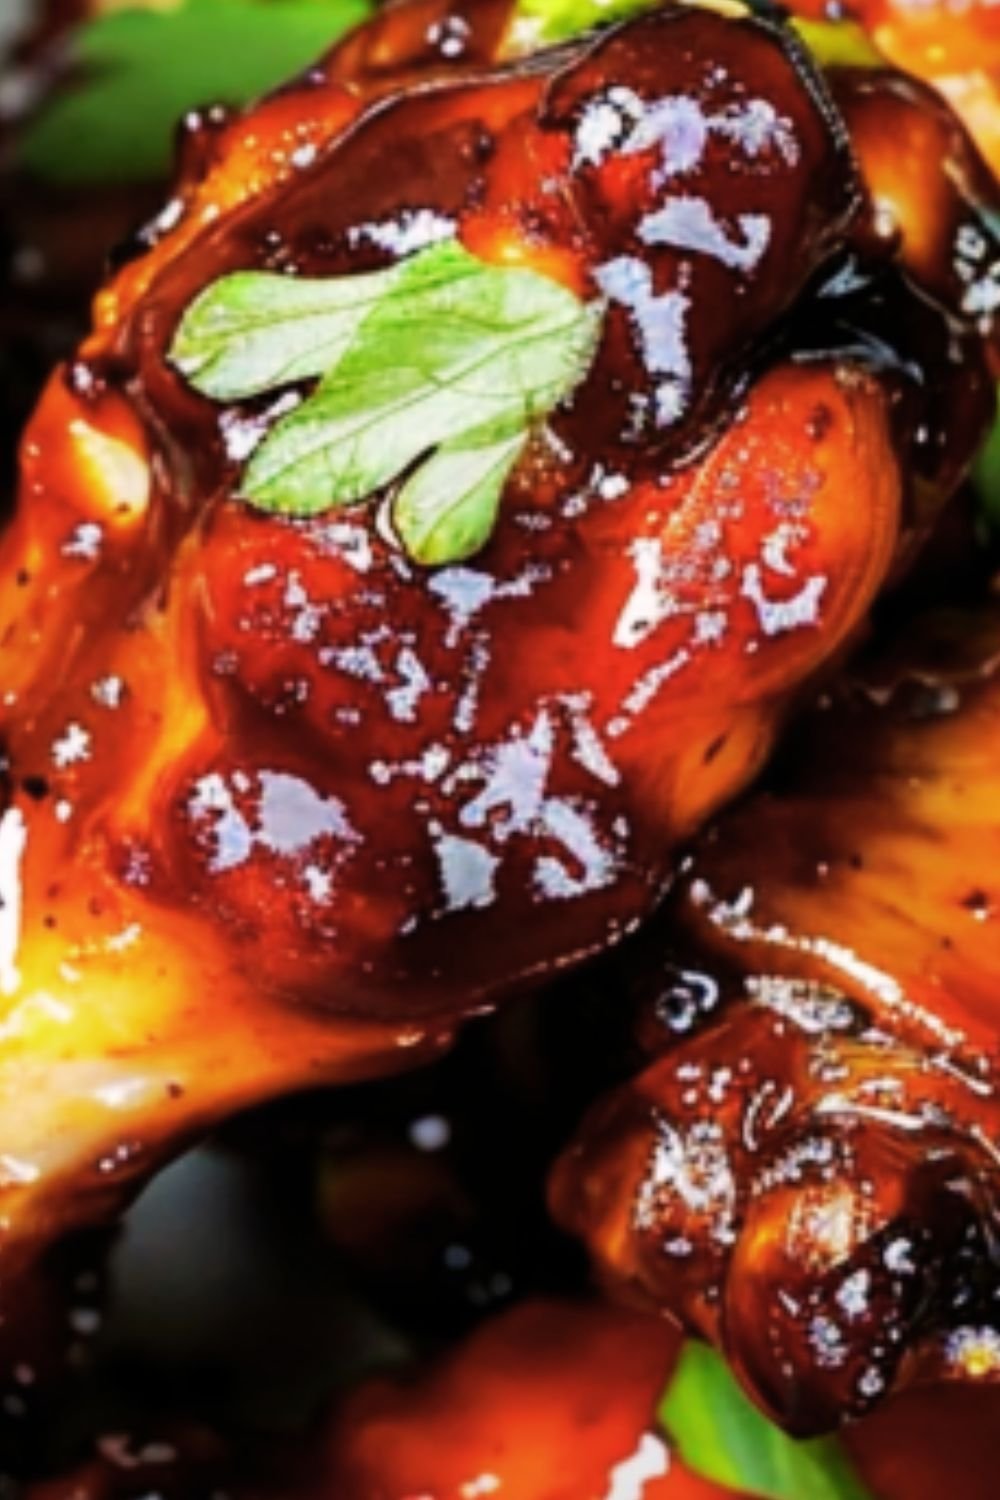
There’s something magical about the combination of melted cheese and savory ham encased in a crispy, golden shell. As someone who’s spent years perfecting appetizer recipes, I can confidently say that ham and cheese sticks deserve a spot in your recipe collection. They’re versatile, crowd-pleasing, and surprisingly easy to make once you know the technique.
I first discovered these delightful treats at a neighborhood potluck. After tasting them, I immediately cornered the host for the recipe. Several years and countless batches later, I’ve tweaked the recipe to perfection. Today, I’m sharing my ultimate version with all the tips and tricks I’ve learned along the way.
What Makes These Ham and Cheese Sticks Special
These aren’t your ordinary cheese sticks. The addition of high-quality ham transforms them into a protein-packed snack that satisfies hunger while delighting taste buds. The crunchy exterior gives way to a molten center where cheese and ham create a flavor explosion that’s simply irresistible.
What I love most about this recipe is its flexibility. You can prepare them ahead of time and freeze them for unexpected guests, make a batch for game day, or serve them as an elegant appetizer at your next dinner party. They’re equally at home on a silver platter or piled high on a paper plate.
Key Ingredients for Perfect Ham and Cheese Sticks
The secret to outstanding ham and cheese sticks lies in selecting quality ingredients. Here’s what you’ll need:
- Cheese: Choose a good melting cheese with robust flavor
- Ham: Opt for thinly sliced, high-quality ham
- Wrappers: Egg roll or spring roll wrappers work beautifully
- Seasonings: A blend of herbs and spices to enhance the flavor profile
- Oil: For achieving that perfect golden crispiness
Let’s break down each component to ensure your ham and cheese sticks turn out perfectly every time.
Choosing the Right Cheese
When it comes to cheese selection, you want varieties that melt beautifully while providing excellent flavor. Here are my top recommendations:
| Cheese Type | Flavor Profile | Melting Quality | Best Paired With |
|---|---|---|---|
| Mozzarella | Mild, milky | Excellent stretch | Italian herbs, prosciutto |
| Cheddar | Sharp, tangy | Creamy melt | Black forest ham, jalapenos |
| Swiss | Nutty, sweet | Smooth melt | Honey ham, dijon mustard |
| Gruyère | Rich, complex | Exceptional melt | Smoked ham, caramelized onions |
| Monterey Jack | Buttery, mild | Consistent melt | Any ham, green chiles |
I typically use a combination of cheeses – usually mozzarella for its stretchy texture and either cheddar or gruyère for flavor depth. The blend creates the perfect balance of stretch and taste.
Selecting the Perfect Ham
The ham you choose will significantly impact the final flavor. Here are some options to consider:
| Ham Type | Flavor Notes | Best Cheese Pairing | Additional Notes |
|---|---|---|---|
| Black Forest | Smoky, robust | Cheddar, gouda | Adds depth without overpowering |
| Honey Ham | Sweet, mild | Swiss, havarti | Creates a sweet-savory balance |
| Prosciutto | Delicate, salty | Mozzarella, fontina | Use sparingly as it’s potent |
| Smoked Ham | Rich, hearty | Gruyère, provolone | Perfect for rustic flavor |
| Virginia Ham | Salty, traditional | American, cheddar | Classic combination |
I prefer thinly sliced ham that’s high quality but not too expensive. After all, these are meant to be enjoyed liberally!
Wrapper Options
While traditional cheese sticks use breadcrumbs, my recipe calls for wrappers for a more substantial appetizer. Options include:
| Wrapper Type | Texture | Cooking Notes | Flavor Profile |
|---|---|---|---|
| Egg Roll Wrappers | Substantial, crispy | Fry 3-4 minutes | Neutral, hearty |
| Spring Roll Wrappers | Delicate, shatteringly crisp | Fry 2-3 minutes | Light, thin |
| Wonton Wrappers | Medium thickness | Fry 2 minutes | Slightly eggy |
| Phyllo Dough | Ultra-crisp layers | Bake 15-20 minutes | Buttery, delicate |
| Puff Pastry | Rich, flaky | Bake 20-25 minutes | Buttery, substantial |
I most often reach for egg roll wrappers as they provide the perfect balance of sturdiness and crispness when fried. They’re also widely available in most grocery stores.
Equipment You’ll Need
Before we dive into the recipe, let’s make sure you have the right tools on hand:
- Cutting board and sharp knife: For preparing your ham and cheese
- Small bowls: For holding water to seal wrappers and egg wash if baking
- Baking sheet lined with parchment: For freezing or baking
- Deep fryer or heavy pot: If frying (my preferred method)
- Cooking thermometer: To ensure oil reaches the proper temperature
- Slotted spoon or spider: For safely removing fried sticks
- Paper towel-lined plate: For draining excess oil
Having everything prepared and within reach will make the assembly process much smoother.
The Ultimate Ham and Cheese Sticks Recipe
Now that we’ve covered the basics, let’s get to the main event – the recipe itself!
Ingredients:
- 20 egg roll wrappers (or alternative wrapper of choice)
- 2 cups shredded cheese blend (I use 1 cup mozzarella, ½ cup cheddar, ½ cup gruyère)
- 8 oz thinly sliced ham (about 16-20 slices), cut into strips
- 1 teaspoon garlic powder
- 1 teaspoon onion powder
- 1 tablespoon fresh parsley, finely chopped
- ½ teaspoon freshly ground black pepper
- Pinch of cayenne pepper (optional)
- 1 tablespoon Dijon mustard
- 2 tablespoons cream cheese, softened
- 1 egg, beaten with 1 tablespoon water (for egg wash if baking)
- Vegetable oil for frying (or cooking spray if baking)
- Dipping sauces (see suggestions below)
Instructions:
- Prepare the filling: In a medium bowl, combine the shredded cheeses, garlic powder, onion powder, parsley, black pepper, and cayenne pepper if using. Mix well.
- Mix the spread: In a small bowl, blend the Dijon mustard with softened cream cheese until smooth.
- Prep your workstation: Set up your assembly line with egg roll wrappers, ham strips, cheese mixture, the mustard-cream cheese spread, and a small bowl of water for sealing.
- Begin assembly: Place an egg roll wrapper on a clean surface with one corner pointing toward you (like a diamond).
- Layer the ingredients: Spread a thin layer of the mustard-cream cheese mixture in the center of the wrapper. Add a small handful of the cheese mixture (about 2 tablespoons) and 2-3 strips of ham.
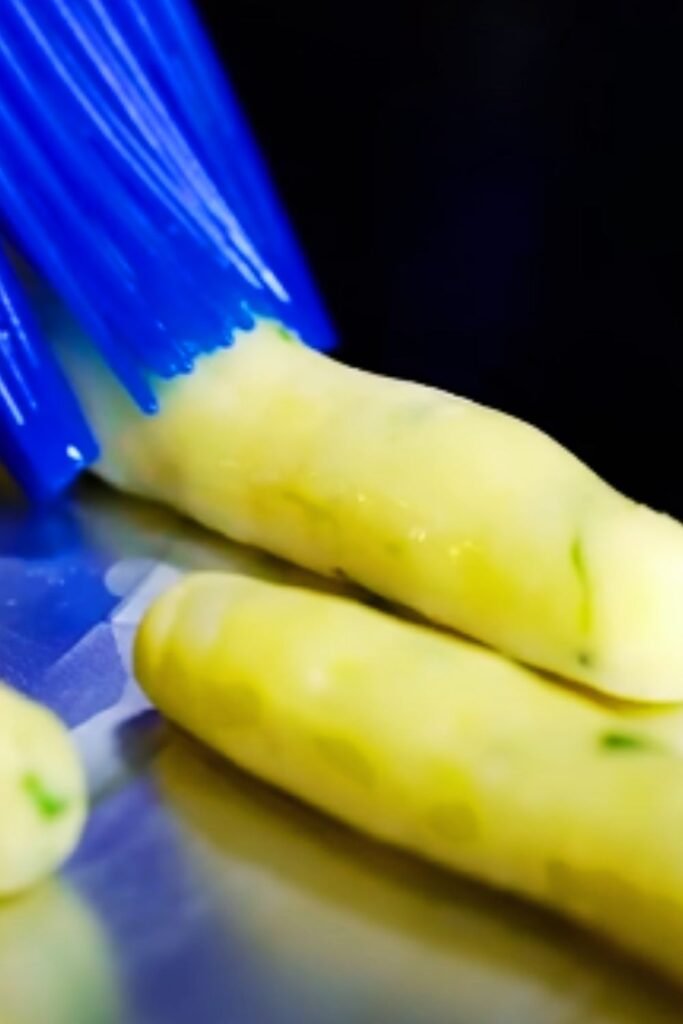
- Start wrapping: Fold the bottom corner over the filling, then fold in the sides. Roll tightly away from you, being careful not to tear the wrapper. Seal the final corner with a bit of water.
- Repeat: Continue this process until all wrappers and filling are used.
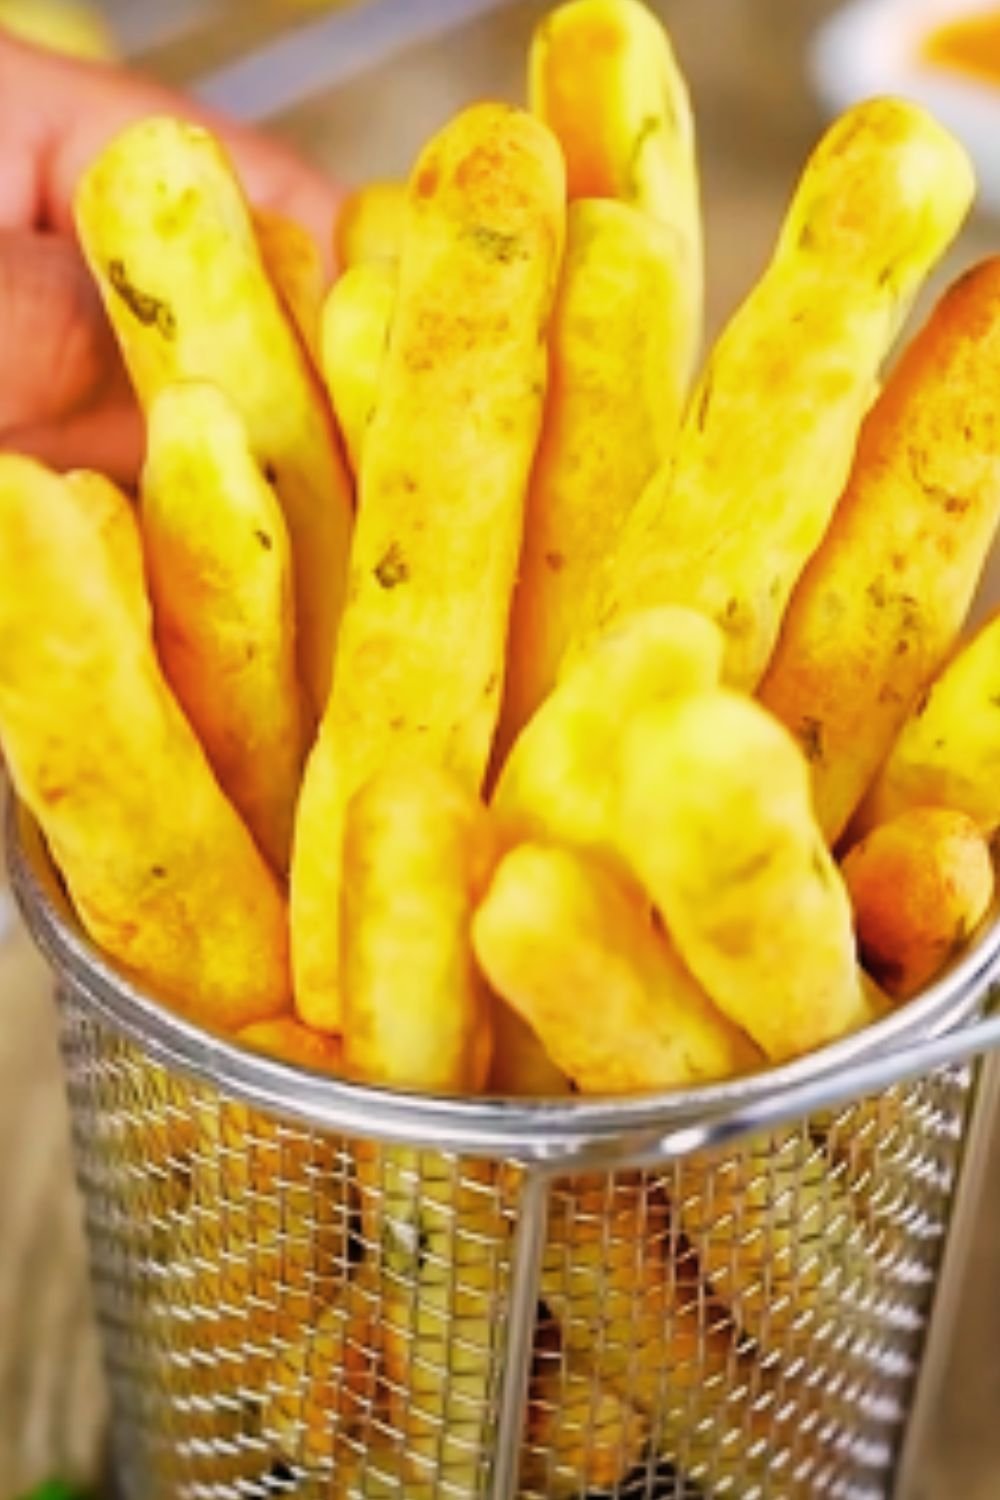
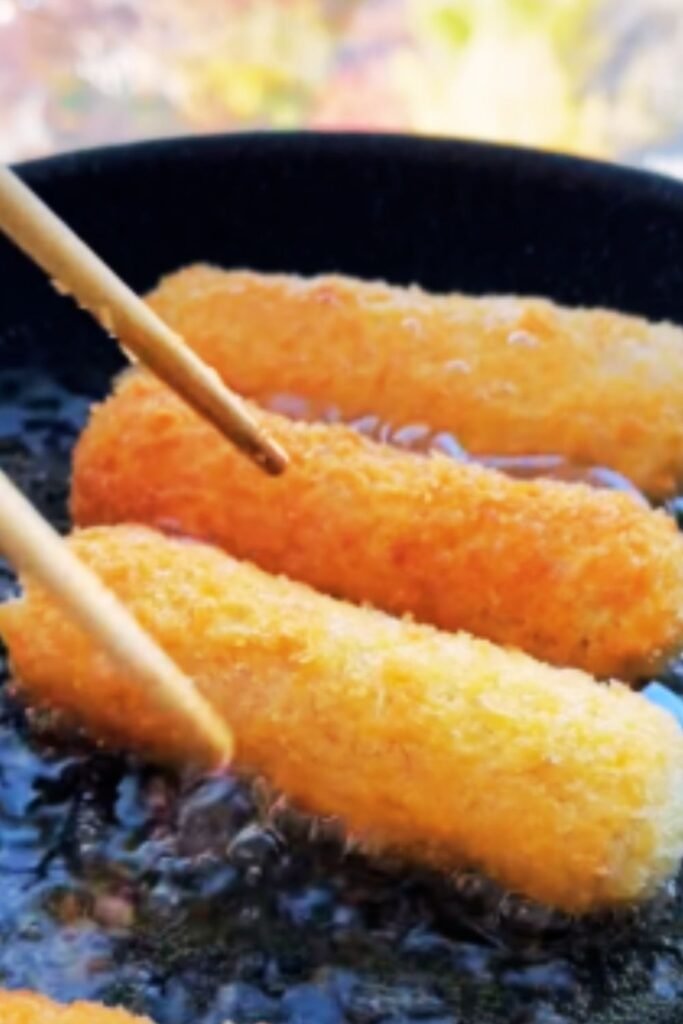
- Choose your cooking method: For frying (preferred method):
- Heat oil to 350°F (175°C) in a deep fryer or heavy pot
- Fry ham and cheese sticks in batches of 3-4 for about 3-4 minutes, until golden brown and crispy
- Remove with a slotted spoon and drain on paper towels
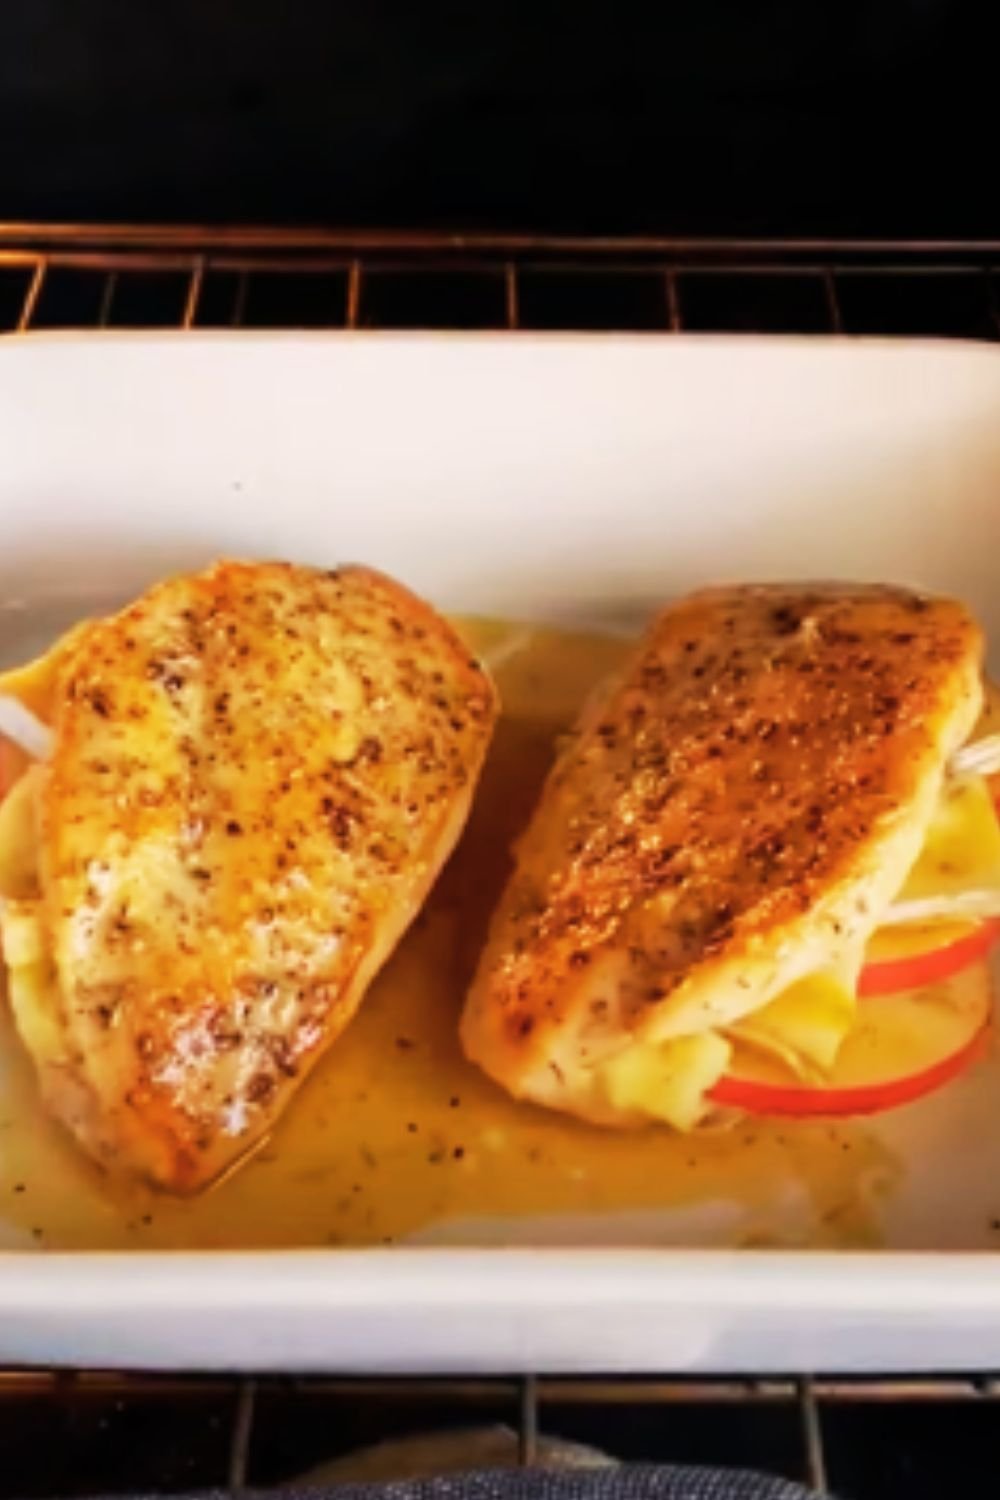
- Preheat oven to 425°F (220°C)
- Place ham and cheese sticks on a parchment-lined baking sheet
- Brush all sides with egg wash
- Bake for 15-20 minutes, turning halfway, until golden and crispy
- Rest briefly: Allow the sticks to cool for 3-5 minutes before serving. This helps prevent burning your mouth on the molten filling.
- Serve: Arrange on a platter with your favorite dipping sauces.
Make-Ahead Options
One of the things I love most about this recipe is how easily it can be prepared in advance. Here are your options:
- Freeze before cooking: Assemble the sticks, then place them on a baking sheet in the freezer for 2 hours until solid. Transfer to a freezer bag and store for up to 3 months. Cook from frozen, adding 1-2 minutes to cooking time.
- Refrigerate before cooking: Assemble up to 24 hours in advance and store in the refrigerator in an airtight container with parchment paper between layers.
- Store after cooking: While best fresh, cooked ham and cheese sticks can be refrigerated for 2-3 days and reheated in a 350°F (175°C) oven for 5-10 minutes until crispy again.
Serving Suggestions
The right dipping sauce can elevate your ham and cheese sticks from great to extraordinary. Here are some of my favorite pairings:
Dipping Sauce Ideas:
| Sauce | Flavor Profile | Key Ingredients | Preparation Time |
|---|---|---|---|
| Honey Mustard | Sweet, tangy | Dijon mustard, honey, mayonnaise | 5 minutes |
| Marinara | Savory, herbal | Tomatoes, garlic, Italian herbs | 20 minutes or use jarred |
| Ranch | Creamy, herbal | Buttermilk, herbs, garlic | 5 minutes or use prepared |
| Sriracha Mayo | Spicy, creamy | Mayonnaise, sriracha, lime juice | 2 minutes |
| Sweet Chili | Sweet, spicy | Thai sweet chili sauce | Ready to serve |
For a simple gathering, I usually offer honey mustard and marinara. For more elaborate occasions, I’ll prepare three or four different options to give guests variety.
Complete Your Appetizer Spread
Ham and cheese sticks pair beautifully with other finger foods to create a balanced appetizer spread. Consider adding:
- Fresh vegetable crudités with dip
- Marinated olives
- Fresh fruit platter
- Crispy roasted chickpeas
- Bruschetta
- Stuffed mushrooms
- Deviled eggs
This combination ensures you’re offering something for everyone, with a mix of rich and fresh flavors.
Troubleshooting Common Issues
Even experienced cooks sometimes encounter challenges. Here are solutions to common ham and cheese stick problems:
Wrapper Tears During Rolling
If your wrapper tears while rolling, don’t panic! Simply start over with a new wrapper. Make sure you’re not overfilling, and keep the unused wrappers covered with a damp towel to prevent them from drying out.
Cheese Leaks During Cooking
When cheese escapes during cooking, it’s usually because the wrapper wasn’t sealed properly or was overfilled. Ensure your seals are tight and don’t be tempted to overstuff.
Undercooked Centers
If your cheese isn’t fully melted when the outside is golden, your oil temperature might be too high (causing the outside to brown before the inside heats through). Lower the temperature slightly and cook a bit longer.
Too Greasy
Greasy sticks usually result from oil that’s not hot enough. Make sure your oil is at 350°F (175°C) before adding the sticks. Also, drain well on paper towels immediately after frying.
Variations to Try
Once you’ve mastered the basic recipe, get creative with these delicious variations:
Mediterranean Style
- Use prosciutto instead of ham
- Add chopped sun-dried tomatoes
- Include feta cheese in your cheese blend
- Sprinkle in some dried oregano and basil
- Serve with tzatziki sauce
Southwest Kick
- Mix in diced jalapeños with the cheese
- Add a sprinkle of taco seasoning
- Use pepper jack in your cheese blend
- Serve with avocado-lime dip
Breakfast Twist
- Add scrambled eggs to the filling
- Use breakfast sausage instead of ham
- Include diced bell peppers
- Serve with maple syrup for dipping
Italian Inspired
- Add pepperoni slices with the ham
- Include a sprinkle of Italian seasoning
- Use mozzarella and parmesan cheese
- Serve with marinara sauce
Sweet and Savory
- Use honey ham
- Add a thin slice of apple
- Include brie in your cheese mixture
- Serve with apple butter for dipping
Nutritional Information
For those watching their nutritional intake, here’s an approximate breakdown per ham and cheese stick (fried version):
| Nutrient | Amount | % Daily Value* |
|---|---|---|
| Calories | 215 | – |
| Total Fat | 12g | 15% |
| Saturated Fat | 5g | 25% |
| Cholesterol | 35mg | 12% |
| Sodium | 480mg | 21% |
| Total Carbohydrate | 18g | 7% |
| Dietary Fiber | <1g | 3% |
| Total Sugars | <1g | – |
| Protein | 10g | 20% |
| Calcium | 150mg | 12% |
| Iron | 1mg | 6% |
| Potassium | 95mg | 2% |
*Based on a 2,000 calorie diet
For the baked version, reduce the total fat to approximately 7g and calories to around 185 per stick.
Expert Tips for Perfect Ham and Cheese Sticks
After making countless batches over the years, I’ve picked up some professional tips that make a significant difference:
- Temperature matters: Allow cheese to come to room temperature before mixing for easier handling, but keep ham cold for food safety.
- Double-wrap for security: If you’re concerned about leakage, use two wrappers per stick for extra insurance against cheese explosions.
- Consistency is key: Try to make all your sticks roughly the same size so they cook evenly. I aim for about 4-5 inches in length.
- Oil maintenance: If frying multiple batches, skim any floating debris between batches to prevent burning and off-flavors.
- Proper draining: After frying, drain the sticks at an angle on paper towels, which helps oil run off rather than pool underneath.
- Go beyond basic ham: Try Spanish jamón, Italian prosciutto, or German speck for sophisticated flavor variations.
- Make a cheese blend: Rather than using just one type of cheese, a blend offers more complex flavor and better melting properties.
Why These Ham and Cheese Sticks Will Become Your Go-To Appetizer
I’ve served these at countless gatherings, and they’re always the first to disappear. Here’s why they’ve earned permanent status in my recipe collection:
- They’re adaptable to any occasion, from casual game days to elegant cocktail parties
- The make-ahead option makes entertaining stress-free
- They’re substantial enough to satisfy hunger but still appropriate as an appetizer
- The combination of textures – crispy exterior and gooey interior – is universally appealing
- They’re hand-held, making them perfect for mingling
- Both kids and adults love them
- They’re economical compared to many other appetizers
Questions and Answers
Can I air fry these ham and cheese sticks instead of deep frying? Absolutely! Air frying works wonderfully. Preheat your air fryer to 375°F (190°C), spray the sticks lightly with cooking oil, and cook for 8-10 minutes, turning halfway through. You’ll get a similar crispy exterior with significantly less oil.
How far in advance can I make these for a party? You can assemble them up to 3 months ahead and freeze them uncooked. For best results, fry or bake them directly from frozen on the day of your event. If you must cook them ahead, do so no more than a few hours before serving and reheat in a 350°F (175°C) oven until crispy and heated through.
What’s the best way to store leftover ham and cheese sticks? Store them in an airtight container in the refrigerator for up to 3 days. To reheat, place them in a 350°F (175°C) oven for 5-10 minutes until heated through. Avoid microwaving as this will make them soggy.
Can I make these vegetarian? Yes! Simply omit the ham and add extra cheese or substitute with vegetarian alternatives like smoked tofu, tempeh bacon, or roasted vegetables. The cooking method remains the same.
Are there gluten-free options for the wrappers? Look for rice paper wrappers or gluten-free egg roll wrappers in specialty grocery stores. You can also use gluten-free tortillas, though the texture will be different. For a completely different approach, try wrapping the filling in thinly sliced zucchini strips and baking them.
How do I prevent the cheese from oozing out completely during cooking? The key is proper sealing. Make sure your wrapper seams are thoroughly sealed with water or egg wash. Also, freezing the assembled sticks for 30 minutes before cooking helps the cheese stay put until the wrapper has a chance to crisp up.
Can I use pre-shredded cheese? While convenient, pre-shredded cheese often contains anti-caking agents that can prevent proper melting. I strongly recommend shredding your own cheese for the best melty, gooey results.
What’s the best oil for frying these? Use a neutral oil with a high smoke point, such as vegetable, canola, or peanut oil. I prefer vegetable oil for its neutral flavor and accessibility.
How do I know when the oil is at the right temperature without a thermometer? Place the handle end of a wooden spoon in the oil. If small bubbles form around the wood, the oil is ready. If it’s bubbling vigorously, the oil is too hot. If no bubbles form, it needs more time to heat.
Can I make mini versions for a cocktail party? Absolutely! Use wonton wrappers instead of egg roll wrappers and reduce the filling by half. Decrease cooking time to about 2 minutes for frying or 10-12 minutes for baking.
I hope this comprehensive guide helps you create perfect ham and cheese sticks for your next gathering! They’ve never failed to impress my guests, and I’m confident they’ll become a staple in your recipe collection too. Remember that practice makes perfect – don’t be discouraged if your first batch isn’t magazine-worthy. The beauty of these treats is that even the imperfect ones taste amazing!