Have you ever struggled with tough, bland pie crusts that just don’t live up to your filling? I’ve been there too. After years of testing countless recipes and techniques, I’ve finally developed what I confidently call the BEST pie crust recipe. This isn’t just another recipe—it’s a foolproof method that produces consistently flaky, tender, and flavorful crusts that will elevate any pie to bakery-quality status.
Why This Recipe Works
Before diving into the recipe, let me share why this particular method stands above the rest. The secret lies in understanding the science behind a perfect pie crust while using techniques that are accessible to bakers of all skill levels.
Traditional pie crust making can be intimidating. There’s talk of keeping everything ice cold, not overworking the dough, and achieving that elusive “perfect flakiness.” I’ve taken all these considerations and refined them into a method that eliminates guesswork while teaching you exactly what to look for at each step.
What makes this recipe truly special is the combination of fats—butter for flavor and shortening for guaranteed flakiness—plus a surprising ingredient that ensures tenderness every time. Let’s get started!
Essential Ingredients
For a double crust pie (top and bottom):
- 2½ cups (350g) all-purpose flour
- 1 tablespoon granulated sugar
- 1 teaspoon fine sea salt
- ¾ cup (170g) unsalted butter, very cold and cubed
- ⅓ cup (66g) vegetable shortening, very cold
- ½ cup (120ml) ice water
- 1 tablespoon distilled white vinegar (the secret ingredient!)
- 1 large egg (for egg wash, optional)
Equipment You’ll Need
- Large mixing bowl
- Pastry cutter or food processor
- Measuring cups and spoons
- Kitchen scale (recommended for precision)
- Rolling pin
- Plastic wrap
- Pie plate (9-inch standard)
- Parchment paper
- Pie weights or dried beans
- Pastry brush (if using egg wash)
The Science Behind Perfect Pie Crust
Understanding what makes a great pie crust will help you achieve better results. Let me break down the key elements:
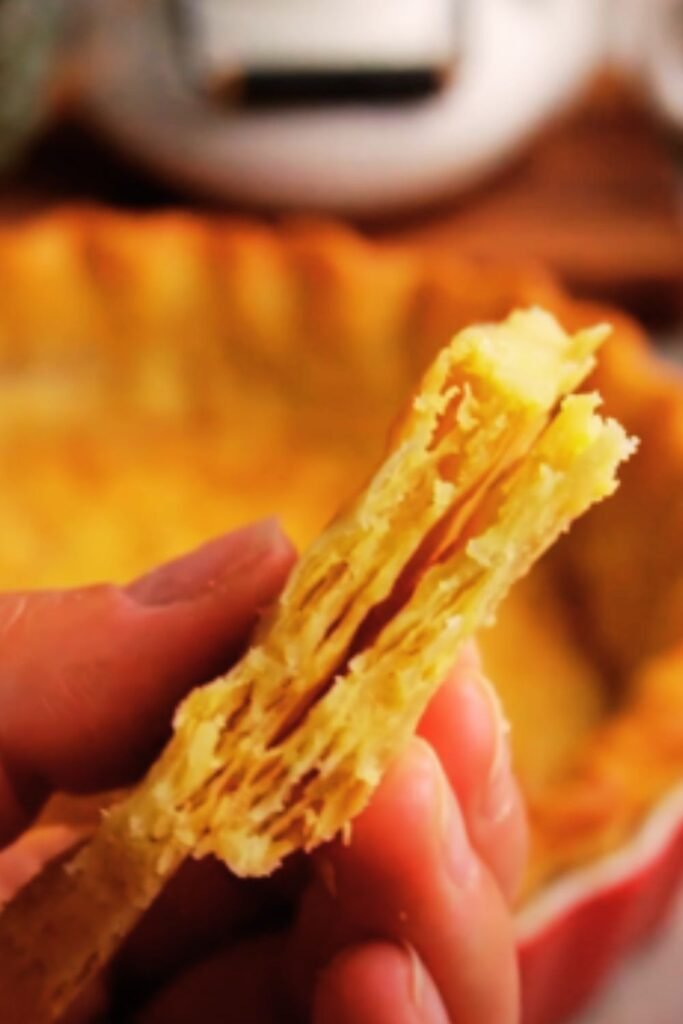
Flakiness : Created when cold fat creates layers in the dough. As the crust bakes, the fat melts, creating steam pockets that form those delicious flaky layers.
Tenderness : Achieved by limiting gluten development. This is why we don’t overwork the dough and add vinegar (which inhibits gluten formation).
Flavor : Comes primarily from butter and proper seasoning. Don’t skip the salt!
Structure : Provided by the flour which creates just enough gluten to hold everything together without becoming tough.
Step-by-Step Instructions
Preparing the Dough
- Combine dry ingredients. In a large bowl, whisk together the flour, sugar, and salt until well combined.
- Add cold fats. Add the cold cubed butter and shortening to the dry ingredients.
- Cut in the fat. Using a pastry cutter, two knives, or a food processor (using short pulses), cut the fat into the flour mixture until you have varying sizes of fat pieces—some the size of peas, others like large breadcrumbs. This variation creates both flakiness and tenderness.
- Mix water and vinegar. In a small bowl or measuring cup, combine the ice water and vinegar.
- Add liquid gradually. Drizzle about ⅔ of the cold liquid over the flour-fat mixture and stir with a fork until the dough begins to come together. Add more liquid, 1 tablespoon at a time, only as needed. The dough should hold together when squeezed but still look somewhat crumbly.
- Form discs. Divide the dough into two portions (one slightly larger for the bottom crust). Shape each portion into a disc about 1-inch thick. Avoid overworking the dough.
- Chill thoroughly. Wrap each disc tightly in plastic wrap and refrigerate for at least 2 hours, preferably overnight. This resting period allows the flour to fully hydrate and the gluten to relax.
Rolling Out the Dough
- Prepare your surface. Lightly flour your work surface, rolling pin, and hands.
- Begin rolling. Working with one disc at a time (keep the other refrigerated), roll from the center outward, rotating the dough a quarter turn after each roll to maintain an even circle.
- Check for sticking. Periodically lift the dough and add a little flour underneath if needed to prevent sticking.
- Achieve proper thickness. Roll until the dough is about ⅛-inch thick and 2-3 inches larger than your pie plate.
Forming the Bottom Crust
- Transfer carefully. The easiest method is to gently fold the dough in half, then in quarters, position the point at the center of the pie plate, and unfold.
- Fit without stretching. Ease the dough into the corners of the plate without stretching (stretched dough will shrink during baking).
- Trim and crimp. For a double-crust pie, trim the overhang to about ½-inch beyond the rim. For a single-crust pie, fold the excess under itself to create a thicker edge that sits on top of the rim.
- Chill again. Place the pie plate with the bottom crust in the refrigerator while preparing the filling and top crust.

For a Double-Crust Pie
- Add filling to the chilled bottom crust.
- Roll out the second disc of dough as before.
- Create vents. Before transferring, cut vents into the top crust to allow steam to escape during baking.
- Position top crust. Carefully place over the filling.
- Seal edges. Trim excess dough, leaving about ½-inch overhang. Fold the top crust under the edge of the bottom crust and press together to seal.
- Crimp decoratively. Use your fingers or a fork to create a decorative edge.
- Apply egg wash (optional). For a golden, shiny crust, beat an egg with 1 tablespoon of water and brush lightly over the top crust.
For a Single-Crust Pie (Blind Baking)
- Dock the crust. After fitting the dough into the pie plate, use a fork to prick the bottom and sides.
- Freeze briefly. Place the crust in the freezer for 15-20 minutes while preheating your oven to 375°F (190°C).
- Add liner and weights. Line the chilled crust with parchment paper and fill with pie weights or dried beans.
- Partial bake. Bake for 15-20 minutes until the edges begin to turn golden.
- Remove weights. Carefully remove the parchment and weights, then return to the oven.
- Complete baking. Bake for an additional 5-10 minutes for a partially baked crust or 10-15 minutes for a fully baked crust.
Common Problems & Solutions Table
| Problem | Likely Cause | Solution |
|---|---|---|
| Tough crust | Overworked dough or too much water | Handle dough minimally and add water gradually |
| Shrinking crust | Stretched dough or not enough resting time | Don’t stretch when fitting into pan; chill thoroughly before baking |
| Soggy bottom | Underbaking or wet filling | Blind bake the bottom crust or bake on lower rack |
| Burnt edges | Oven too hot or excessive baking time | Use a pie shield or foil to protect edges after they brown |
| Crumbly dough | Not enough water or uneven fat distribution | Add a bit more water; ensure fat is properly incorporated |
| Dough sticking to surface | Insufficient flour on work surface | Use enough flour and rotate dough frequently while rolling |
| Crust bubbles | Air trapped between dough and pan | Dock crust thoroughly with fork before baking |
| Butter leaking out | Dough too warm when baking | Ensure dough is well-chilled before baking |
Advanced Techniques for Pie Crust Perfection
Lamination for Extra Flakiness
For truly show-stopping flakiness, try this additional step after your dough has chilled for at least an hour:
- Roll one disc into a rectangle about ¼-inch thick.
- Fold it in thirds like a letter.
- Turn 90 degrees and repeat the rolling and folding once more.
- Re-shape into a disc, wrap, and chill for another hour before using.
This creates additional layers of fat, similar to what makes croissants so flaky.
Decorative Edges and Designs
Take your pie presentation to the next level with these decorative techniques:
- Braided edge: Cut thin strips of dough, braid them together, and press onto the crimped edge.
- Cutout designs: Use small cookie cutters to create shapes from dough scraps, then attach them to the top crust with egg wash.
- Lattice top: Cut strips of dough and weave them over the filling for a classic look.
- Leaf border: Cut leaf shapes and overlap them around the edge, using egg wash as “glue.”
Making Ahead and Storage
Pie crust dough can be prepared in advance to make your baking day stress-free:
- Refrigeration: Wrapped tightly, the dough will keep in the refrigerator for up to 3 days.
- Freezing unbaked dough: Wrapped discs can be frozen for up to 3 months. Thaw overnight in the refrigerator before using.
- Freezing formed crusts: You can freeze the dough already fitted in the pie plate. Wrap well and freeze for up to 1 month.
- Par-baked crusts: Once cooled completely, par-baked crusts can be wrapped and stored at room temperature for 1-2 days.
Flavor Variations
While a classic pie crust is versatile enough for any filling, consider these variations to complement specific pies:
Sweet Variations
- Vanilla bean: Add seeds from ½ vanilla bean to the flour mixture.
- Spiced: Add 1 teaspoon of cinnamon or pumpkin pie spice to the flour.
- Chocolate: Replace 3 tablespoons of flour with unsweetened cocoa powder.
- Citrus: Add 1 tablespoon of citrus zest (lemon, orange, or lime).
Savory Variations
- Herb: Add 1 tablespoon of finely chopped fresh herbs (thyme, rosemary, sage).
- Cheese: Add ¼ cup of finely grated hard cheese (Parmesan, cheddar).
- Black pepper: Add 1 teaspoon freshly ground black pepper.
- Garlic butter: Replace 2 tablespoons of regular butter with garlic butter.
Nutritional Information
For reference, here’s the approximate nutritional information for one serving (1/8 of a double crust):
| Nutrient | Amount per Serving |
|---|---|
| Calories | 320 |
| Total Fat | 22g |
| Saturated Fat | 12g |
| Cholesterol | 45mg |
| Sodium | 240mg |
| Total Carbohydrates | 28g |
| Dietary Fiber | 1g |
| Sugars | 1g |
| Protein | 4g |
Note: Values will vary based on exact ingredients used and actual serving size.
Serving Suggestions
A perfect pie deserves perfect accompaniments:
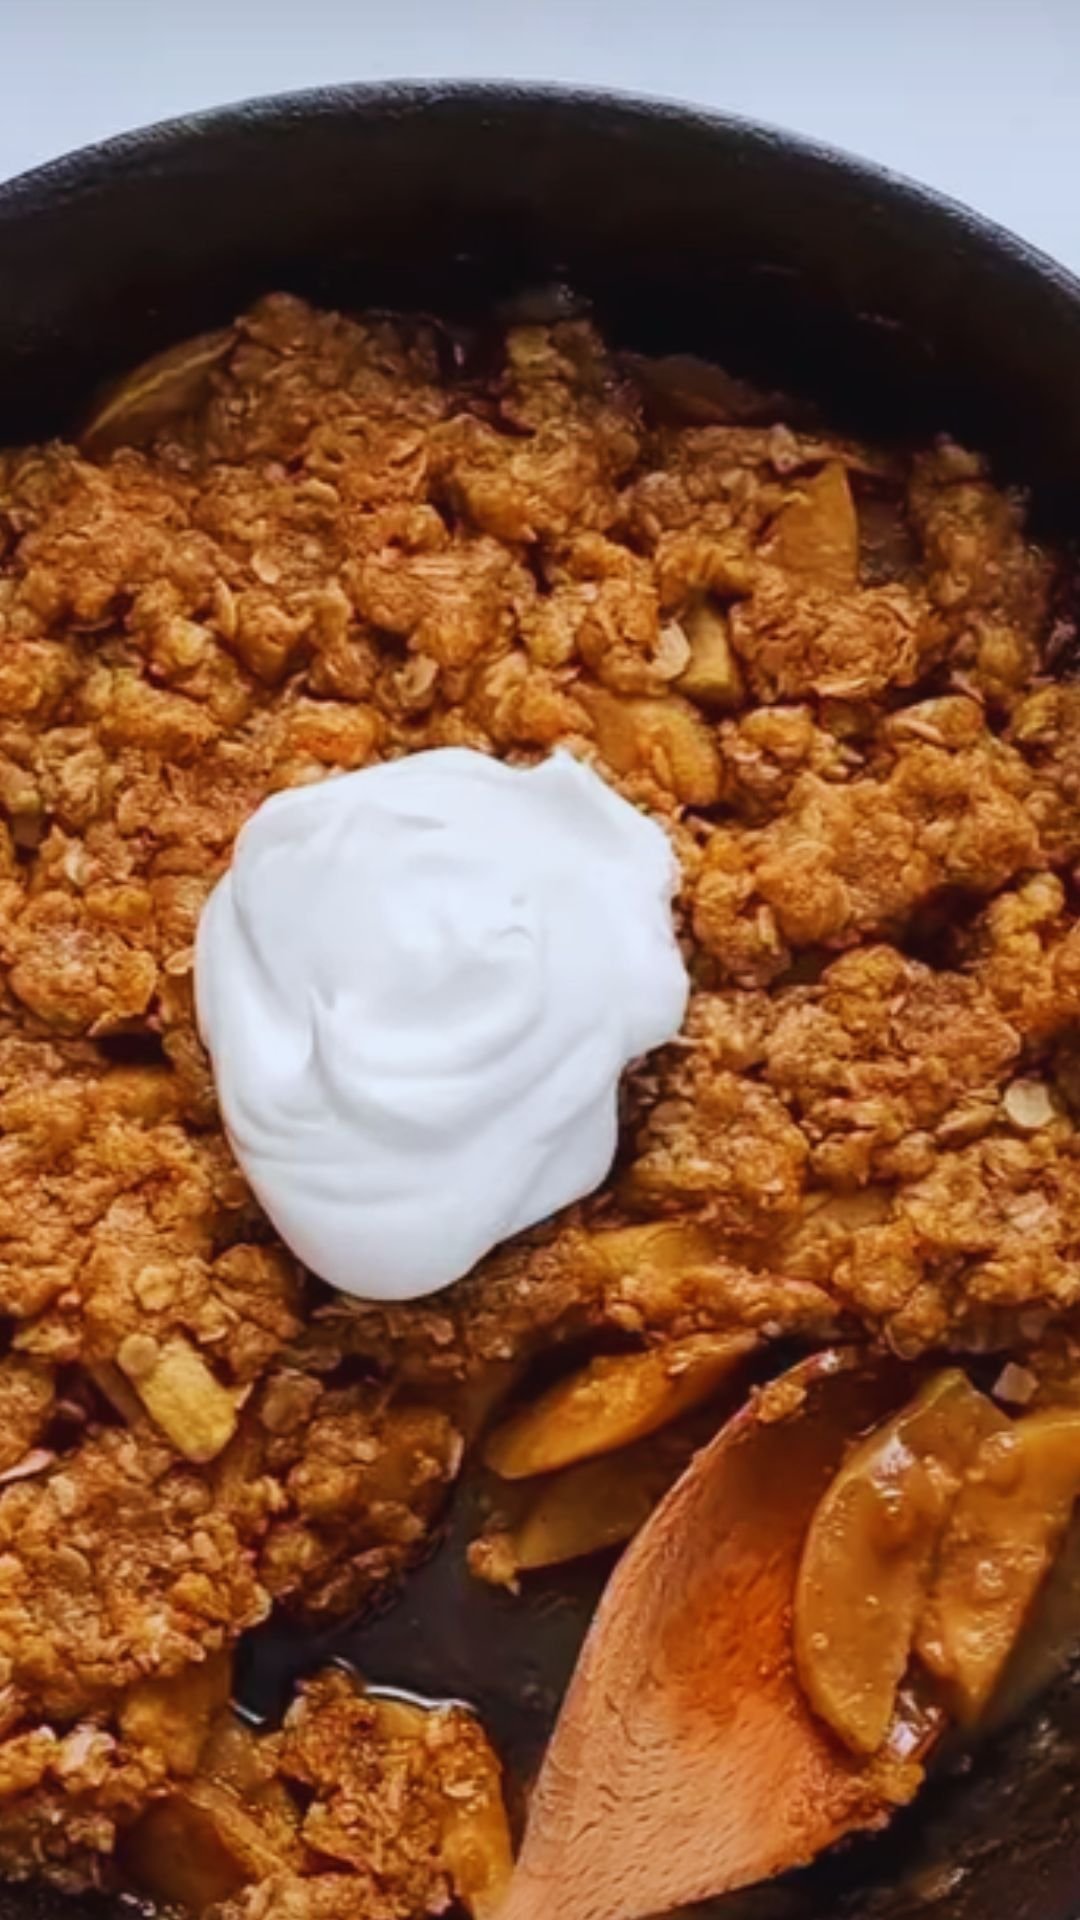
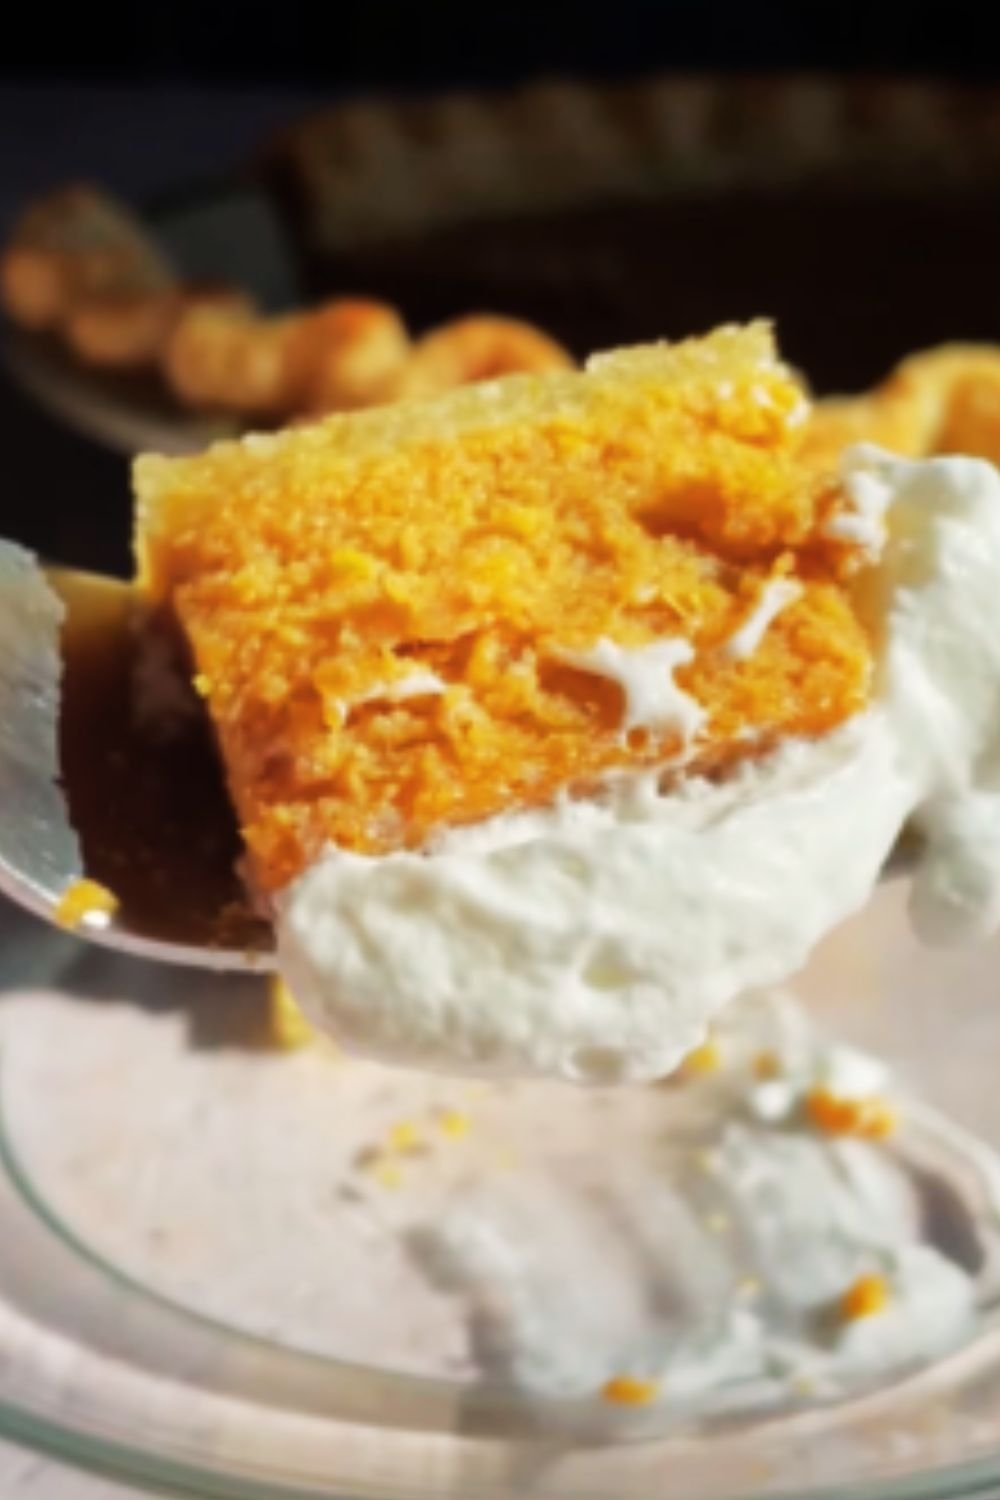
- Serve fruit pies warm with a scoop of vanilla ice cream
- Pair cream pies with fresh whipped cream and berries
- Present custard pies with a light dusting of powdered sugar or nutmeg
- Offer savory pies with a side salad dressed with vinaigrette
- Serve mini hand pies with dipping sauces like caramel or fruit compote
- Add a dollop of sweetened Greek yogurt for a lighter option
- Try a drizzle of flavored honey or maple syrup on fruit pies
Troubleshooting Guide
Even experienced bakers encounter issues occasionally. Here’s how to address common problems:
When Your Dough Won’t Come Together:
If your dough remains crumbly after adding all the liquid, try these fixes:
- Add more cold water, but only 1 teaspoon at a time.
- Let the mixture rest for 5 minutes—sometimes the flour just needs time to absorb the liquid.
- Check if your butter was too cold and hard. If so, let everything sit at room temperature for 2-3 minutes.
When Your Dough Is Too Sticky:
- Add more flour to your work surface, just a little at a time.
- Chill the dough for 15-20 minutes before trying to work with it again.
- Use two sheets of parchment paper to roll out the dough without it sticking.
When Your Crust Cracks During Rolling:
- Let the dough warm slightly at room temperature (about 5 minutes).
- Press the edges together and continue rolling gently.
- Use scraps to patch any areas that remain problematic.
Questions & Answers
Q: Why do you use both butter and shortening? Can I use just one?
You can certainly use all butter or all shortening, but there’s a reason I recommend both. Butter provides that irreplaceable rich flavor, while shortening guarantees flakiness because it has a higher melting point. Using all butter can still make a delicious crust but requires more careful handling to maintain flakiness. If using all shortening, add a teaspoon of butter extract to improve flavor.
Q: What does the vinegar do? Can I skip it?
The vinegar serves two important purposes: it inhibits gluten development (keeping your crust tender rather than tough) and provides insurance against overworking the dough. You won’t taste it in the finished crust! If you don’t have white vinegar, apple cider vinegar or lemon juice can substitute. While you can skip it, I don’t recommend it—it’s one of the “secret weapons” that makes this recipe foolproof.
Q: How do I know when I’ve added enough water?
This is one of the trickiest parts of pie making. The dough should hold together when you squeeze a handful, but still look somewhat shaggy overall. It shouldn’t be completely smooth or form a ball in the bowl. If you see dry flour that won’t incorporate, you need more water. If the dough feels sticky or wet, you’ve added too much.
Q: Can I make this dough in a food processor?
Absolutely! In fact, a food processor can help prevent overworking the dough by keeping everything cold and working quickly. Just pulse the dry ingredients to combine, add the cold fats, and pulse until you have pea-sized pieces. Transfer to a bowl before adding your liquid ingredients, and stir by hand just until combined.
Q: My pie crust always shrinks when baking. How do I prevent this?
Shrinking happens for several reasons: overworked dough (too much gluten development), stretched dough when fitting it into the pan, or not enough chilling time. Make sure you’re gently fitting the dough into the corners without stretching, and always chill your shaped crust for at least 30 minutes before baking. Using pie weights during blind baking also helps maintain the shape.
Q: How far in advance can I make pie crust?
This dough can be refrigerated for up to 3 days or frozen for up to 3 months. If frozen, thaw overnight in the refrigerator before rolling. You can also roll out the dough, fit it into your pie plate, and freeze the whole thing (double-wrapped in plastic). This makes preparation for holidays much less stressful!
Q: My crust is browning too quickly before the filling is done. What should I do?
This is common, especially with fruit pies that take longer to bake. The solution is to use a pie shield or create one with aluminum foil. Simply tear strips of foil and gently wrap them around the edge of the crust after it has reached your desired color, usually after about 20-25 minutes of baking.
Q: What’s the best way to transfer rolled-out dough to the pie plate without tearing it?
My favorite method is to gently fold the rolled dough in quarters, position the point in the center of the pan, and then unfold it. Another method is to loosely roll the dough around your rolling pin, then unroll it over the pie plate. If tears do occur, don’t panic! Simply press them back together with slightly dampened fingertips.
Final Tips for Pie Crust Mastery
As you practice this recipe, remember these golden rules:
- Cold ingredients make flaky crusts—don’t rush this step.
- Less handling means more tender results.
- Proper chilling between steps is non-negotiable.
- Trust your instincts about dough consistency.
- Don’t be afraid to patch and repair—even professionals do it!
With this recipe and these techniques in your baking arsenal, you’ll never need to search for another pie crust recipe again. Whether you’re making a simple fruit pie for family dinner or showcasing your skills at a holiday gathering, this crust will earn you well-deserved compliments every time.
Happy baking!