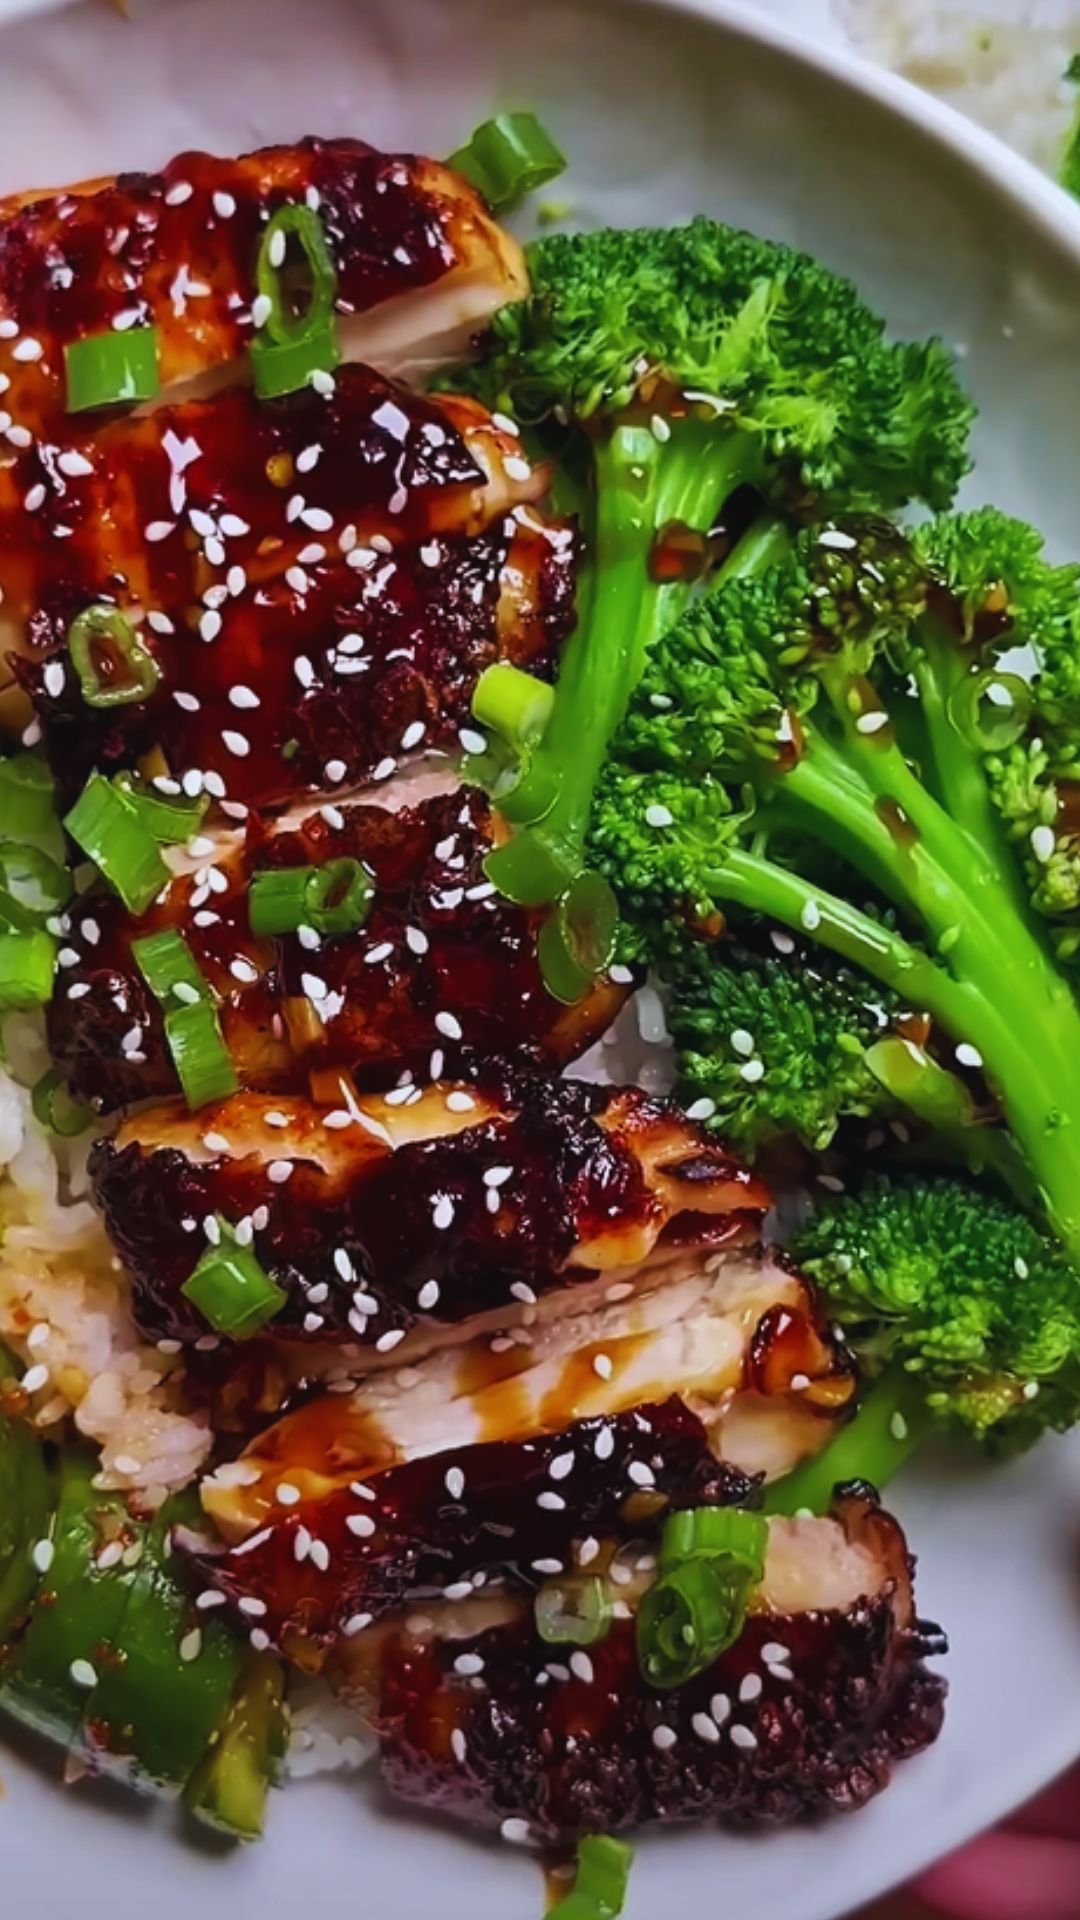
There’s something magical about the combination of sweet, savory, and smoky flavors that dance together in Hawaiian Grilled Teriyaki Chicken. As someone who’s tested countless marinades and grilling techniques over the years, I can confidently say this dish holds a special place in my culinary heart. The rich caramelization of the teriyaki glaze against tender chicken, hints of pineapple, and that unmistakable char from the grill transport me straight to the shores of Hawaii with every bite.
Today, I’m sharing my perfected recipe that brings together authentic Hawaiian flavors with classic teriyaki technique. Whether you’re planning a summer backyard gathering or simply craving a taste of the tropics on a weeknight, this recipe delivers restaurant-quality results with surprisingly little effort.
The Rich History of Teriyaki in Hawaiian Cuisine
Before diving into the recipe, let me share some fascinating context. Teriyaki’s journey to becoming a Hawaiian staple begins with Japanese immigrants who arrived in Hawaii in the late 19th century. These workers brought their culinary traditions, including teriyaki cooking methods, which gradually melded with local Hawaiian ingredients and preferences.
Traditional Japanese teriyaki typically consists of soy sauce, mirin (a sweet rice wine), and sugar. The Hawaiian adaptation incorporated local ingredients like pineapple juice and ginger, creating a distinct variation that’s now recognized worldwide. The word “teriyaki” itself comes from “teri,” meaning luster or shine, and “yaki,” referring to the cooking method of grilling or broiling—perfectly describing the glossy finish this cooking style produces.
The addition of pineapple wasn’t just for flavor—it contains bromelain, an enzyme that naturally tenderizes meat, making it an ingenious addition to marinades. This balance of function and flavor exemplifies the innovative spirit of Hawaiian fusion cuisine.
The Perfect Chicken Cut for Teriyaki
For this recipe, I recommend using:
- Boneless, skinless chicken thighs (primary recommendation)
- Bone-in chicken thighs with skin
- Chicken breasts (with adjusted cooking time)
Chicken thighs are my go-to for several reasons. Their higher fat content compared to breasts means they’re more forgiving on the grill, staying juicy even if slightly overcooked. The dark meat also stands up beautifully to the bold teriyaki flavors, absorbing the marinade while maintaining its own rich taste.
If using chicken breasts instead, I recommend either pounding them to an even thickness or butterflying them to ensure even cooking and maximum marinade absorption.
Essential Ingredients: The Building Blocks of Flavor
For the Marinade:
| Ingredient | Quantity | Function | Notes |
|---|---|---|---|
| Soy sauce | 1/2 cup | Base flavor, umami | Low-sodium recommended to control salt level |
| Brown sugar | 1/3 cup | Sweetness, caramelization | Dark brown provides deeper molasses notes |
| Fresh pineapple juice | 1/4 cup | Tenderizer, tropical flavor | Fresh is best, but canned works in a pinch |
| Ginger | 2 tablespoons | Aromatic bite, digestive aid | Freshly grated provides significantly more flavor |
| Garlic | 4 cloves | Aromatic base, depth | Minced or pressed |
| Green onions | 3 stalks | Fresh aromatics | White and green parts, chopped |
| Sesame oil | 1 tablespoon | Nutty depth | A little goes a long way |
| Rice vinegar | 1 tablespoon | Acidity, balance | Unseasoned preferred |
| Black pepper | 1/2 teaspoon | Gentle heat | Freshly ground |
For the Chicken:
| Ingredient | Quantity | Notes |
|---|---|---|
| Boneless, skinless chicken thighs | 2 pounds (about 8 thighs) | Trimmed of excess fat |
For the Glaze (Optional but Recommended):
| Ingredient | Quantity | Function | Notes |
|---|---|---|---|
| Reserved marinade | 1 cup | Base for glaze | Must be boiled to eliminate raw chicken bacteria |
| Honey | 2 tablespoons | Extra shine, sweetness | Local Hawaiian honey if available |
| Cornstarch | 1 tablespoon | Thickener | Mixed with water to create a slurry |
| Water | 2 tablespoons | Dilution for texture | Adjust for desired thickness |
For Garnish:
| Ingredient | Quantity | Visual/Flavor Impact |
|---|---|---|
| Toasted sesame seeds | 1 tablespoon | Nutty crunch, visual appeal |
| Green onion, sliced thin | 2 stalks | Fresh bite, color contrast |
| Grilled pineapple rings | 4 rings | Sweet counterpoint, authentic presentation |
Marinating Magic: Time and Technique
The marinade is where the transformation begins. Here’s my step-by-step process for maximum flavor infusion:
- Create the marinade base: Combine soy sauce, brown sugar, pineapple juice, grated ginger, minced garlic, chopped green onions, sesame oil, rice vinegar, and black pepper in a bowl, whisking until sugar dissolves completely.
- Prepare the chicken: Trim excess fat from thighs and pat dry with paper towels. This step is crucial—excess moisture prevents proper marinade absorption.
- Marinate effectively: Place chicken in a glass baking dish or ziplock bag. Pour marinade over chicken, ensuring each piece is fully coated. Massage the marinade into the meat for about 30 seconds.
- Time it right: For optimal flavor, marinate refrigerated for:
- Minimum: 2 hours
- Ideal: 4-6 hours
- Maximum: 12 hours (beyond this, the meat proteins can break down too much)
- Reserve marinade: Before discarding, set aside 1 cup of marinade before adding chicken if you plan to make the glaze.
Pro tip: For extra flavor penetration, make small shallow cuts in thicker parts of the chicken. This allows marinade to reach deeper into the meat without compromising its structure.
The Grilling Process: Temperature and Technique
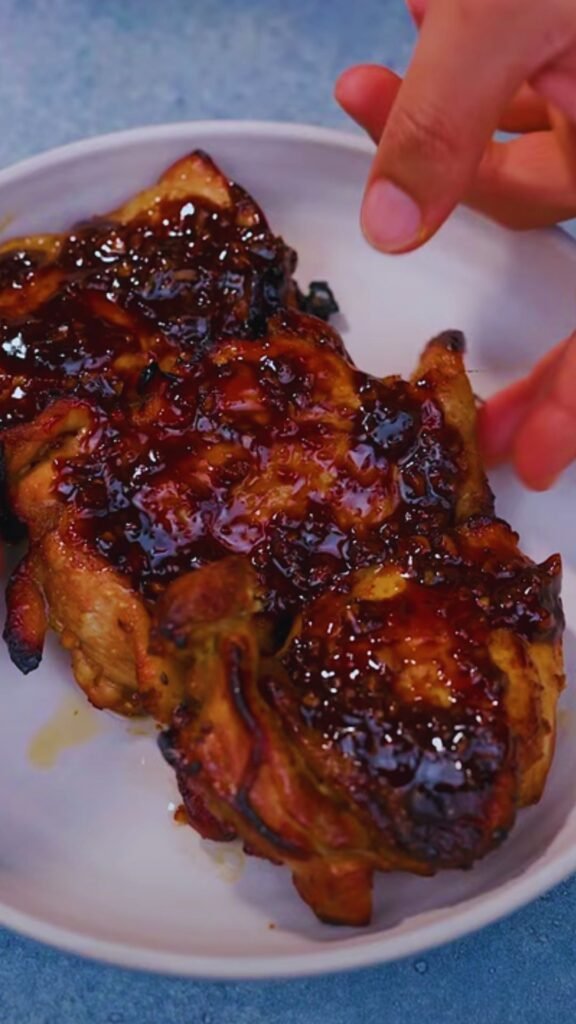
Grilling is where the magic happens—transforming marinated raw chicken into a caramelized, smoky delight. Here’s my method for perfect results every time:
Preparation
- Remove chicken from refrigerator 20-30 minutes before grilling to take the chill off.
- Preheat your grill:
- Gas grill: Medium-high heat (375-425°F)
- Charcoal grill: Coals should be covered with white ash, hand can hover 4-5 inches above for 4-5 seconds
Grilling Technique
- Oil the grates: Fold a paper towel, dip in neutral oil, and using tongs, rub across grates to prevent sticking.
- Shake off excess marinade: Allow excess marinade to drip off before placing chicken on grill. Too much marinade causes flare-ups and inhibits browning.
- Position properly: Place chicken on the grill diagonally to grates for those attractive crosshatch marks.
- Timing is everything:
- First side: 5-6 minutes until nicely browned with distinct grill marks
- Flip once: Using tongs (never pierce with a fork which releases juices)
- Second side: 4-5 minutes or until internal temperature reaches 165°F
- Basting technique: If using the glaze, apply during the last 2 minutes of cooking using a silicone brush. This prevents burning while still allowing caramelization.
- Rest the meat: Transfer to a clean plate and tent loosely with foil for 5 minutes. This crucial step allows juices to redistribute throughout the meat.
Temperature Guide for Perfect Doneness
| Chicken Cut | Target Temperature | Visual Cue | Resting Time |
|---|---|---|---|
| Thighs (boneless) | 165-170°F | Clear juices, firm but yielding | 5 minutes |
| Thighs (bone-in) | 170-175°F | Meat pulls from bone | 5-7 minutes |
| Breast | 160°F (will reach 165°F while resting) | Firm with slight spring | 5-10 minutes |
Making the Optional Glaze
A reduced glaze takes this dish from great to extraordinary. Here’s how to create that restaurant-quality finishing touch:
- Pour reserved marinade (never use marinade that contained raw chicken without cooking) into a small saucepan.
- Bring to a rolling boil for at least 1 minute to ensure food safety.
- Reduce heat to medium-low and simmer for 5 minutes, allowing flavors to concentrate.
- Create a cornstarch slurry by mixing 1 tablespoon cornstarch with 2 tablespoons cold water until smooth.
- While whisking constantly, slowly pour slurry into simmering marinade.
- Add 2 tablespoons honey and continue cooking for 2-3 minutes until mixture thickens enough to coat the back of a spoon.
- Remove from heat when it reaches desired consistency (it will thicken slightly more as it cools).
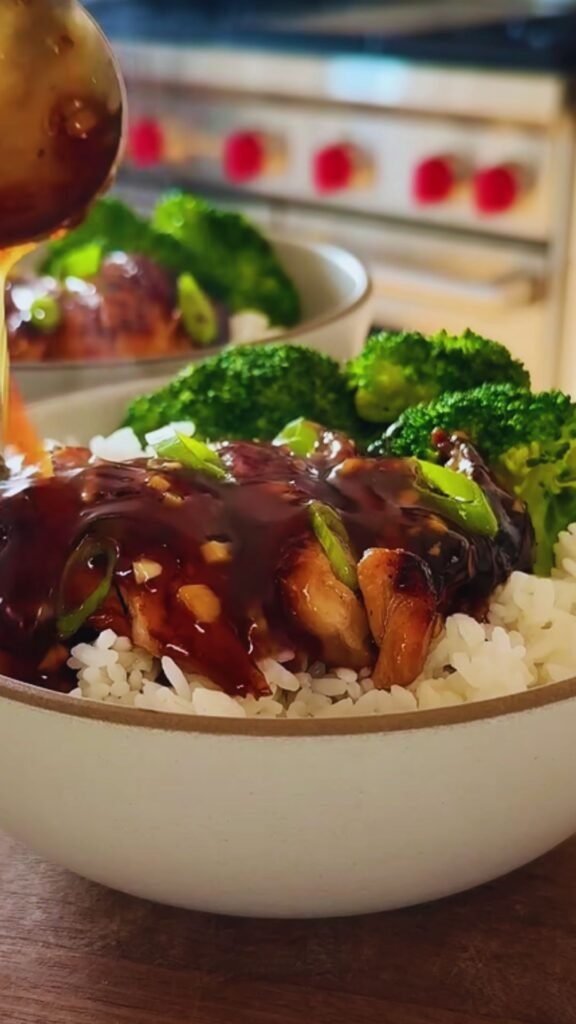
The glaze can be applied in two ways:
- As a basting sauce during the final minutes of grilling
- As a serving sauce drizzled over the finished chicken
Serving Suggestions: Creating a Complete Hawaiian Experience
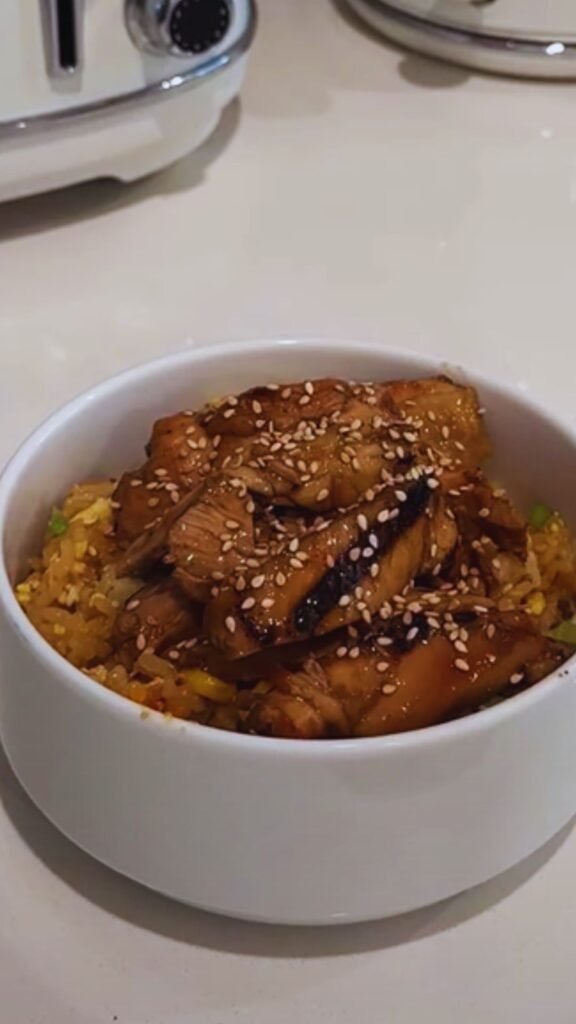
To create an authentic Hawaiian plate lunch experience, I recommend serving your teriyaki chicken with:
Traditional Hawaiian Sides:
- Steamed white rice (short grain preferred)
- Classic Hawaiian macaroni salad
- Grilled pineapple slices (brush with a touch of honey before grilling)
- Stir-fried vegetables like bell peppers, zucchini, and snap peas
Fresh Accompaniments:
- Sliced avocado
- Mango salsa
- Quick-pickled cucumbers with rice vinegar and a touch of sugar
Non-Alcoholic Beverage Pairings:
- Fresh pineapple juice
- Coconut water
- Passion fruit iced tea
- Hawaiian POG juice (pineapple, orange, guava)
For a complete luau-style experience, consider adding:
- Lomi lomi salmon
- Poi (traditional taro paste)
- Haupia (coconut pudding)
Make-Ahead and Storage Tips
This dish works wonderfully for meal prep and leftovers. Here’s how to maximize convenience without sacrificing quality:
Make-Ahead Options:
- Marinade can be prepared up to 3 days in advance and stored refrigerated
- Chicken can marinate overnight (up to 12 hours maximum)
- Glaze can be made 2 days ahead and reheated gently
Storage Guidelines:
| Storage Method | Maximum Time | Reheating Tips |
|---|---|---|
| Refrigerator | 3-4 days | Gentle reheating prevents drying out |
| Freezer | 2-3 months | Thaw overnight in refrigerator before reheating |
Reheating Methods (In Order of Preference):
- Gentle oven reheating: 300°F covered with foil, with a tablespoon of water or pineapple juice to create steam
- Microwave with care: 50% power with a damp paper towel covering to maintain moisture
- Quick grill refresh: 1 minute per side on medium heat, brushing with additional glaze
Troubleshooting Common Issues
| Problem | Possible Cause | Solution |
|---|---|---|
| Chicken burns before cooking through | Grill too hot | Create dual heat zones: sear then move to indirect heat |
| Marinade causes flare-ups | Excess sugar content | Shake off excess marinade before grilling |
| Chicken sticks to grill | Grates not properly oiled | Oil grates before heating and again before cooking |
| Glaze burns | Applied too early | Only apply during final 2 minutes of cooking |
| Chicken too dry | Overcooked | Use meat thermometer and follow resting guidelines |
Health and Dietary Modifications
This recipe can be easily adapted for various dietary needs:
Lower Sodium Version:
- Use low-sodium soy sauce or coconut aminos
- Reduce soy sauce quantity by 25% and replace with pineapple juice
- Add citrus zest for flavor without salt
Diabetic-Friendly Adaptation:
- Replace brown sugar with monk fruit sweetener
- Use less sweetener overall (about half)
- Increase ginger and garlic for flavor compensation
Gluten-Free Option:
- Substitute tamari for soy sauce
- Verify all other ingredients are certified gluten-free
Lower Calorie Variation:
- Use chicken breasts instead of thighs
- Reduce oil in marinade by half
- Skip the final glaze or use a lighter version without cornstarch
The Cultural Context of Hawaiian Teriyaki
The Hawaiian teriyaki chicken we enjoy today represents much more than just a delicious meal. It stands as a testament to Hawaii’s remarkable multicultural heritage—a living example of how immigrant traditions blend with indigenous ingredients to create something uniquely Hawaiian.
This cultural fusion mirrors Hawaii’s history itself. Japanese immigrants brought teriyaki techniques, Chinese workers contributed wok cooking methods, native Hawaiians shared their knowledge of local ingredients, and mainland American influences added their own touch. The result is a cuisine that tells the story of the islands themselves—diverse, harmonious, and greater than the sum of its parts.
When preparing this dish, I’m always mindful of this rich cultural tapestry. The sweet-savory glaze, the tropical hint of pineapple, the smoky char from the grill—each element represents a different thread in Hawaii’s culinary fabric. It’s a reminder that great food often transcends its ingredients to tell a deeper story about people, place, and tradition.
Frequently Asked Questions
Can I use chicken breasts instead of thighs? Absolutely! Chicken breasts will work, but they require more attention to prevent drying out. I recommend either pounding them to even thickness or butterflying them before marinating. Reduce the cooking time by 1-2 minutes per side and use a meat thermometer to ensure they reach 160°F (they’ll continue cooking to 165°F while resting).
What if I don’t have a grill? No grill? No problem! You can achieve excellent results with these alternatives:
- Grill pan on the stovetop: Medium-high heat, 6-7 minutes per side
- Broiler: 4-5 inches from heat source, 5-6 minutes per side
- Baking: 425°F for 20-25 minutes, brushing with glaze halfway through
Is it safe to use the marinade as a sauce? Never use marinade that has contacted raw chicken without thoroughly cooking it first. The reserved marinade method in this recipe ensures food safety by setting aside marinade before adding chicken. If you forgot to reserve some, you can make a fresh batch of sauce with the same ingredients.
Can I make this recipe without refined sugar? Yes! Natural alternatives work beautifully:
- Honey (replace brown sugar 1:1)
- Maple syrup (use 3/4 the amount)
- Coconut sugar (1:1 replacement)
- Date syrup (use 3/4 the amount)
How can I tell when the chicken is done without a thermometer? While a thermometer is most reliable, you can check doneness by:
- Making a small cut in the thickest part—juices should run clear, not pink
- Pressing with tongs—properly cooked chicken will feel firm but still have some give
- Lifting a piece—it should release easily from the grill when done
My marinade never gets that thick, glossy restaurant look. What am I doing wrong? The secret is in the reduction and cornstarch. Make sure to:
- Simmer long enough to reduce by about 1/3 before adding cornstarch
- Use the cornstarch slurry method (never add dry cornstarch directly)
- Continue cooking after adding cornstarch until you see the change in opacity
- Remember it will thicken further as it cools
What makes this specifically Hawaiian rather than just Japanese teriyaki? The Hawaiian elements that distinguish this recipe include:
- Pineapple juice in the marinade (traditional Japanese teriyaki doesn’t use this)
- Higher sweetness level
- The serving style with rice and macaroni salad (plate lunch format)
- The optional grilled pineapple accompaniment
A Final Note on Hawaiian Teriyaki Chicken
Hawaiian Grilled Teriyaki Chicken embodies the spirit of island cooking—unfussy yet deeply flavorful, respectful of tradition while embracing innovation. I’ve found that the key to truly exceptional results lies not just in quality ingredients, but in the intention and care put into each step of the process.
Whether you’re cooking for a special occasion or a simple weeknight dinner, this recipe offers that rare combination of impressive results with straightforward technique. The complex flavor belies the relative simplicity of preparation—a hallmark of truly great recipes.
As with any cooking, I encourage you to make this recipe your own over time. Perhaps you’ll add a dash of Hawaiian chili pepper water for heat, or incorporate a touch of local honey from your area. The foundation remains solid, but the variations are endless.
What matters most is the joy of cooking and sharing good food. In Hawaii, they call this “aloha spirit”—a sense of joyful connection that infuses every aspect of life, including the meals we prepare and the tables we gather around.
Mahalo for cooking with me today, and may your Hawaiian Grilled Teriyaki Chicken bring a taste of the islands to wherever you call home.

